

How to Export iPhone Contacts to CSV with or without iCloud
 5.3K
5.3K
 0
0


Sometimes you may need to export contacts from iPhone to CSV for backup or other uses. However, iPhone itself doesn’t provide an option for you to do so. The good news is that there are methods available. This article talks about how to export iPhone contacts to CSV in 4 different ways, with or without using iCloud.
 Cisdem ContactsMate
Export iPhone Contacts to CSV with Ease
- Support various contact sources: iCloud/iPhone, Mac, Google, etc.
- Support various import/export formats: CSV, Excel, vCard, etc.
- Help you easily export iPhone contacts to a CSV file
- Let you view, search, edit, create, group, tag, share, print and sync contacts
- Find and fix duplicate contacts and formatting issues (such as incomplete names, phone numbers in wrong formats, etc.)
- Easy to use for everyone

How to export iPhone contacts to CSV with the help of iCloud
Method 1. Use Cisdem ContactsMate
Applies to: macOS 10.11 or later
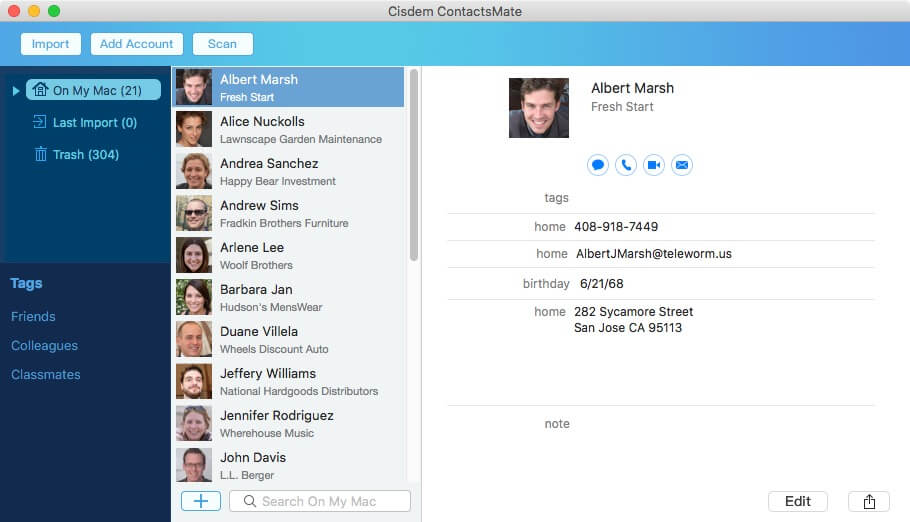
For Mac users, the easiest way to export iPhone contacts to desired formats such as CSV is to use Cisdem ContactsMate.
Before getting started, download and install ContactsMate.
 Free Download macOS 10.11 or later
When you launch ContactsMate for the first time, it will ask for permission to access your contacts. Click OK to grant permission.
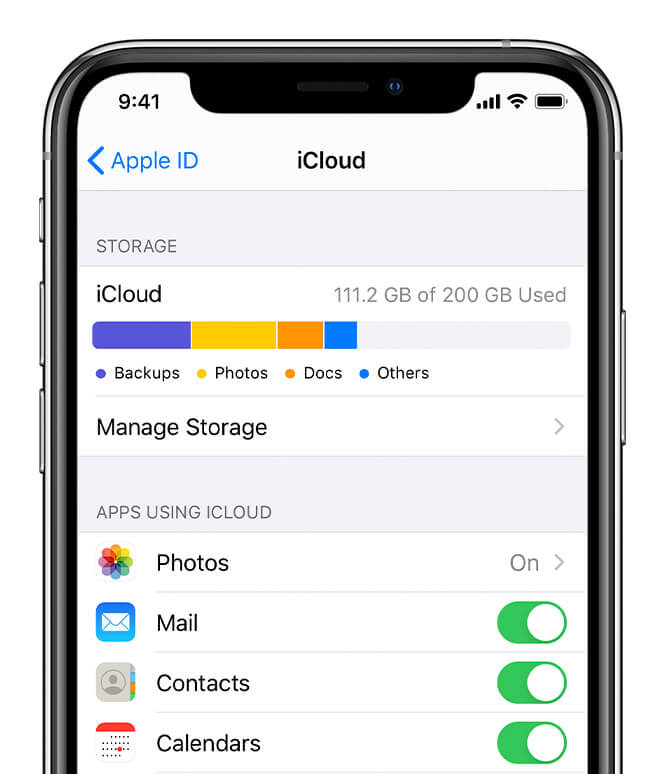
Step 1. Set your contacts to sync between iPhone and iCloud. (Skip the step if you have already done so.)
If not, set things up. On your iPhone, go to Settings and sign in with your Apple ID, which will automatically turn on iCloud. In Settings, tap your name and choose iCloud. Make sure you toggle on the Contacts switch.
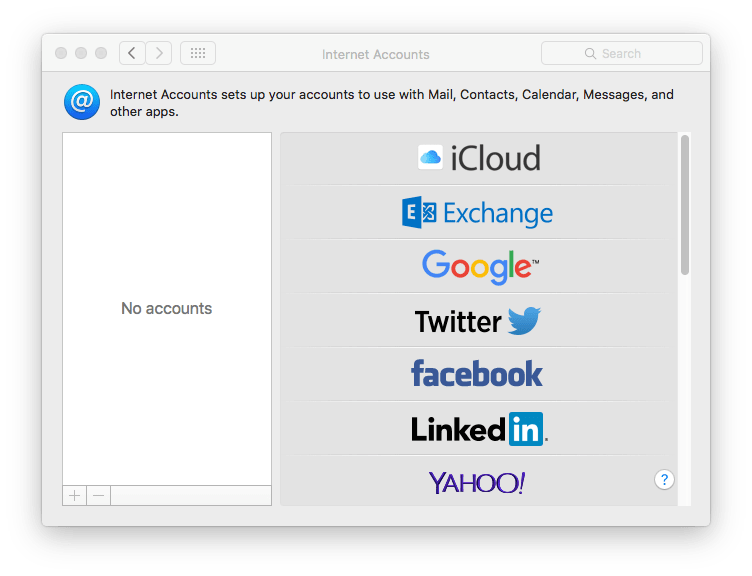
Step 2. Open ContactsMate. Click the Add Account button in the toolbar, which will bring up the Internet Accounts window.
Select iCloud and sign in to it. Check the Contacts option. Close the window.
Step 3. Click the  button next to the Updated contacts detected message. On the left sidebar of the app, a new group called iCloud will appear, under which you can find your iCloud/iPhone contacts.
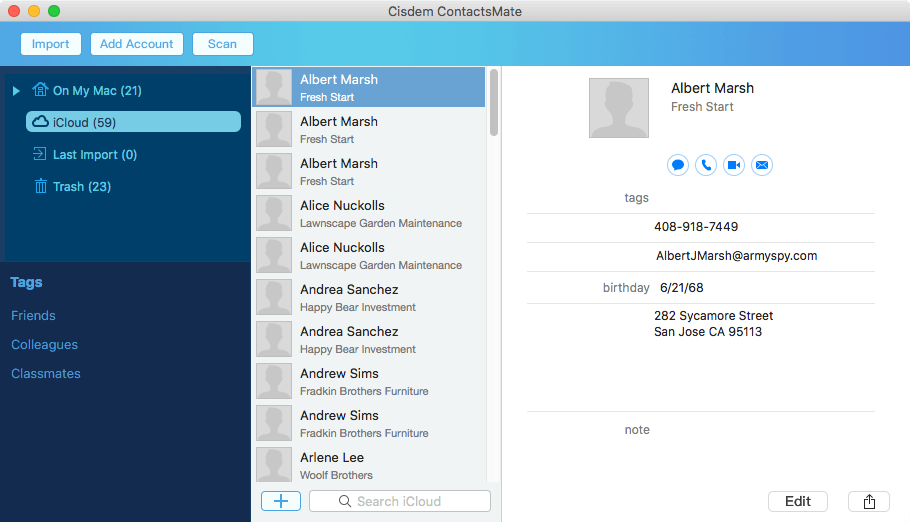
Select the group iCloud and click the Export button in the toolbar, and a dialog box will appear. Click the Options button in the bottom left corner. To export contacts to CSV, just select CSV from the Format drop-down list. Click the Save button.

If you need to export selected contacts from iPhone to CSV, select the contacts you need instead of selecting the group on the sidebar.
Tips
- You can use the same app and follow similar steps to effortlessly export iCloud contacts to CSV.
- Before exporting iPhone contacts to CSV, you can quickly find and eliminate duplicates if there are any. Select the iCloud group and click the Scan button in the toolbar. Once the scan is completed, it will list all the duplicates for you to edit, merge or delete. It's convenient.
![find duplicate contacts]()
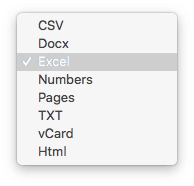
- To export iPhone contacts to Excel file, you can choose Excel from the aforesaid Format drop-down list.
![select Excel]()

Method 2. Use a CVF to CSV converter
Applies to: Windows, macOS
Here’s another way to do the export. The steps are easy to follow, but it can be a bit time-consuming.
Step 1. It’s the same with the first step in the first method, which is to cync contacts from iPhone to iCloud.
Step 2. Open a web browser on your PC or Mac. Visit iCloud.
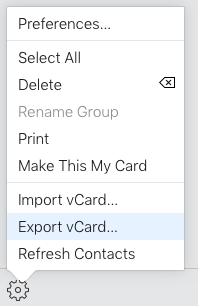
Step 3. There, click Contacts. Click the gear icon in the bottom left corner of the page and choose Select All. Click the icon again and select Export vCard. It will start downloading the VCF file to your computer.
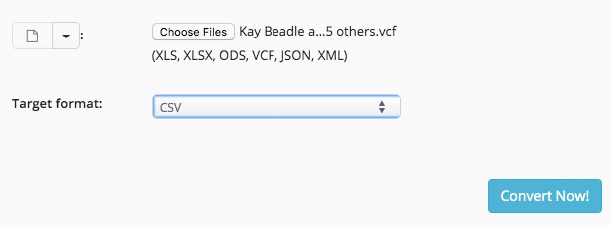
Step 4. Visit https://www.aconvert.com/document/vcf-to-csv/. Click the Choose Files button and upload the downloaded VCF file. To convert CVF to CSV, select CSV from the Target format drop-down list. Click Convert Now.
Step 5. Once the process is finished, scroll down to find the output file. In the Action column, click the download icon, which will lead you to a new page.
Step 6. Click the File URL to save the .csv file.
This is how to export all iPhone contacts to CSV on a PC or Mac.
Method 3. Use Google Contacts
Applies to: Windows, macOS
Here’s still another way to help you export your iPhone contacts to a CSV file with the help of iCloud.
Step 1. Export iPhone contacts to Gmail first.
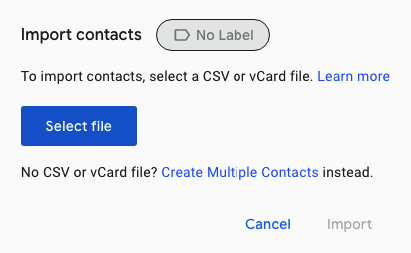
Export iPhone contacts to vCard via https://www.icloud.com/, of which the detailed steps are mentioned in the second method. Go to Google Contacts. From the sidebar on the left, select Import. Click Select file and upload the vCard file. Click Import. Now you will be able to find your iPhone contacts under the Labels section. They are automatically labeled with the import date.
Step 2. In Google Contacts, click Export from the left sidebar. In the Export contacts window that shows up, select your iPhone contacts.

Step 3. In the Export as section, choose Google CSV. Click Export.
How to export iPhone contacts to CSV with iTunes or Finder
Applies to: Windows, macOS
The methods above require the use of iCloud. If you want to do the export without iCloud, you can use iTunes (on Windows PC) or Finder (on Mac).
The following steps use iTunes on Windows PC as an example and can also be helpful for Mac users.
Step 1. Connect your iPhone to a PC that has iTunes 12 installed on it. iTunes will automatically open and detect the device connected to it.
Step 2. Click the device button .png) . From the left sidebar, click Info.
. From the left sidebar, click Info.
Step 3. Select the box next to Sync Contacts with and choose Outlook. You are provided with the option to sync all your iPhone contacts or selected groups.
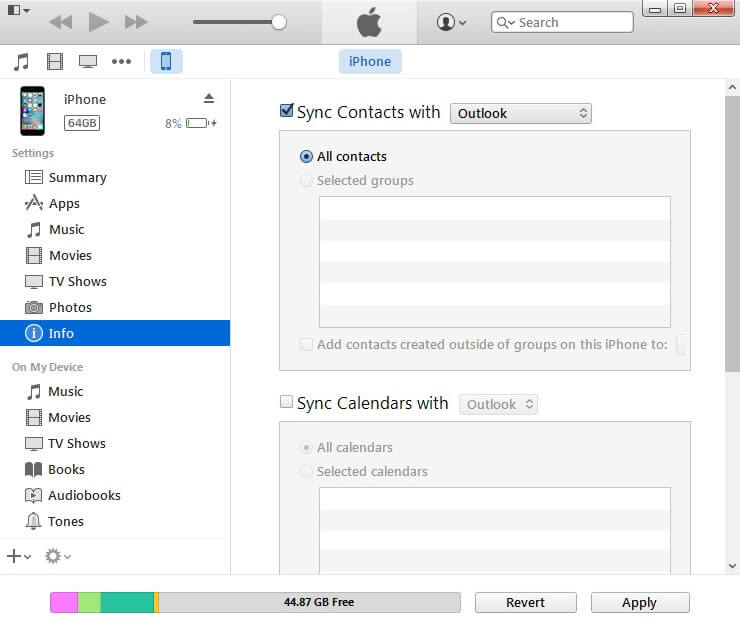
Step 4. Click the Apply button, and it will start syncing. Make sure that you allow Outlook to access iTunes. Once it finishes syncing, your iPhone contacts will appear in a new Outlook folder.
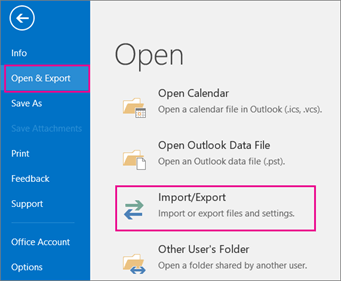
Step 5. In Microsoft Outlook on your PC, select File > Open & Export > Import/Export.
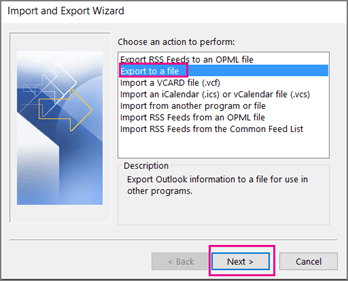
Step 6. In the Import and Export Wizard window, select Export to a file. Choose Comma Separated Values.
Step 7. In the Select folder to export from box, select the aforementioned new folder. Click Next.

Step 8. Click Browse, name the CSV file, and click OK.
Step 9. Confirm where the CSV file will be saved. Click Next.
Step 10. Click Finish, and the export will start.
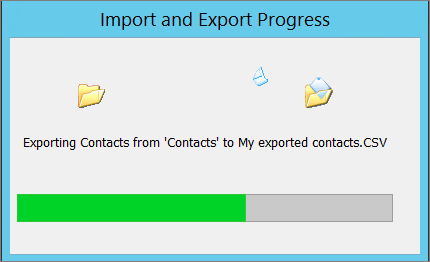
When it finishes exporting your iPhone contacts to CSV, you can find the exported file and open it with Excel.
This is how to do the export with iTunes 12. When it comes to older iTunes versions, the steps are basically the same with slight difference.
FAQ
Can I export my iPhone contacts to CSV without iCloud?
Yes. You can do the export using iTunes or Finder, depending on the operating system your computer is running. If a computer isn't available, you can export your contacts to a vCard first and then convert vCard to CSV.
How do I export my entire contact list from iPhone?
It's simple. Just make sure that all contacts are selected for export.
Conclusion
There is more than one way to export iPhone contacts to CSV on a Mac or a Windows PC. As you can see, the last method, which requires the use iTunes, is a little bit complicated. As a result, the first three methods are recommended, especially the first one. A professional contact manager app like Cisdem ContactsMate can make this task super easy. The methods work with different iPhone models and iOS versions.

With a passion for tech and writing, Sarah joined Cisdem, where she focuses on creating articles about using utility tools to enhance file management and simplify contact management.

Adrian Li is Cisdem’s Chief Engineer and serves as the editorial advisor for Duplicate Finder and ContactsMate. His work and insights have been featured in leading tech publications such as Fossbytes, TUAW, Redmond Pie, SafetyDetectives, and BestForAndroid.