

How to Find and Delete HEIC and JPG Duplicates on Mac, PC and iPhone
 8.9K
8.9K
 1
1


Key Takeaway
You may have multiple copies of a HEIC photo. You may have both HEIC and JPG versions of the same photo. You can declutter your photo collection by removing those redundant copies and versions.
HEIC offers better compression than JPG, so HEIC photos take less storage space without losing visual quality. That’s why iOS 11 and macOS 10.13 introduced support for the HEIC format in 2017. This format has been more and more popular since then.
However, there appears a HEIC and JPG duplicates issue where people end up having both JPG and HEIC versions of the same photo after they import photos from iPhone to Mac.
In this article, I will show you how to easily find and mass delete the HEIC and JPG duplicates that exist on your Mac and also share tips to avoid duplicates in future imports. In addition, I will discuss how to delete HEIC duplicates on Windows PC and iPhone.
 Cisdem Duplicate Finder
The Best HEIC Duplicate Finder
- Identify exact duplicate photos along with all other exact duplicates (videos, audio, etc.)
- Identify duplicate photos in different formats (e.g., one in HEIC and one in JPG), resolutions, or file sizes
- Detect similar-looking photos too
- Support Mac, Windows PC, phones, external storage devices, and cloud drives
- Find duplicates in folders, Apple Photos, as well as in iTunes and Apple Music
- Display duplicate photos for you to preview side by side
- Automatically select all but one file for deletion in each set of exact duplicates, enabling you to remove all exact duplicates at once
- Allow you to select or deselect files manually
- Offer 8 rules to help you mass select unwanted photo versions
- Easy to use for everyone


How to find and delete HEIC and JPG duplicates on Mac quickly and automatically
Steps to find and delete them automatically
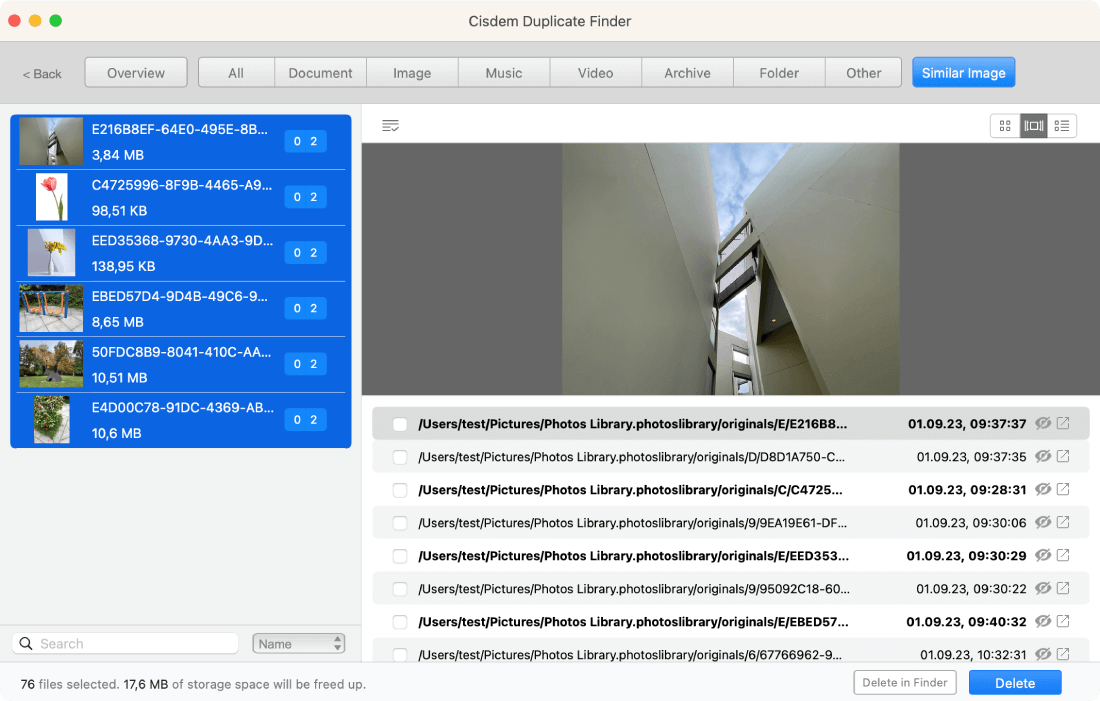
Cisdem Duplicate Finder offers the best solution to the issue in question. Cisdem Duplicate Finder scans Mac's Photos app (aka Apple Photos) and/or folders, displays the found HEIC JPG duplicate photos in sets, and allows you to effortlessly bulk select the HEIC versions or JPG versions for deletion. The process is mostly automatic.
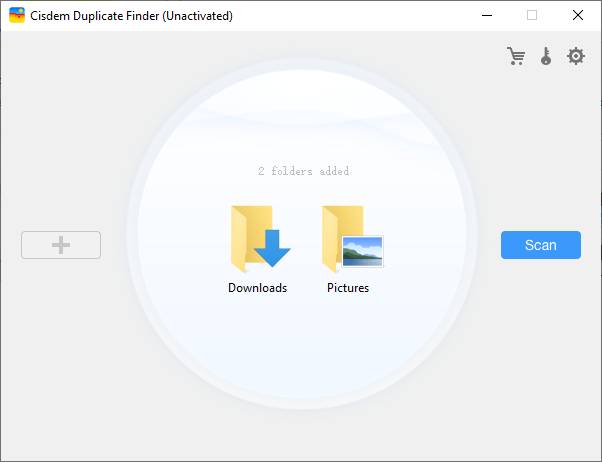
1. Download and install this HEIC duplicate finder. Open it.
 Free Download macOS 10.11 or later
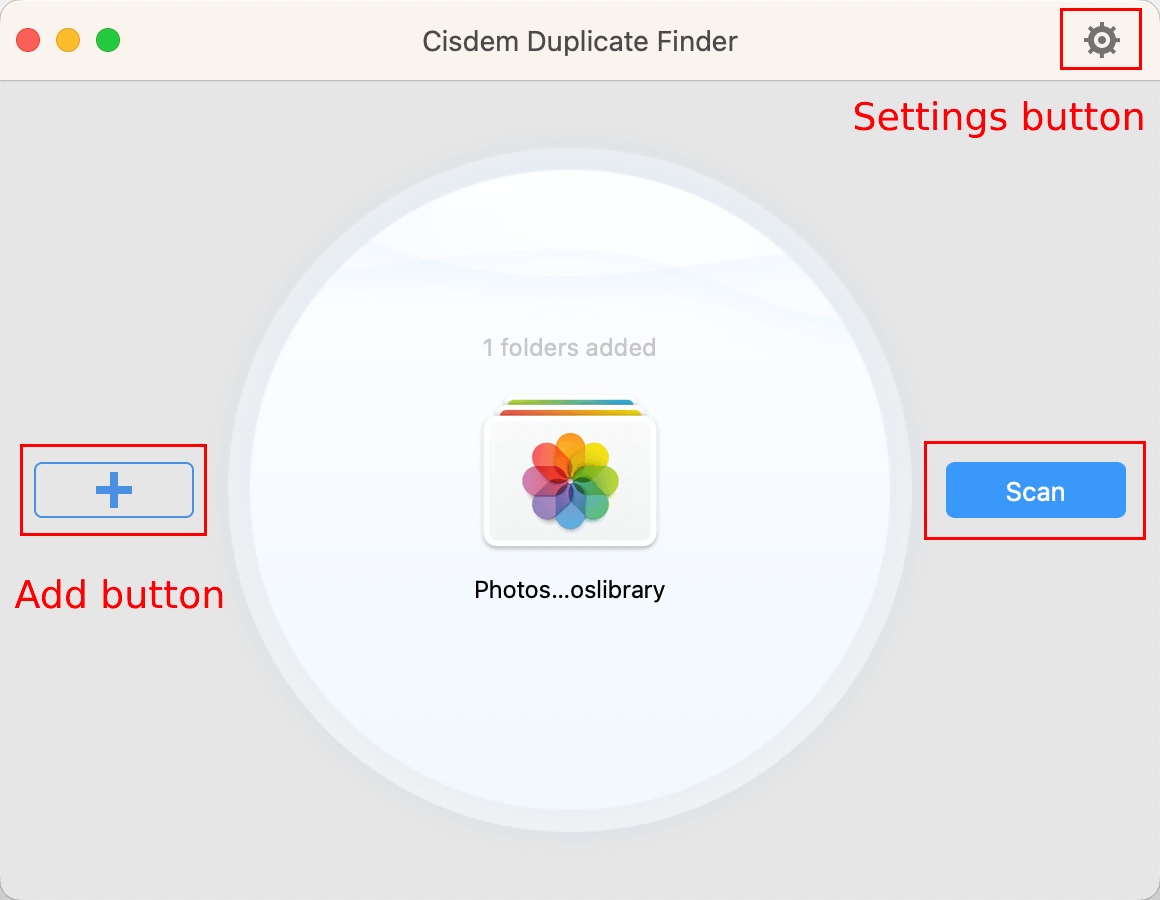
2. To find Apple Photos HEIC JPG duplicate files, click the Add button and add Photos Library. To find duplicates in a folder, just add the folder instead.
Note
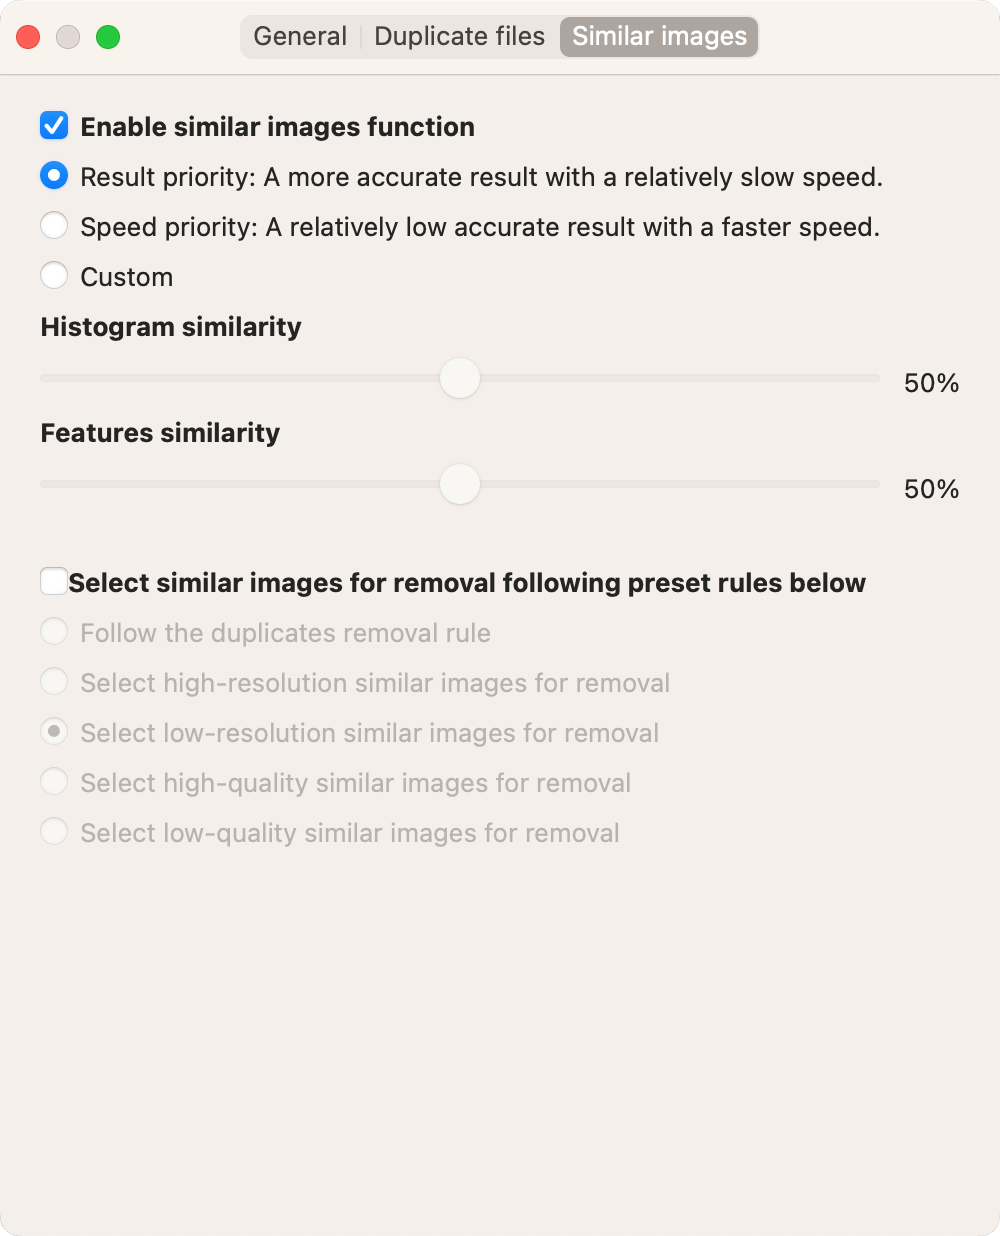
It's recommended to go to Settings > Similar images and make sure that similar image detection is enabled.
3. Click Scan.
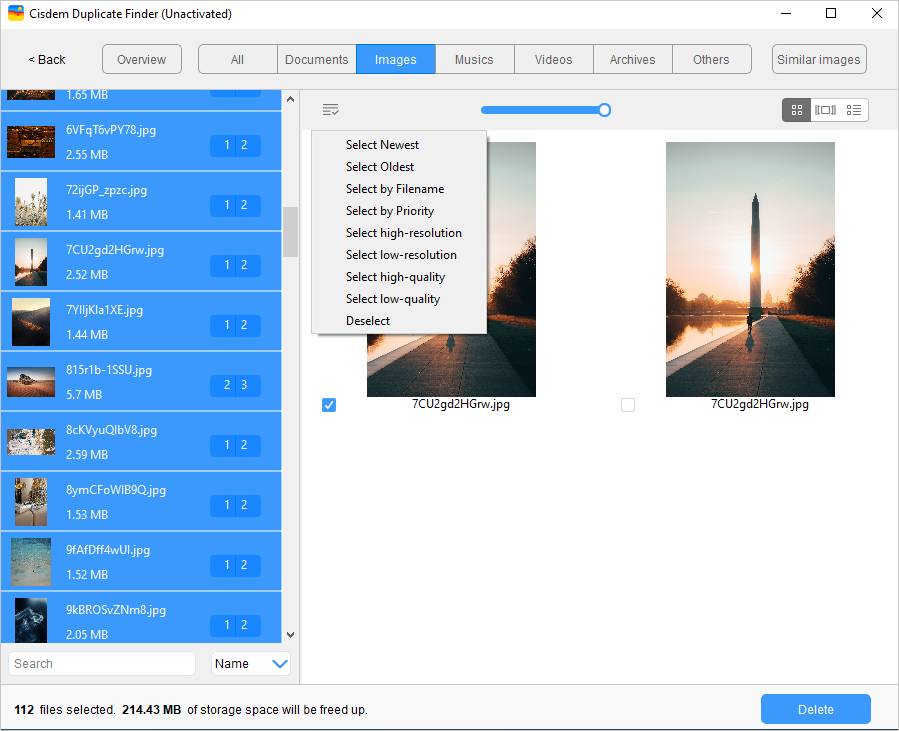
4. Once the scan is done, go to the Similar Image tab to view the found duplicates.
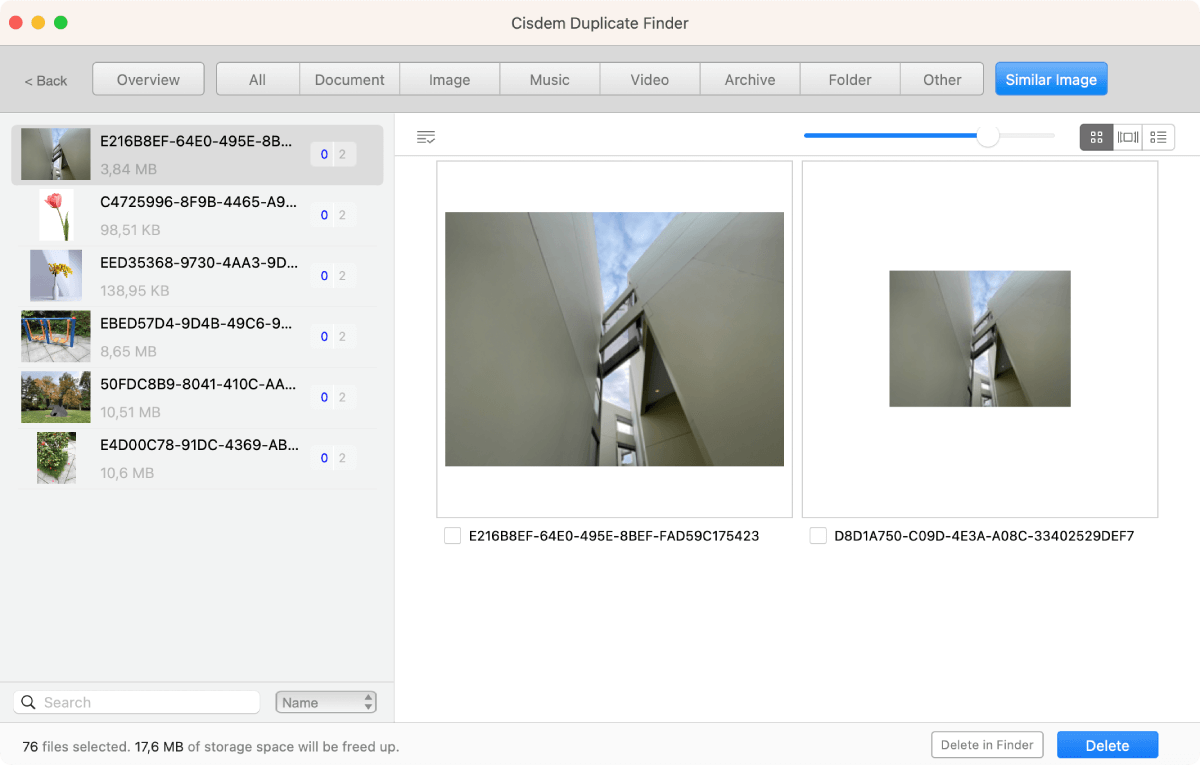
5. There are 3 preview modes. Choose the second one.
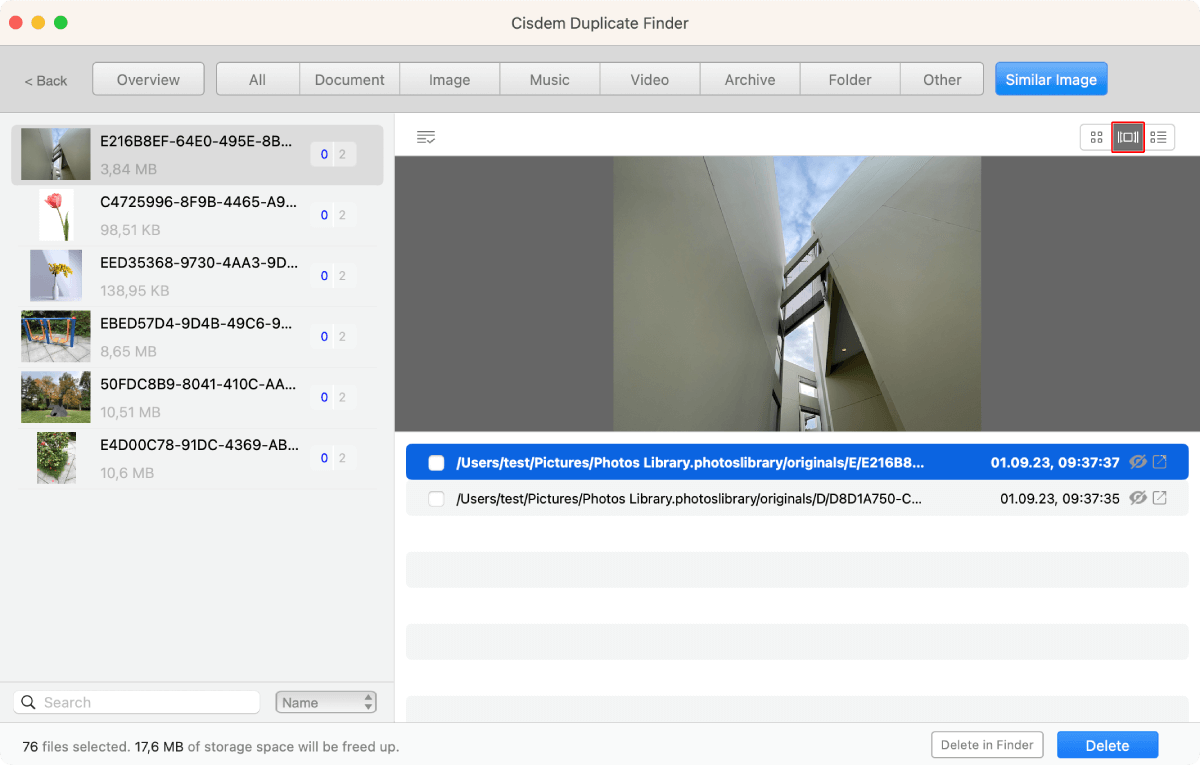
6. On the left, select all the sets under the Similar Image tab with Command-A.
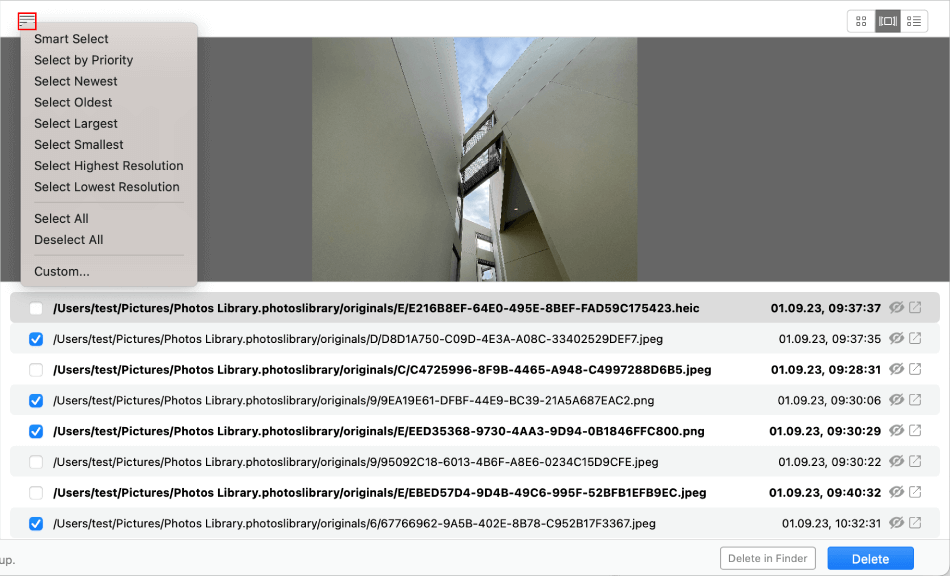
7. Click the List button ![]() . To select all the JPG versions of your photos for deletion, choose Select Largest. Or, choose Select Smallest to select all the HEIC versions.
. To select all the JPG versions of your photos for deletion, choose Select Largest. Or, choose Select Smallest to select all the HEIC versions.
Suggestion
If your Mac doesn’t have that much storage space, it’s recommended to keep the HEIC versions of photos and delete the JPG versions. If there is enough space on your Mac, it’s okay to keep either version.
8. This step is optional. In addition to the duplicates in HEIC and JPG formats, the Similar Image tab may list sets of similar-looking photos. If you want, you can manually select the unwanted photo versions for removal.
9. Click Delete and then confirm to delete the selected HEIC duplicates or JPG duplicates.
If you use macOS 10.15 or later, the deleted duplicates will directly go to the Recently Deleted album in Photos app. (If you use macOS 10.14 or earlier, there is an extra step.)
Steps to manually remove Photos duplicate HEIC on Mac
1. Launch the Photos app on your Mac.
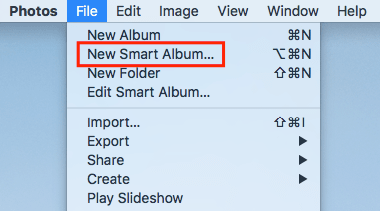
2. Head over to File at the top of the screen and select New Smart Album.
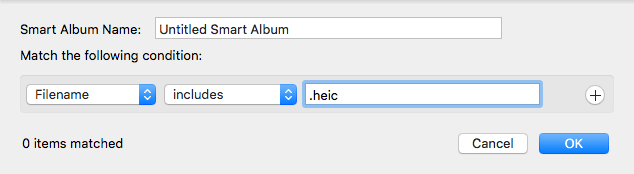
3. From the pop-up menu, set the condition to be “Filename includes .heic”.
4. Select all photos to duplicate HEICs in the smart album and delete them with the key combination Ctrl + Delete or Backspace.
Bear in mind that the manual method can only filter pictures by format. There is no guarantee that it will work correctly. HEIC photos are mainly duplicated with JPEG on Mac. So we’d better use HEIC duplicate finder software, rather than being limited to the identical format.
Why does Mac Photos duplicate HEIC files?
iOS 11 and later support shooting in HEIF (with the extension .heic) and JPEG (with the extension .jpg). HEIC is used by default. macOS High Sierra and later also support HEIC to help compress image size and save space. However, it’s prone to duplicate HEIC and JPG files if you transfer HEIC from iPhone to Mac using two mixed methods.
For the first time, you sync HEIC photos via My Photo Stream. They will be converted to JPG format automatically as My Photo Stream doesn’t support HEIC.
The second time, you import HEIC files to Mac by connecting the device to USB or through iCloud Photos. This way, the images will remain in HEIC format. The already existing photos will be imported again because they are considered new photos due to being in different formats: HEIC and JPG.
How to avoid Apple Photos HEIC duplicates on Mac
- Set iPhone to only take pictures as JPEG (.jpg). (Not a good way. For photos of the same quality, the HEIC size is only half that of JPEG.)
- Disable My Photo Stream and merely transfer HEIC photos from iPhone to Mac via iCloud Photos or USB.
- On your iPhone, go to Settings > Photos > Transfer to Mac or PC and choose Keep Originals. (When you import HEIC files to Mac by USB, they might be changed to JPEG or H.264 formats sometimes.)
Get rid of duplicate HEIC photos on Windows
How to open HEIC file in Windows
HEIC is fully supported by iOS 11 and macOS High Sierra 10.13 and higher. However, the format is not supported directly in Windows 10 (except Windows 10 RS4) and Windows 11’s 21H2 version.
To get the support, you can install an extra codec and plugin like:
- HEIF Image Extensions (for Windows 10), which is provided by Microsoft
- CopyTrans HEIC (For Windows 10, Windows 8.1, and Windows 7), which is from a third-party developer
The best HEIC duplicate finder for Windows
Cisdem Duplicate Finder is easy to use and useful. In addition to removing Apple Photos HEIC duplicates, it offers a Windows version to detect duplicate HEIC, JPG, PNG, BMP, WBMP, PPM, PSD, CRW, WEBP, ICO, JP2 and GIF files and more duplicate images on PC.
This HEIC Duplicate Finder for Windows scans images using an optimized and innovative algorithm, offering most accurate results. Moreover, it encompasses other features like similar image search, setting similarity level and other filters, etc.
How to find and delete photos duplicate HEIC on Windows
1. Get Cisdem Duplicate Finder installed on your Windows and run it.
 Free Download Windows 10 or later
2. Add the folders that contain the unneeded duplicate HEIC files you desire to delete. Alternatively, use drag and drop.
3. Click the Scan button.
4. Once the results are displayed, all photo duplicates will be selected for you to remove with a click. Or, you can choose a selection rule.
5. Check the Delete button.
Note that the HEIC and JPG duplicates issue can also happen on Windows PC when you import pictures from iPhone to your PC.
Remove Photos duplicate HEIC on iPhone
The manual solution (iOS 15 or later)
1. Go to the Photos app.
2. Tap Select button in the upper-right corner.
3. Tick all similar captured HEIC photos.
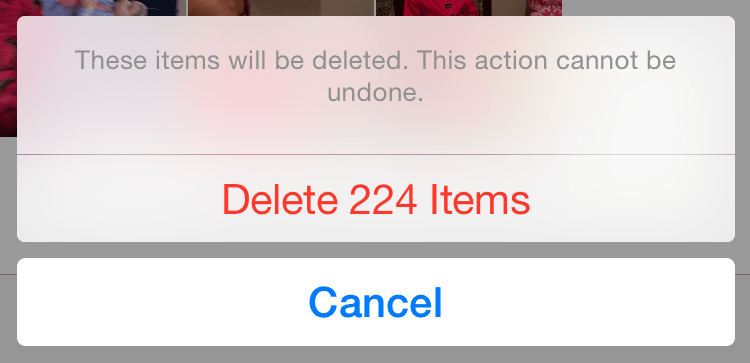
4. Tap the trash icon in the lower right corner.
5. From the pop-up, confirm the Delete.
6. Go to empty your Recently Deleted album.
Remove Photos duplicate HEIC in iOS 16 or later
If your iPhone is running iOS 16 or later and you are looking for an automatic way to get rid of the HEIC duplicates on your phone, you are very lucky. The Photos app in iOS 16 can automatically identify duplicates. It also makes it easy to remove the unwanted dupes.
How to remove Apple Photos HEIC duplicates on iPhone
1. Open the Photos app on your device running iOS 16.
2. At the bottom of the screen, tap Albums.
3. Scroll down to find Utilities > Duplicates. Tap Duplicates.
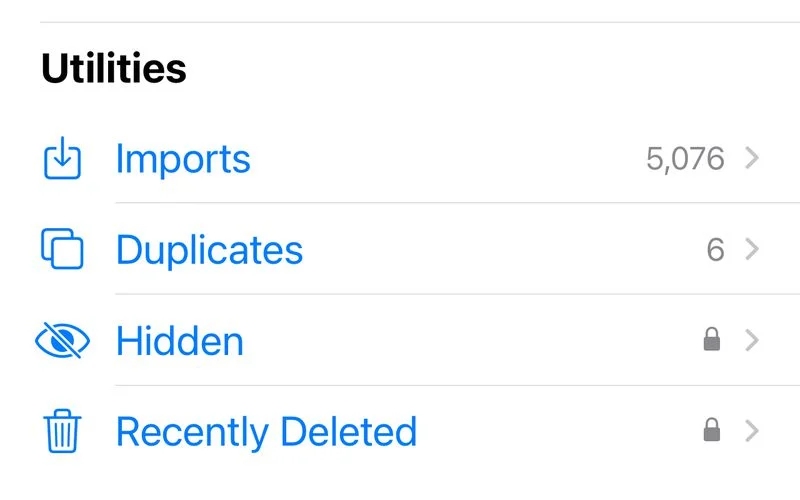
4. You will be presented with the sets of duplicates found in Photos, including HEIC dupes.
5. You can merge each set of duplicates by tapping the Merge button.
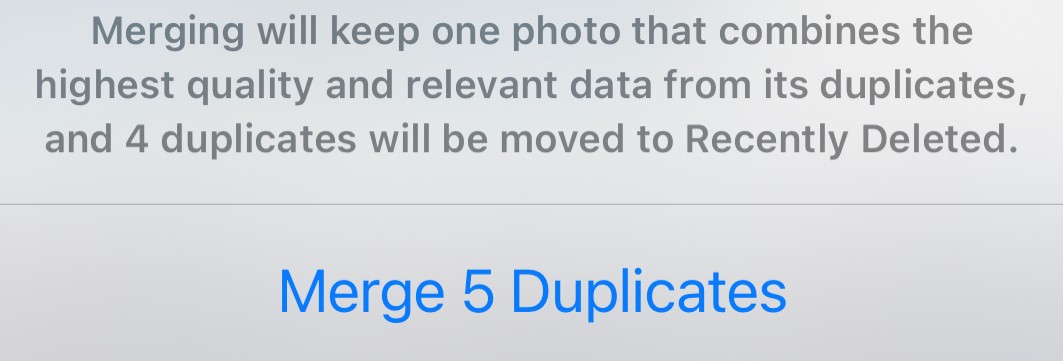
If you want, you can manual browse through each set and manually delete the photo(s) you don’t want.
In addition to exactly identical HEIC photos, it finds the HEIC version and JPG version of the same photo.
Conclusion
Improper import settings can lead to multiple copies in different formats of the same photo. You will want to get rid of the unwanted copies to save space. This article shows you an easy and automatic way to get rid of HEIC and JPG duplicates on Mac. There are also steps on how to weed out duplicate HEIC files on other platforms with HEIC duplicate finder.
In addition to fixing the existing duplicates, don’t forget to avoid the settings or practices that result in this issue. Happy shooting photos!

With a passion for tech and writing, Sarah joined Cisdem, where she focuses on creating articles about using utility tools to enhance file management and simplify contact management.

Adrian Li is Cisdem’s Chief Engineer and serves as the editorial advisor for Duplicate Finder and ContactsMate. His work and insights have been featured in leading tech publications such as Fossbytes, TUAW, Redmond Pie, SafetyDetectives, and BestForAndroid.
peter brown
should write another guide for the reverse. to keep the heic and trash the jpeg. the idea is to keep the best image file with the smaller size, etc. that's why heic is the preferred format for iphone.