

How to Set Up Mac Parental Controls - For All macOS Versions
 3.4K
3.4K
 0
0


How to set up parental controls on Mac to ensure children’s online safety?
In this article, we’ll show you detailed steps on how to set up Mac Parental Controls using the built-in parental controls feature. We’ll also recommend a reliable third-party parental controls software for flexible protection.
 Cisdem AppCrypt
The Best Parental Controls Software for Mac
- Block harmful/inappropriate sites on computer with 1-click, such as porn, gambling
- Block websites and pages on Chrome, Safari and other browsers
- Block specific sites, URLs with certain words, and categories of sites
- Let you block all websites except the ones you allow
- Lock apps with password
- Let you lock all apps except a few on Mac
- Let you block websites/lock apps permanently or at certain times
- Require password to access/quit/uninstall AppCrypt
- Keep child safe online
- Help limit children’s screen time or manage their online activities
- Help with parental controls, productivity, and privacy protection
- Available for Mac, iPhone, iPad, Windows, and Android


How to set up Mac parental controls: step-by-step guide
I'm going to divide this Mac Parental Controls guide into two parts: for macOS Catalina and later, and for macOS Mojave and earlier. On older versions of macOS, the parental controls feature is a separate sector in Apple Menu > System Preferences. Then on macOS 10.15 Catalina and later, Screen Time replaced Parental Controls. Both of them can be used for parents to control their kids' online behavior, but Screen Time has a few upgrades.
To check which version of macOS you’re using, click the Apple icon on the menu at the upper left corner of your screen. Then select “About this Mac”.

First, create a child account
The first step to set up parental controls on mac is creating a separate account for your child. To create a new account:
1. Go to System Preferences > Users & Groups.
2. Click the lock icon in the lower left corner and enter the administrator password to unlock it.

3. In the user list on the left, click the plus (+) button below.
4. In the pop-up new user creation window, select "Managed with Parental Controls" or “Standard” as the account type.
5. Enter your child's age, full name, account name, and password.
6. Choose a hint question and answer that will help you reset their password if forget it.
7. Click on "Create User".
Now your child has his own separate account. Then you can set appropriate restrictions and monitoring options in Parental Controls/Screen Time for this account.
Set up parental controls in macOS Catalina and later
This part is for users who are using: macOS 10.15 Catalina, macOS 11 Big Sur, macOS 12 Monterey, macOS 13 Venture, macOS 14 Sonoma and macOS 15 Sequoia.
How to set Downtime in Screen Time on Mac?
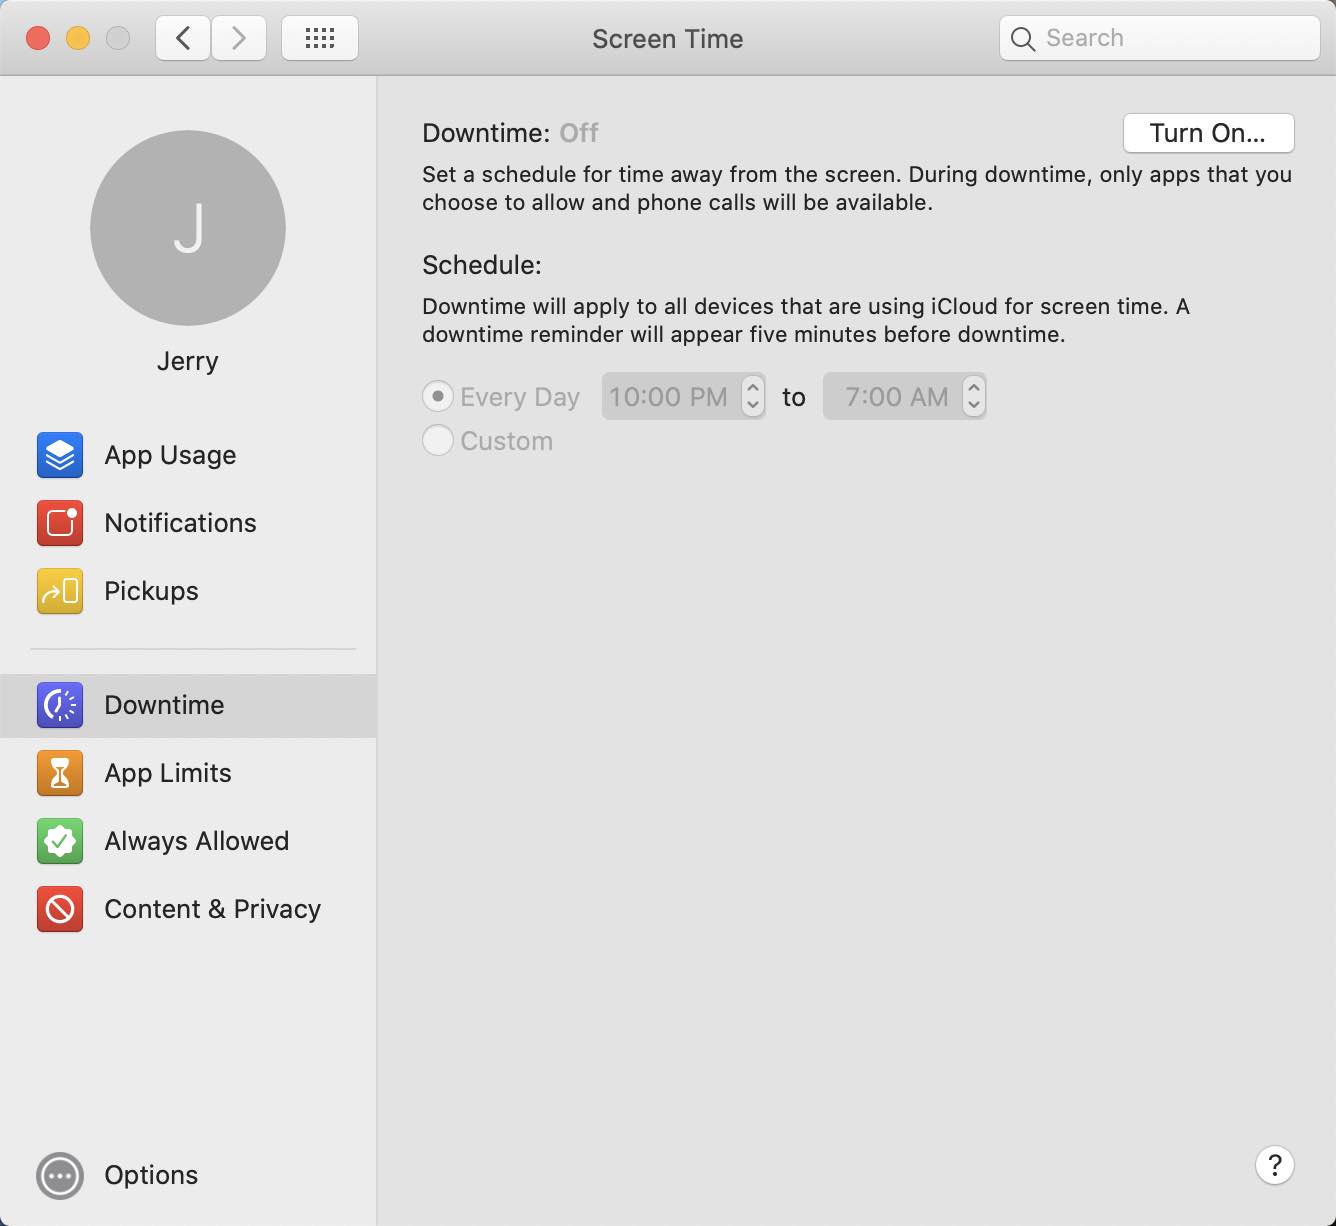
Downtime allows you set limit on how much your kids can use his device. During the downtime you set, he can only use phone calls and a few other apps that you choose to allow. Force him to focus on other activities or take a break. You can set start and end times, and choose which apps are allowed access in the “Always Allowed” section.
1. Click the Apple icon. Log out your administrator account. And switch to your child’s account.
2. Click the Apple menu and select System Preferences.
3. Click Screen Time.
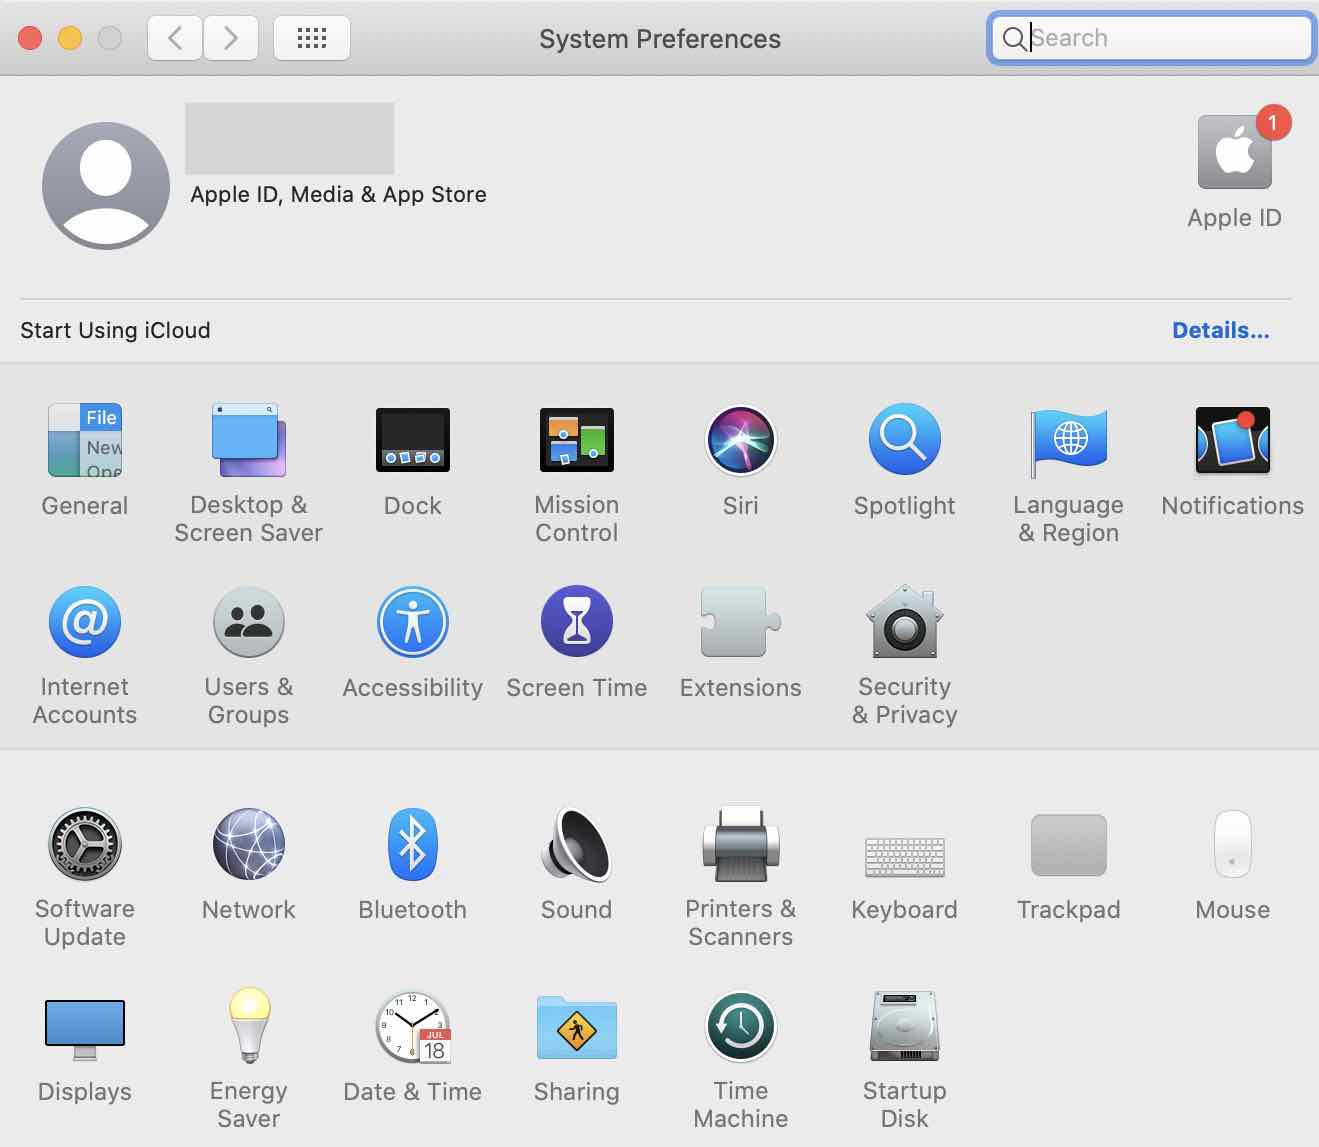
4. Click the Options button on the bottom right. Turn on Screen Time for this Mac.
5. Tap on Downtime on the left menu. Turn on the downtime limit.
6. Set the time period you want to limit your child to use this device.
How to set App Limits in Screen Time on Mac?
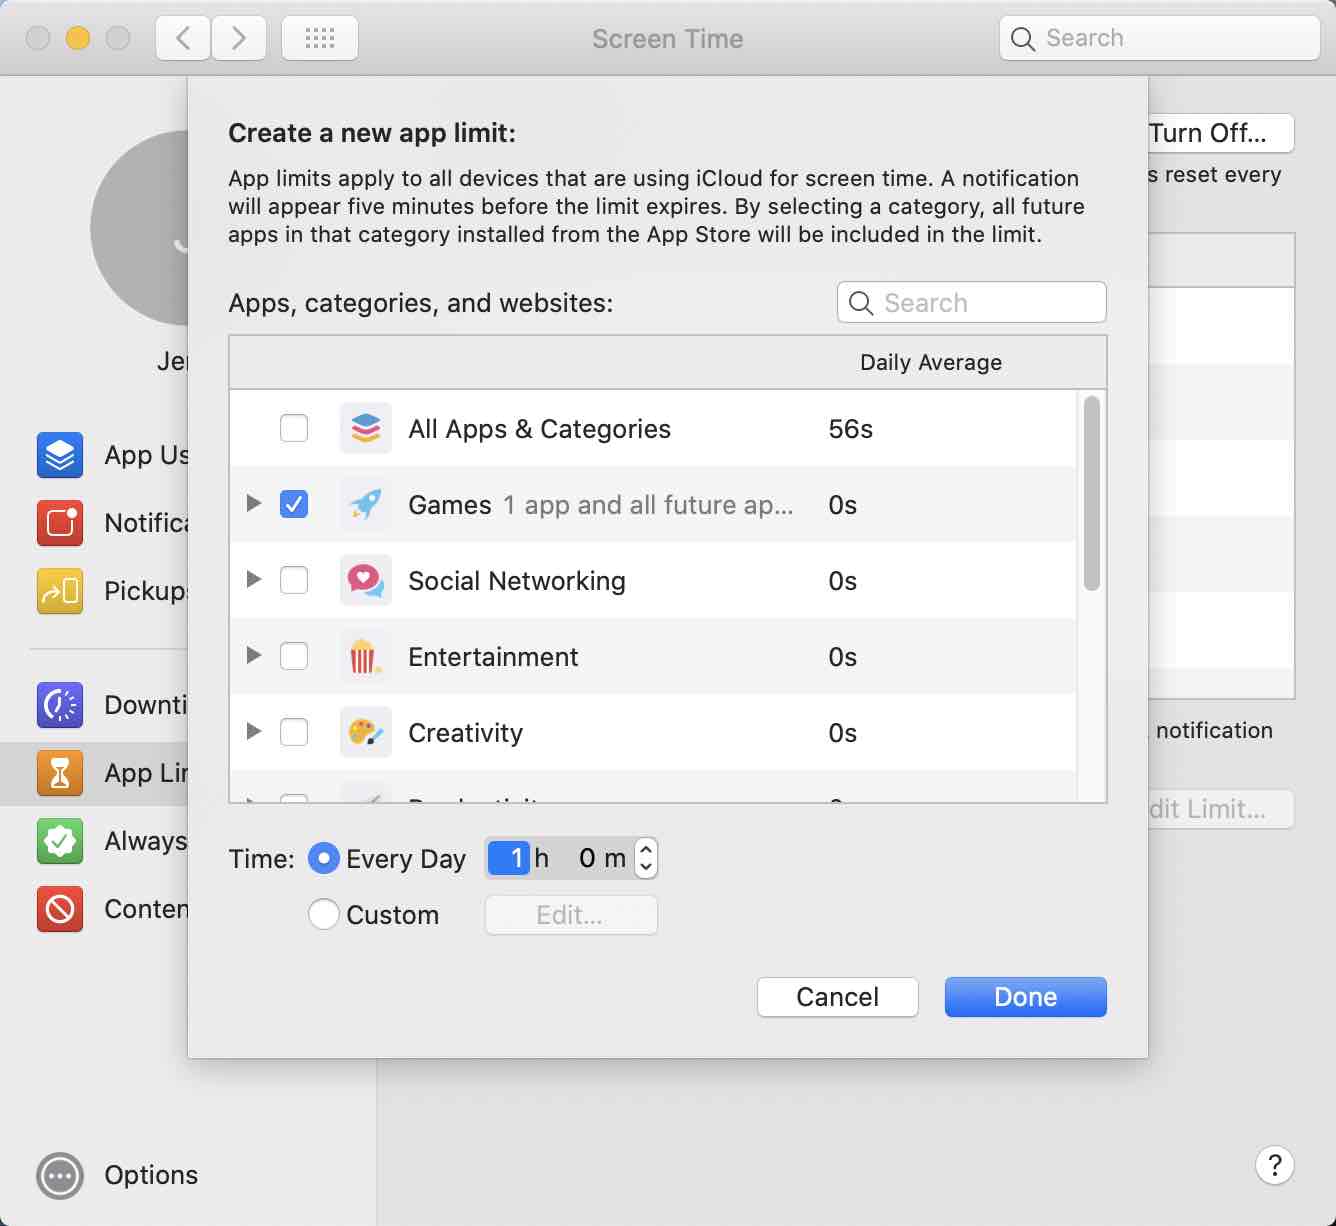
App Limits let you limit the amount of time you child uses applications. You can set the total amount of time that you allow him to use a certain category of apps per day. Or set restrictions on specific apps. Once the limit is reached, Screen Time will automatically block your child from accessing this app.
1. Tap on App Limits on the left menu.
2. Click the "+" button on the bottom right to add restrictions. You can select the application categories to restrict, or manually select specific applications.

3. Set the amount of time that you allow your child to use each day.
How to Always Allowed apps in Screen Time on Mac?
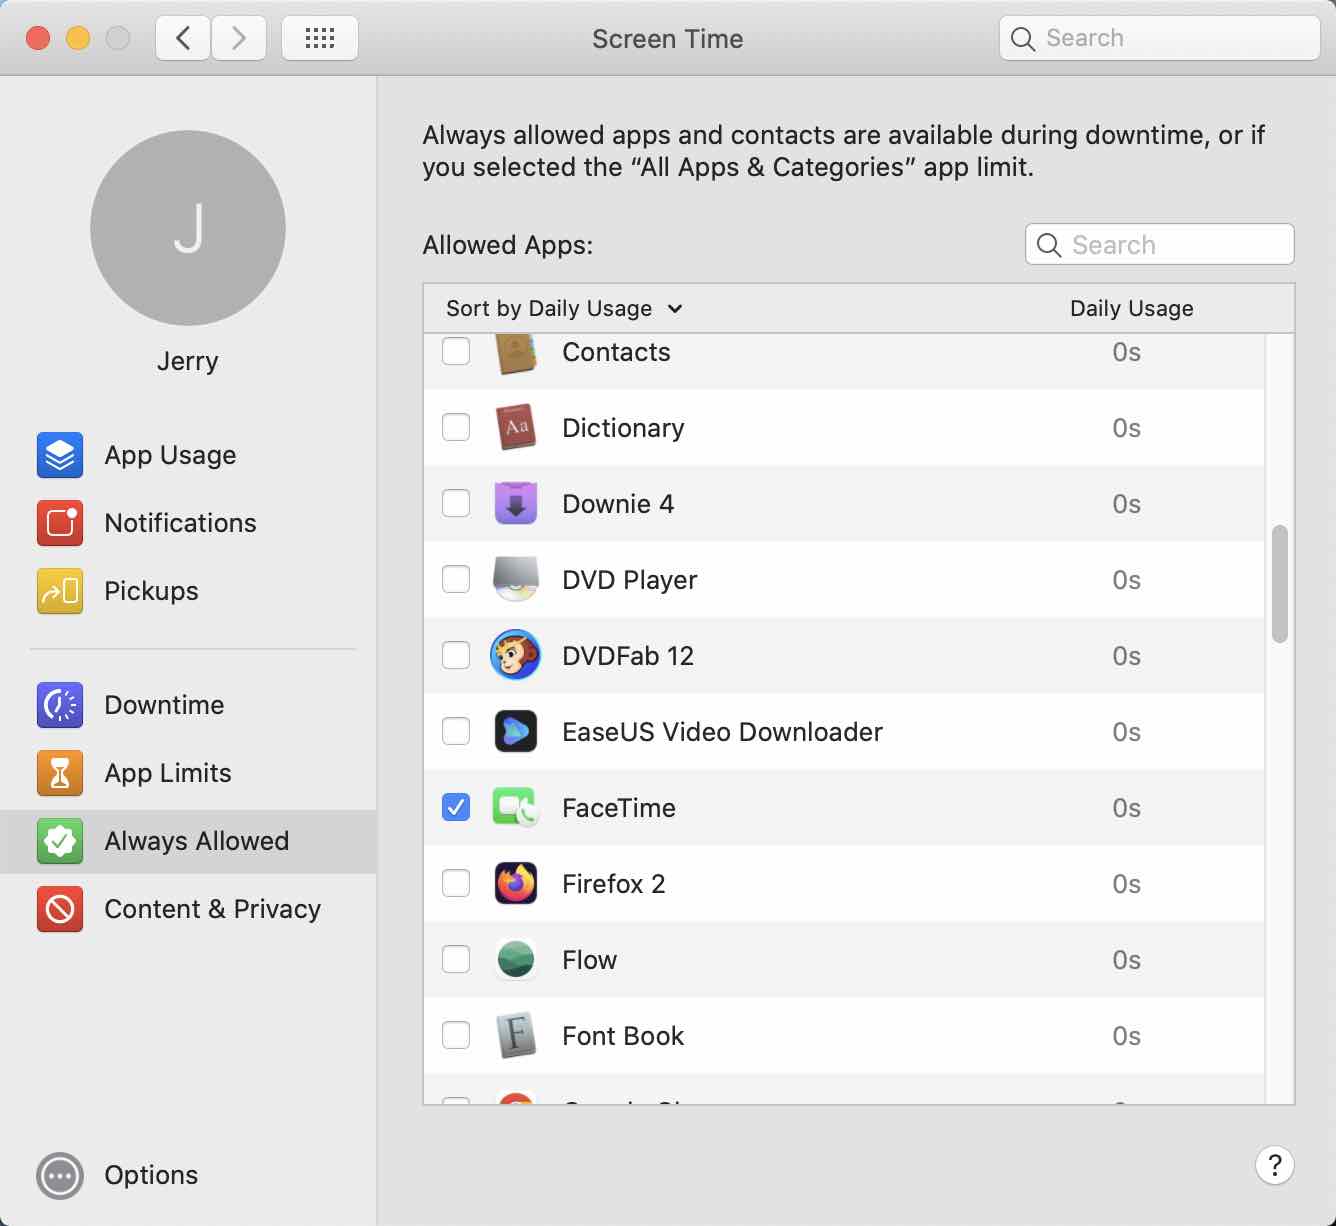
Apps in Always Allow list will not be restricted during downtime or if you selected the “All Apps & Categories” app limit. This is great for making sure you child always have access to important apps.
1. Tap Always Allowed on the left menu.
2. Select the applications that you want to allow from the list.
How to set Content & Privacy Restrictions in Screen Time on Mac?
Content & Privacy Restrictions enables you to filters inappropriate content and on your child’s devices and protect his privacy online.
1. Tap Content & Privacy on the left menu.
2. Turn on Content & Privacy Restrictions on the top.
3. Under Content tab, set restrictions according to your needs. By selecting Limit Adult Websites, it will automatically block many adult websites. Also you can click the Customize button to add specific websites to block on your child’s account.
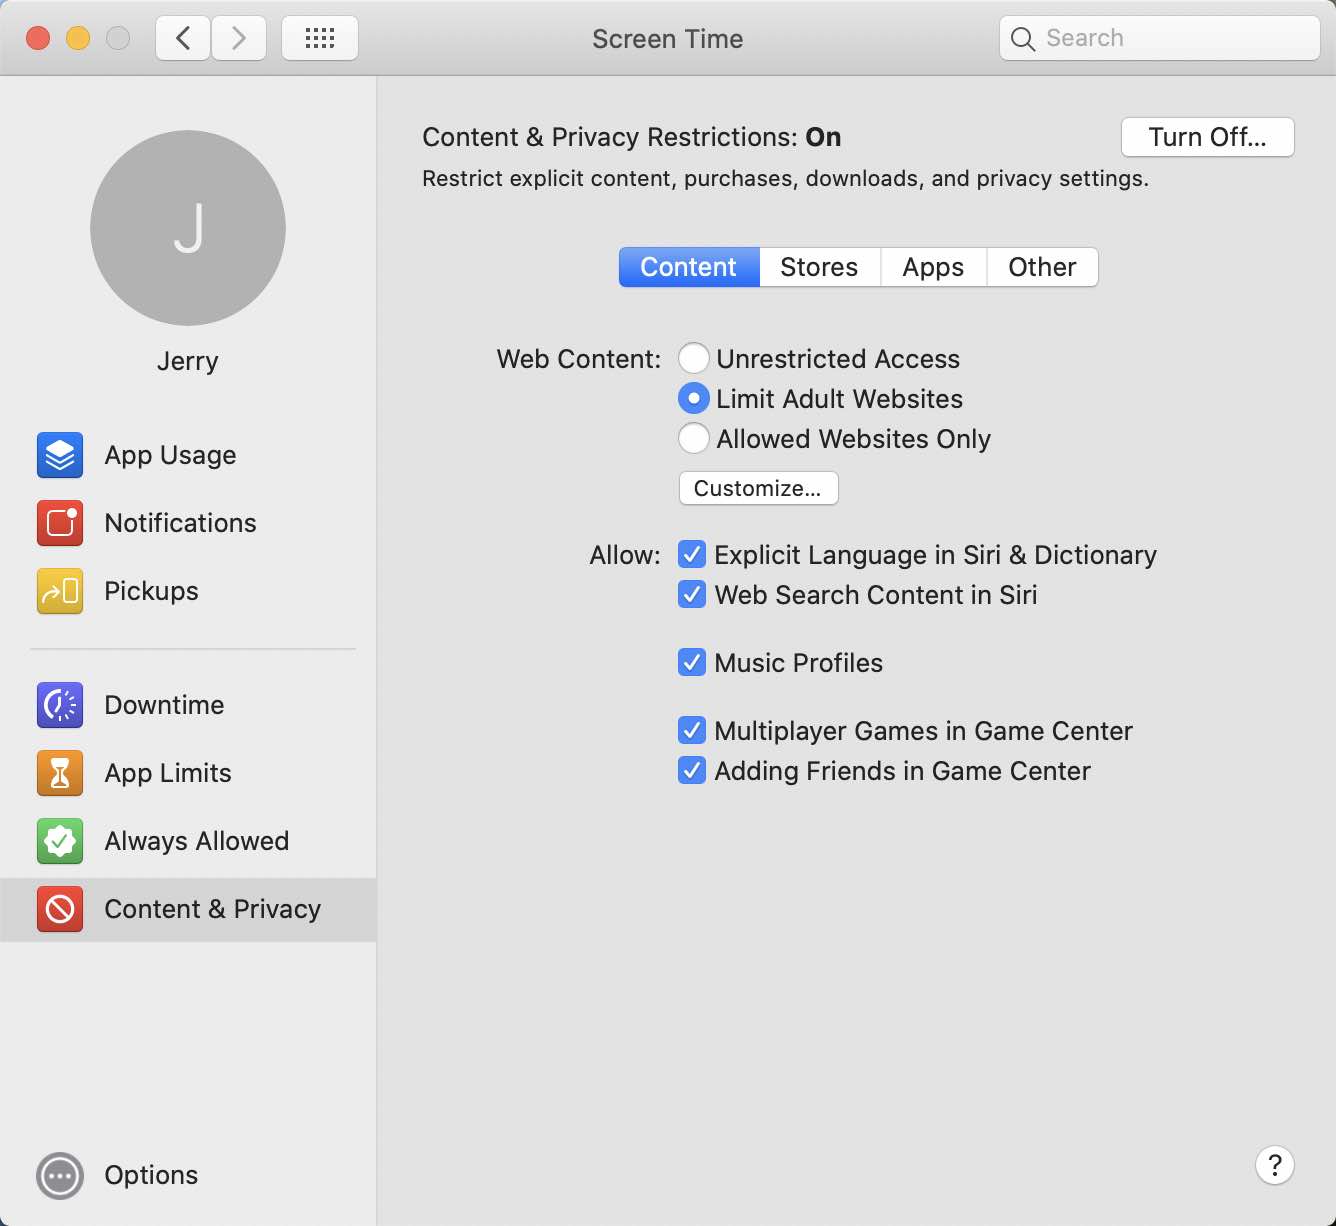
4. You can also limit child’s in-app purchases, set privacy sharing restrictions, and more in other 3 tabs.
Tip: How to set up Family Sharing to better manage child’s online activities?
Family Sharing is a feature on Apple devices that allows users to share subscriptions, purchases, iCloud storage, and more with up to 6 people. It also can be a good Mac Parental Controls tool. Parents can invite your child to join your family Sharing group and better manage their online activities on your own account easily. Such as control their screen time, limit their access to adult content or specific apps, track child’s location, and more. To set up Family Sharing:
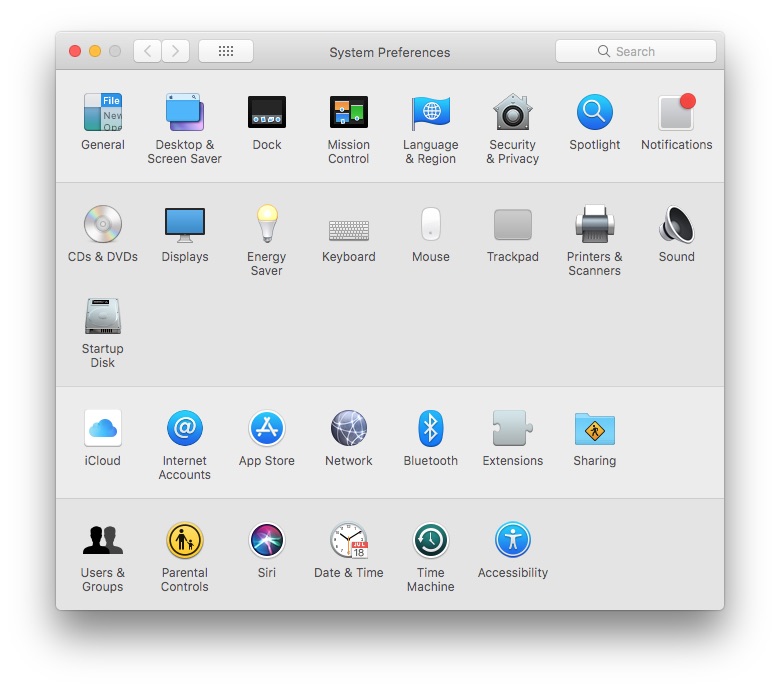
1. Open System Preferences on your Mac.
2. Sign in your Apple ID on the top.
3. Select Family Sharing in the left sidebar.
4. Click the Plus button to add a family member.
5. Enter your child’s Apple ID and password. You can also email him an invitation to join.
6. Once your child accept the invitation and join the Family Sharing group, you can set up different aspects of the Family Sharing feature.
Set up parental controls in macOS Mojave and earlier
This part is for users who are using: macOS X, macOS 10.12 Sierre, macOS 10.13 High Sierre and macOS 10.14 Mojave.
How to limit applications in Parental Controls on Mac?
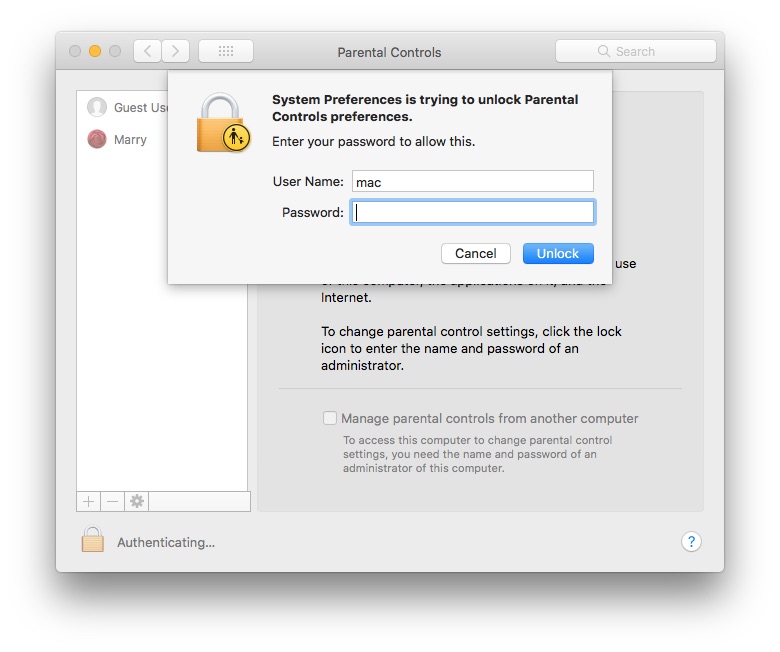
1. Go to System Preferences > Parental Controls.
2. Click the lock icon on the bottom left. Enter your administrator password. Click Unlock.
3. Select your child’s account from the left column.
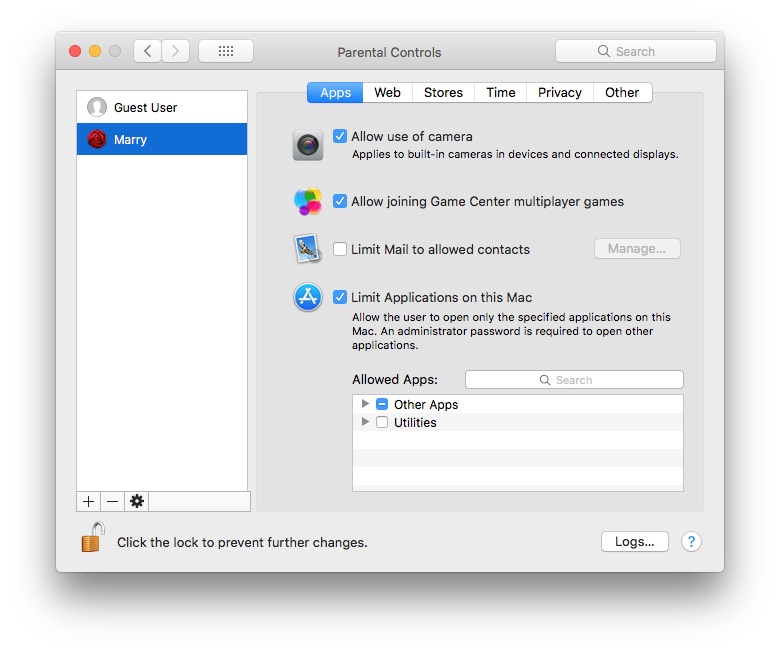
4. Check the box next to Limit Applications on this Mac under the Apps tab.
5. Expand the Other Apps list under Allowed Apps. You will see a list of applications. Tick the boxes next to some necessary apps that you allow your child to use.
How to set Browser Restrictions in Parental Controls on Mac?
1. Go to the Web tab on Parental Controls window.
2. Select the Try to limit access to adult websites option.
3. Click on Customize. Enter the specific URLs you want to restrict to the Never allow these websites box.
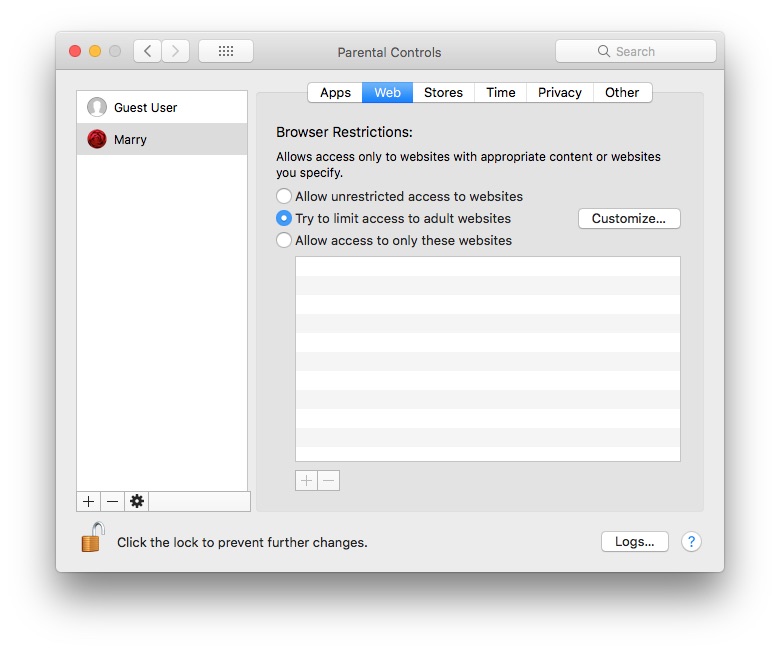
4. In step 2, you can also select Allow access to only these websites. Then add URLs that you allow your child to access to the box below.
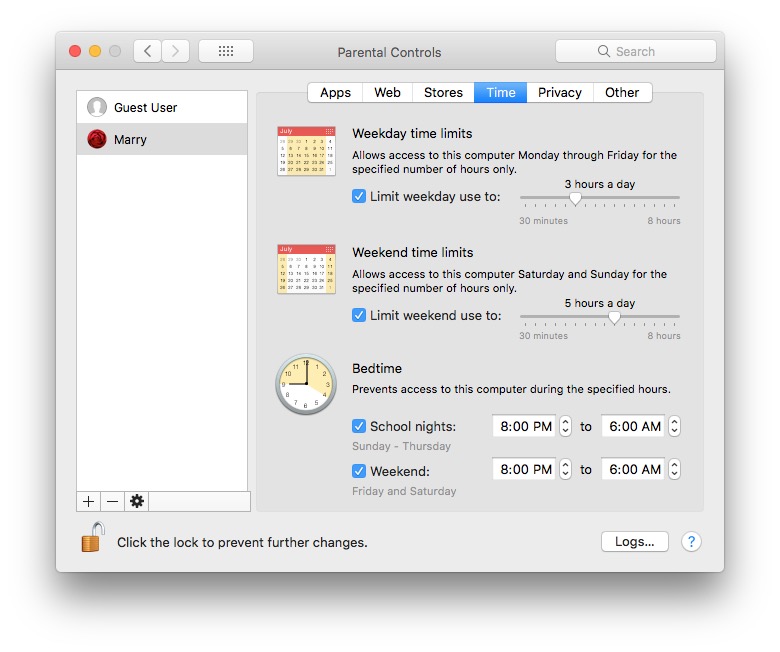
How to set screen time limit in Parental Controls on Mac?
1. Click the Time tab on the top.
2. In the Weekday time limits and Weekend time limits sections, you can set the maximum time your child can use the computer per day, and control the time limit by moving the slider to a suitable position.
3. You can also set the daily time period to determine when your child can use this computer in the Bedtime section.
The best Mac parental controls software in 2026
If you find the built-in parental controls features too basic, you can consider third-party Mac Parental Controls tools, which offer more comprehensive and flexible options for parents.
Cisdem AppCrypt is an easy-to-use parental control software that’s ideal for non-tech-savvy parents. It helps block inappropriate applications, harmful websites, and set screen time limits on children’s devices. Let’s take a look at how to use it to set up parental controls on Mac:
1. Download and install Cisdem AppCrypt on your child’s computer.
 Free Download macOS 10.15 or later
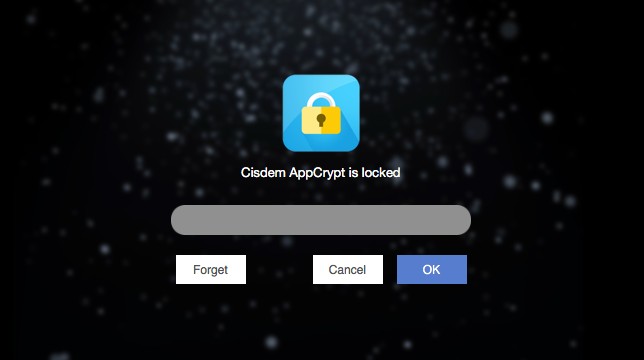
2. Set a password when you first use this tool. Don’t let your child know the password.
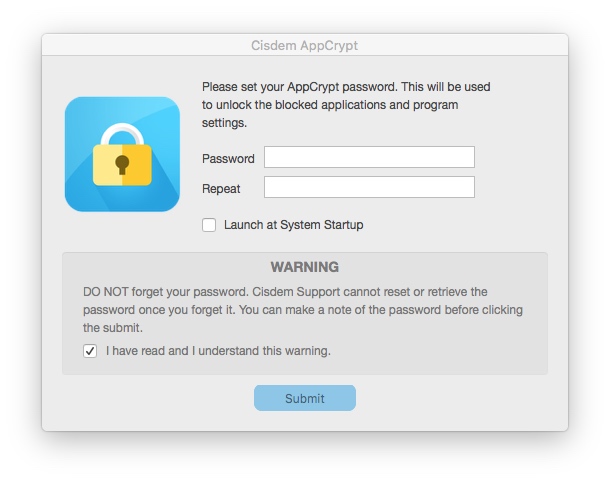
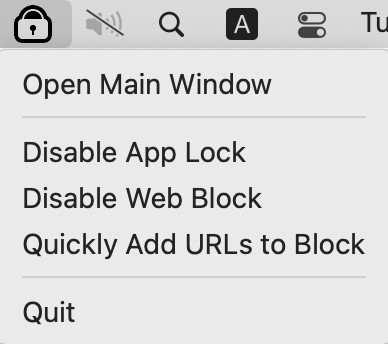
3. Click its icon on the desktop menu bar. Select Open Main Window.
4. Enter the password to access this parental control software.
5. Go to the App Lock tab. Click the plus icon to add unwanted applications to lock.
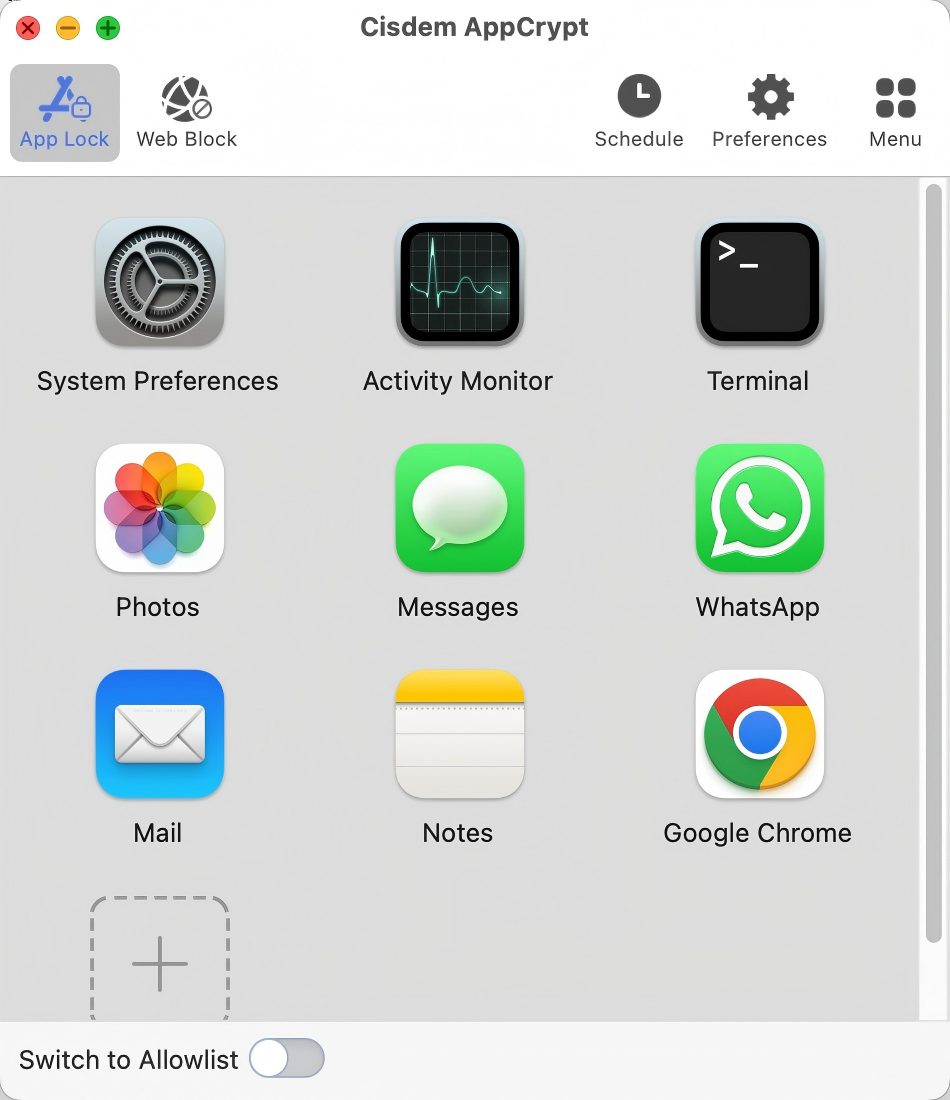
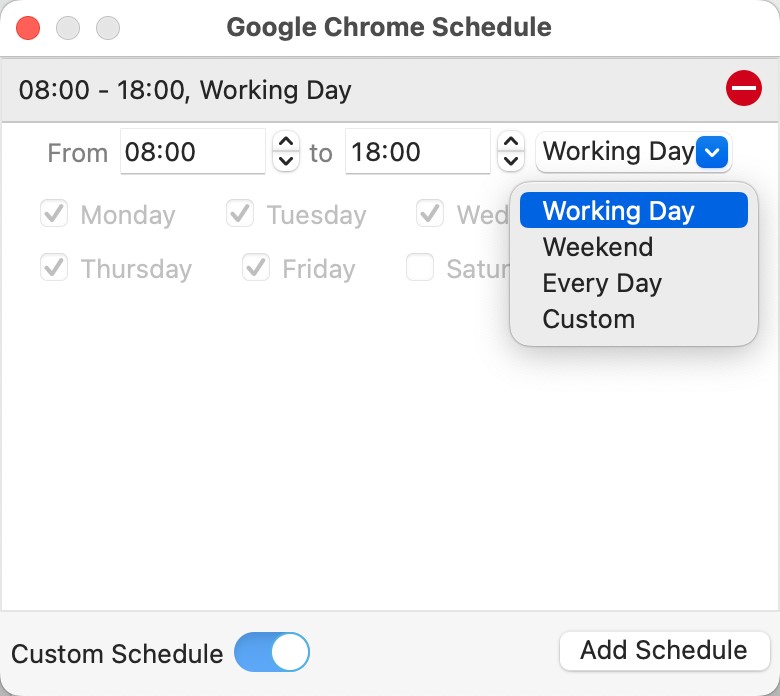
6. If you want to limit the screen time on certain apps (such as some game apps), you can use the Schedule feature.
Click on the app, and then tap the clock icon that appears in the upper left corner. Enable Custom Schedule. And set the time periods that you don’t allow your child to access this app.
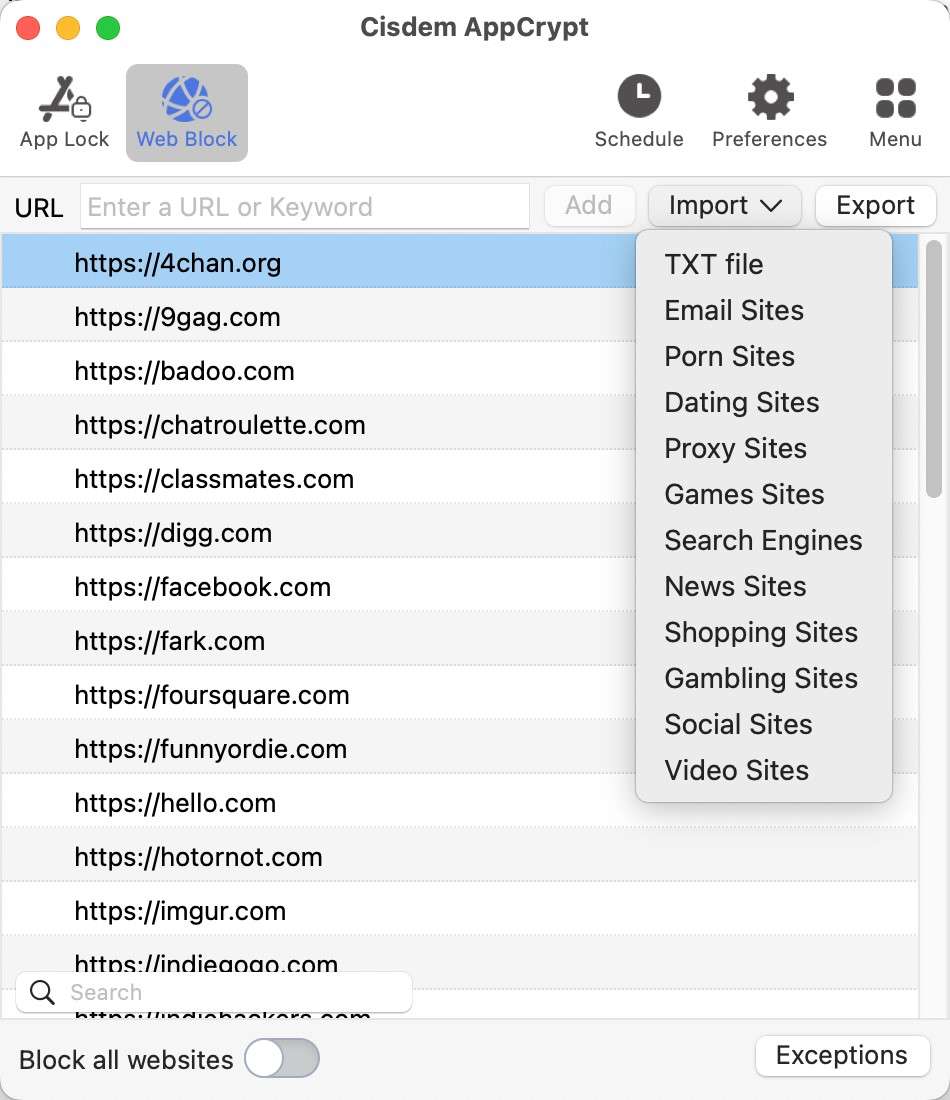
7. To block inappropriate websites, click the Web Block tab on the tool bar. Type the URLs that you want to block to the top box and click Add.
It also supports blocking sites by categories, such as porn sites, social media.
Now the parental controls is set up on your child’s Mac. Your child cannot enter/quit/uninstall this tool without the password.
A comparison of the above 2 Mac parental controls tools
| Mac's Built-in Parental Controls | Cisdem AppCrypt | |
|---|---|---|
| Block applications on Mac | ✔ | ✔ |
| Block all apps with password | ✗ | ✔ |
| Set time limit on certain apps | ✔ | ✔ |
| Limit adult websites | ✔ | ✔ |
| Block specific websites | ✔ | ✔ |
| Block websites by categories | ✗ | ✔ |
| Block URLs containing certain words | ✗ | ✔ |
| Set time limit on certain websites | ✗ | ✔ |
| Allow access to only a few websites | ✔ | ✔ |
| Ease of use | Fair | Good |
Conclusion
The first part of this article is about Mac’s built-in parental controls feature. Whether you are using macOS old versions, or the latest, you can find the detailed setup guide. What’s more, I recommended a third-party Mac parental controls software. For most users, it’s more useful and easy to use.

Norah Hayes likes to share her tips on how to improve focus and stay motivated at work. She believes it is essential to eliminate all online distractions during work hours.

Ethan Long joined Cisdem in 2015 as a developer and now serves as the editorial advisor for Cisdem AppCrypt. He actively tests and uses Cisdem AppCrypt and other screen-time management tools to ensure AppCrypt meets its promises in real-world scenarios.