


Duplicate Finder
Best Dropbox Duplicate Finder


I frequently record videos of lectures, labs, and group discussions at school. I stored all of these videos in Dropbox, and now my Dropbox is full. Many of them are duplicates. Cisdem Duplicate Finder helps me quickly find all duplicate videos and free up space. - Jason | College student
Jason, an engineering student, records and manages a lot of videos of lectures, labs, and group discussions.
Challenge of having duplicate videos
Jason's Dropbox was overflowing with video files - some recorded by himself, others copied from classmates. This often resulted in multiple identical videos with different names. Over time, managing these files became increasingly difficult.
Were those two lab videos with the same file size actually identical? Did he really need to keep all the similar-looking lecture recordings? Jason had tried manually comparing the videos to identify duplicates, but with so many long files, the process was slow and error-prone. He soon realized he needed a faster, more accurate way to clean up duplicate videos.
Solution: Using Cisdem Duplicate Finder
Jason discovered Cisdem Duplicate Finder, which helped him identify duplicate videos in his Dropbox account that had identical content but different filenames.
Jason shared his experience to help other Dropbox users struggling with duplicate files. Below are the steps that he followed, organized by Cisdem. The steps can help users find duplicate videos, as well as other types of duplicate files.
Steps to find and remove duplicate files in Dropbox
Step 1. Download and install Cisdem Duplicate Finder
I downloaded and installed Cisdem Duplicate Finder from its official site.
Step 2. Scan for duplicate files
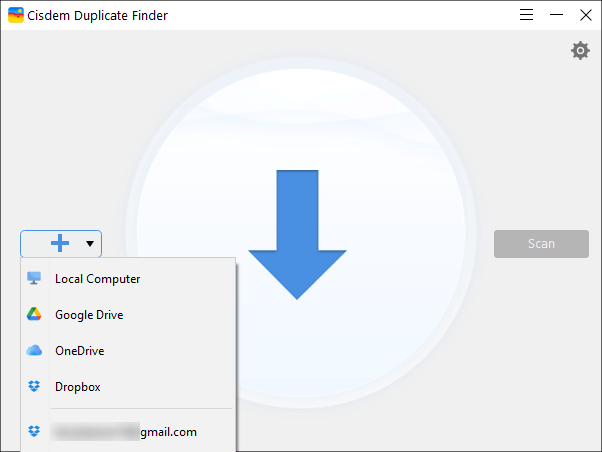
I clicked the blue Add icon and chose Dropbox, signed in to Dropbox, and allowed this Cisdem app to access my files.
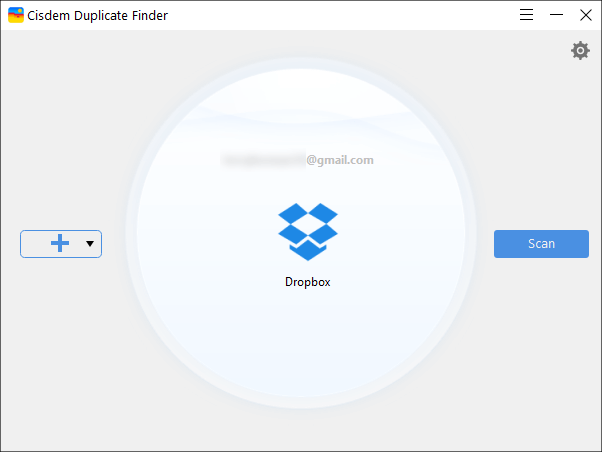
In the dialog that appears, I selected my entire Dropbox folder and clicked OK.
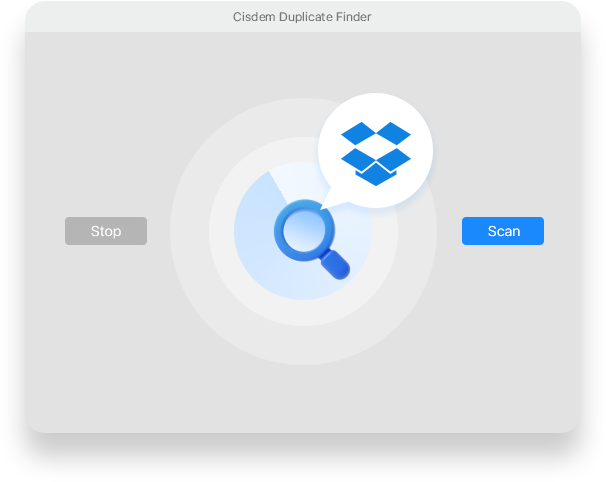
Once the folder was added, I clicked Scan.
Tip:
Before scanning, I went to Settings and found a couple of features.
Ignore list:
I had a few small videos in my Dropbox. Most of them were under 10MB, and I didn’t want to scan. To save time and focus on the video files that actually consumed space, I used the ignore list to exclude files smaller than 10MB.
Scan method:
Cisdem Duplicate Finder provides 3 scan methods. I went with the default option: Randomly read parts of the file for comparison, which balances speed and accuracy.
Step 3. Preview duplicate files
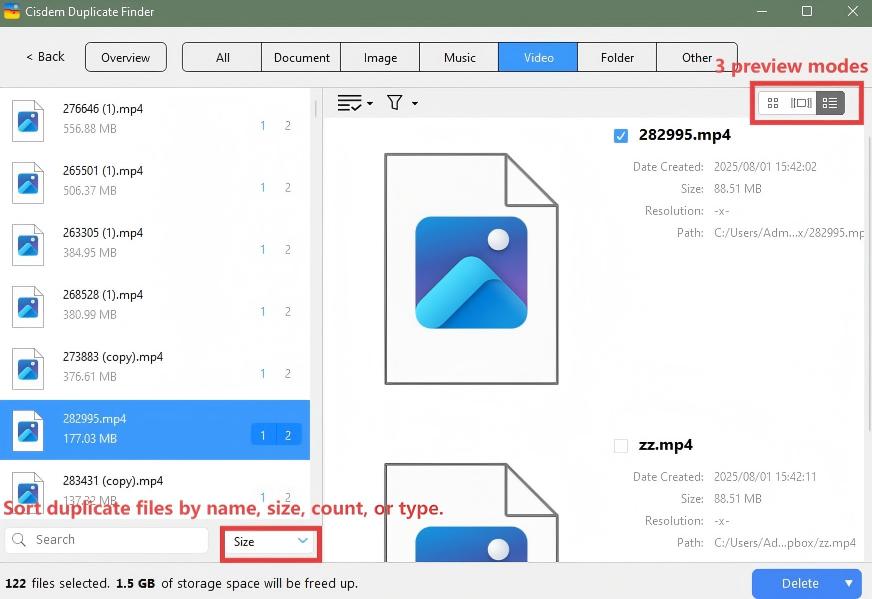
It quickly detected 1.5GB of duplicate videos in my Dropbox account and displayed the results in a well-organized interface. It allowed me to:
- Filter by file type. Duplicate files were grouped under corresponding tabs, including Video, Music, Image, Document, Folder, and Other. Since most of my duplicates were videos, I went straight to the Video tab.
- Sort the results. I sorted the duplicates by Size using the drop-down menu in the bottom-left corner, so I could deal with the largest files first.
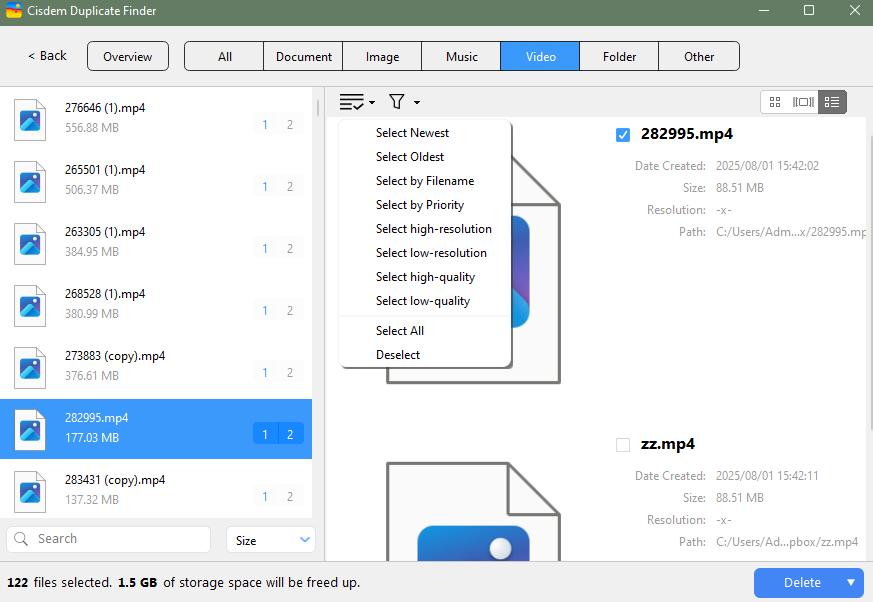
- Preview in 3 modes. It offered 3 preview modes - Thumbnail, Details, and Info. I preferred the Info mode because it showed helpful metadata like creation date, file size, and file location.
Step 4. Select duplicates for removal
Cisdem Duplicate Finder automatically selected all but one video file in each group of duplicates for removal. I really appreciate this feature. It saved me a lot of time from manually selecting videos to delete. Since the videos were identical in content and only differed in filenames, I didn’t mind which one was kept. So I simply went with the default selection.
Tip from Cisdem:
Cisdem Duplicate Finder also provides 8 flexible selection rules to help you quickly bulk-select duplicates for removal, depending on your needs:
- Select Newest or Oldest: Keep duplicates based on creation date.
- Select by Filename: Keep files based on filename initials.
- Select by Priority: It allows you to select duplicates for removal from a prioritized location. It is especially useful for users who want to compare two folders or drives and keep files from a preferred location.
- Select high-resolution or low resolution: It is useful for managing duplicate images.
- Select high-quality or low-quality: Select duplicates to delete according to the image quality.
Step 5. Delete duplicate files
I clicked Delete and then Yes to remove all duplicate videos from my Dropbox account.
Cisdem Duplicate Finder saved me from manually comparing video files and selecting duplicates one by one to remove. I hope my experiences can help other Dropbox users!
FAQ
Yes. Go to dropbox.com. You can find your deleted files in Home > Deleted files. You can restore any file deleted within the last 30 days.
Yes. Just insert your SD card into a card reader, connect it to your computer, and add the SD card for scanning.
Loved the article, share!

