


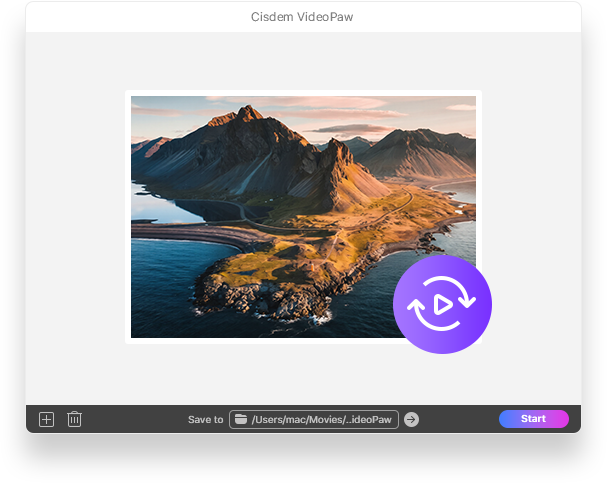

 VideoPaw
Best HEVC to H264 Converter


Before the discovery of Cisdem VideoPaw, some clients were unable to open HEVC files, which often led to repeated communication and re-rendering after delivery. Now, I can convert them to H.264 in no time. - Eloise | Freelance Video Editor
As a newer editor, Eloise builds her reel through passion projects and referrals. Her work ranges from small businesses to local wedding video editing - basically take on anything.
The challenge
Eloise delivers HEVC videos to clients, which are about 50% smaller than H.264 videos, and also forces YouTube to use the more advanced encoding when uploading to it.
But a few times, the initial project delivery failed because clients couldn’t play HEVC videos. Windows lacks native support for HEVC playback, requiring a paid plugin from the Microsoft Store. In most cases, clients were unwilling to pay for additional codecs and distrusted unfamiliar media players like VLC.
Re-rendering multiple videos was really time-consuming, and Eloise often regretted not having communicated better upfront.
The solution
Since installing Cisdem VideoPaw, Eloise is no longer troubled by video compatibility issues. Whatever format and encoder clients want, it can be delivered.
It’s not just video editors, anyone who works with media files probably runs into issues with file incompatibility. Eloise shared her process of converting videos using Cisdem VideoPaw. Below are the steps she provided, put together by the Cisdem stuff. Hopefully, this will help you batch convert HEVC videos, saving time while maintaining quality.
Steps to re-encode HEVC videos to H264 in bulk
Step 1. Download and install the software
I got Cisdem VideoPaw from its official website. It's safe to use, with no ads or bundled software. Your can install the Mac or Windows version for your computer.
Step 2. Import HEVC files
Upon opening the software, I saw a dashboard containing 10 tools. Click "Add File(s)" in the Video Converter tool, and then add the HEVC videos you want to convert from your local folder.

Also, you can add files by directly opening the Video Converter module and dragging your HEVC files into the interface.

Tip from Cisdem:
- If you add wrong or extra file, right-click it and choose "Delete". To select everything, press Ctrl+A.
- To rename your HEVC file, click the title to edit it.
- Click the thumbnail on the left to play the HEVC video.
- You can also view the input file's format, resolution, duration, and size.
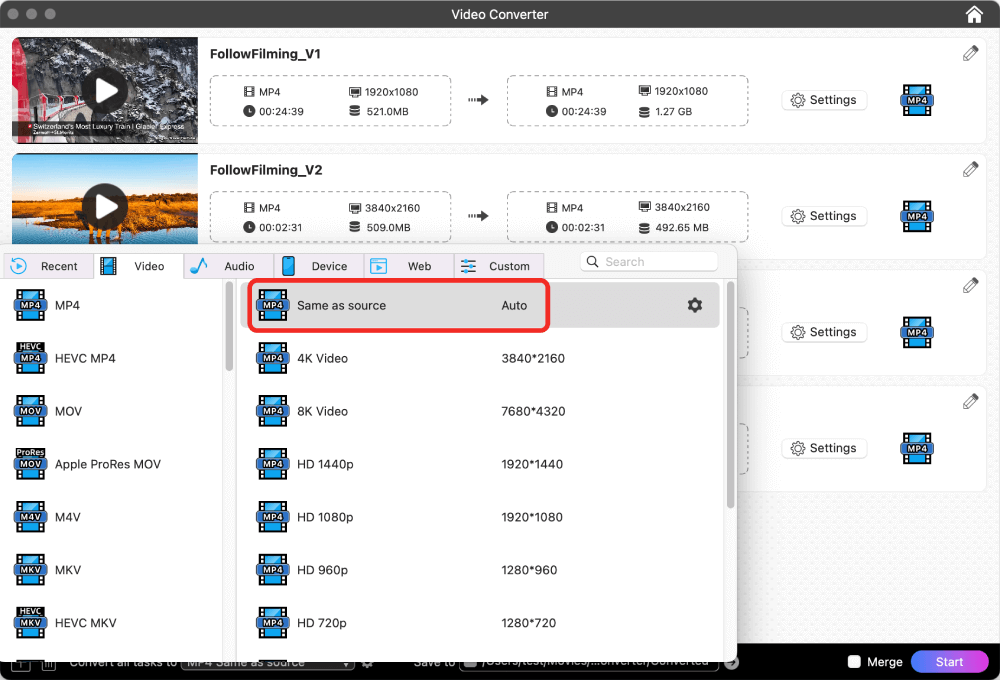
Step 3. Choose your desire format
I clicked the "Convert all tasks to" option in the bottom-left corner. Under the “Video” tab, I selected the “MP4 > Same as source” option.
Tip:
- You can pick different output formats for each video. Since my goal is to convert all the videos from H265 to H264 without changing the container, I just went with a single format for all of them.
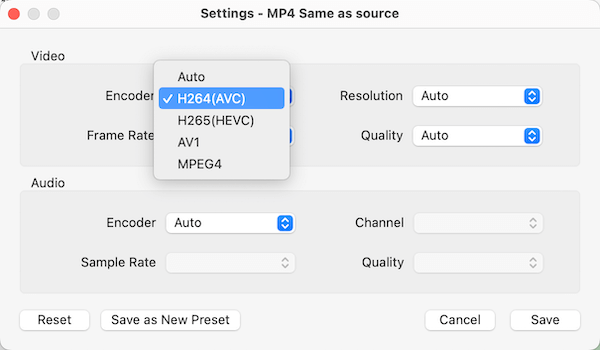
- Clicking the gear icon opens settings for tweaking encoders, resolution, frame rate, etc. I skipped all that. The "MP4" option I selected defaults to H.264 and the "Same as source" option remains original parameters to preserve video quality. Unless a client specifies otherwise, I never touch these settings.
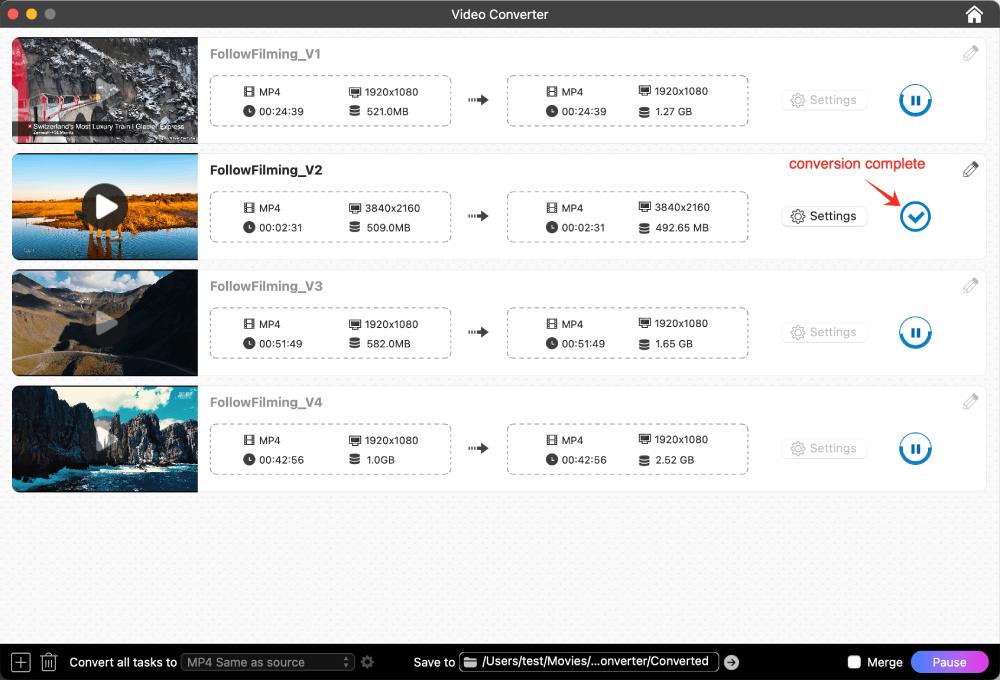
Step 4. Convert videos to H264
Click the folder path after "Save to" and specified a folder to save your outputs. Then, click the “Start” button to convert all H265 videos to H264.
The conversion was completed quickly. The blue checkmark in the progress circle indicates a successful conversion. Clicking it immediately located the converted video file for me. I played the H.264 files and quality looks great, basically identical to the original HEVC.
Tip from Cisdem:
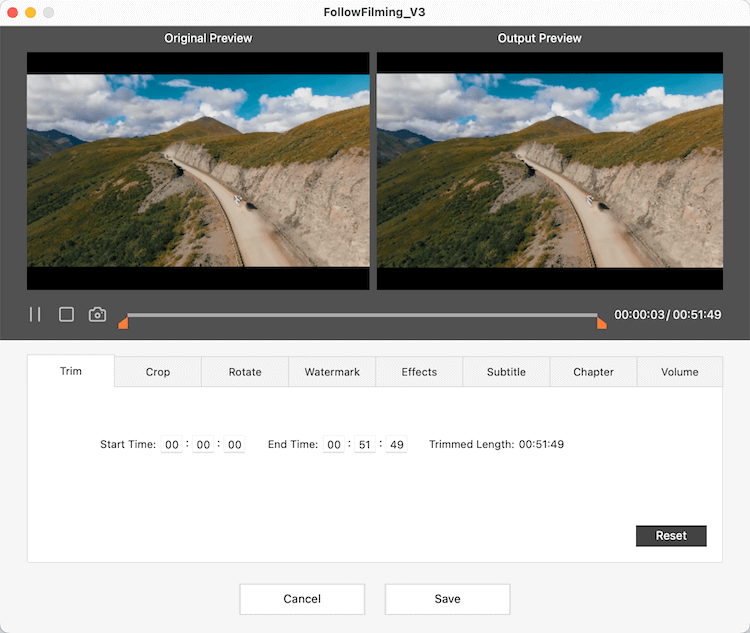
Cisdem VideoPaw provides essential editing tools for quick adjustments. Since Eloise works as a professional video editor, her videos are already done. But for regular users to make immediate improvements, these tools work fine.
- Trim: Remove the intro or outro to reduce video size if you find them unnecessary.
- Crop: Drag the border to select the video area you wish to keep.
- Rotate: Rotate or flip to get your video right-side up.
- Watermark: Insert a custom text watermark or image logo to the video.
- Effects: Tweak video brightness, contrast, saturation, and more until it looks right.
- Subtitle: Sync your SRT/ASS subtitles to the video.
- Chapter: Manually create clickable sections for quick navigation.
- Volume: Adjust the volume up/down and apply fade-in/out.
Plus, you can merge all added videos and convert them into a single, seamlessly playable video.
FAQ
Yes. Simply drag the MKV file into Cisdem VideoPaw, select 'MKV > Same as source' to turn the file into H.264 MKV, and all parameter settings except for the video encoder will be preserved.
Technically yes, but naked eye no. With Cisdem's the 'Same as Source' option, your videos will look identical to the original. The conversion process merely repackages the content to enhance compatibility without noticeable quality loss.
The ultimate solution is to install a free media player like VLC and Cisdem Video Player (absolutely reliable and virus-free) that support HEVC. As we all know, Windows Media Player can't open HEVC, and if your file is 'hev1' instead of 'hvc1', it's dead on arrival in Mac QuickTime too.
Loved the article, share!

