


 DVD Burner
Best Software to Burn Birthday Videos to DVD for Xbox One


I'd never burned a disc before, but I tried it as a birthday surprise for my uncle. Cisdem DVD Burner is incredibly simple to create beautiful DVDs. My uncle now often watches the memorial DVD we gave him on his Xbox One! - Rodney | Nephew
Rodney's uncle was turning 60 next month. They, the younger ones, considered giving uncle something special that he can treasure forever.
Uncle loves to watch classic DVD movies on Xbox One in the living room. Rodney decided to make a DVD of uncle’s 60th birthday so he can enjoy his memories like watching a movie.
The challenge
The younger family members split up the tasks. Sister filmed uncle’s party videos, the cousin filmed birthday greetings from family, and Rodney was supposed to create a professional DVD with all the clips.
It was a good idea, but it wasn't easy. Uncle's Xbox One only works with video DVDs, not data DVDs. Also, Rodney needed to make a menu so uncle can easily pick what he wants to watch. Being new to it, all these tech challenges really overwhelmed Rodney.
The solution
After some research, Rodney found Cisdem DVD Burner, a program specifically designed to make these kinds of tasks much easier. It converts any video to the standard DVD format playable on the Xbox One and creates easy-to-navigate menus. Rodney used it to make a DVD for his uncle's birthday. Delighted with the result, he shared his steps with Cisdem users.
Steps Rodney took to burn birthday videos to DVD for Xbox One
Step 1. Install the software
Go to the Cisdem DVD Burner product page to download and install the software. Note: You can try using the trial version to burn a 5-minute video as a DVD folder or ISO first to see how it looks.
Step 2. Import birthday videos
Open the software, and directly drag and drop videos into it.
I imported two videos - one from uncle’s birthday party and another with family and friends’ wishes. My sister edited them, keeping only the best parts. The total length is about 20 minutes and 5 minutes.

Step 3. Configure DVD parameters
At the bottom of the interface, select the TV standard based on your country. My uncle lives in the United States, so I chose NTSC.
Then, select the quality level and disc type.
The videos were only 25 minutes, much shorter than a standard DVD's 2-hour limit, so there was plenty of space. I could pick the “Fit to Disc” option or the “Best” option.

Note from Cisdem:
- If your video is under 70 minutes (or up to 77 minutes without menus and background music), use "Best" to burn it to a DVD-5 at the highest quality.
- If your video length is between 70 and 240 minutes, the DVD-5 quality burned in “Fit to Disc” is better than “Normal”, but “Normal” is slightly faster.
- If your video is longer than 240 minutes, or even up to 5-6 hours, you can still compress it to a DVD-5 using the "Fit to Disc" option. However, we recommend keeping the compression ratio below 15% to prevent noticeable quality loss.
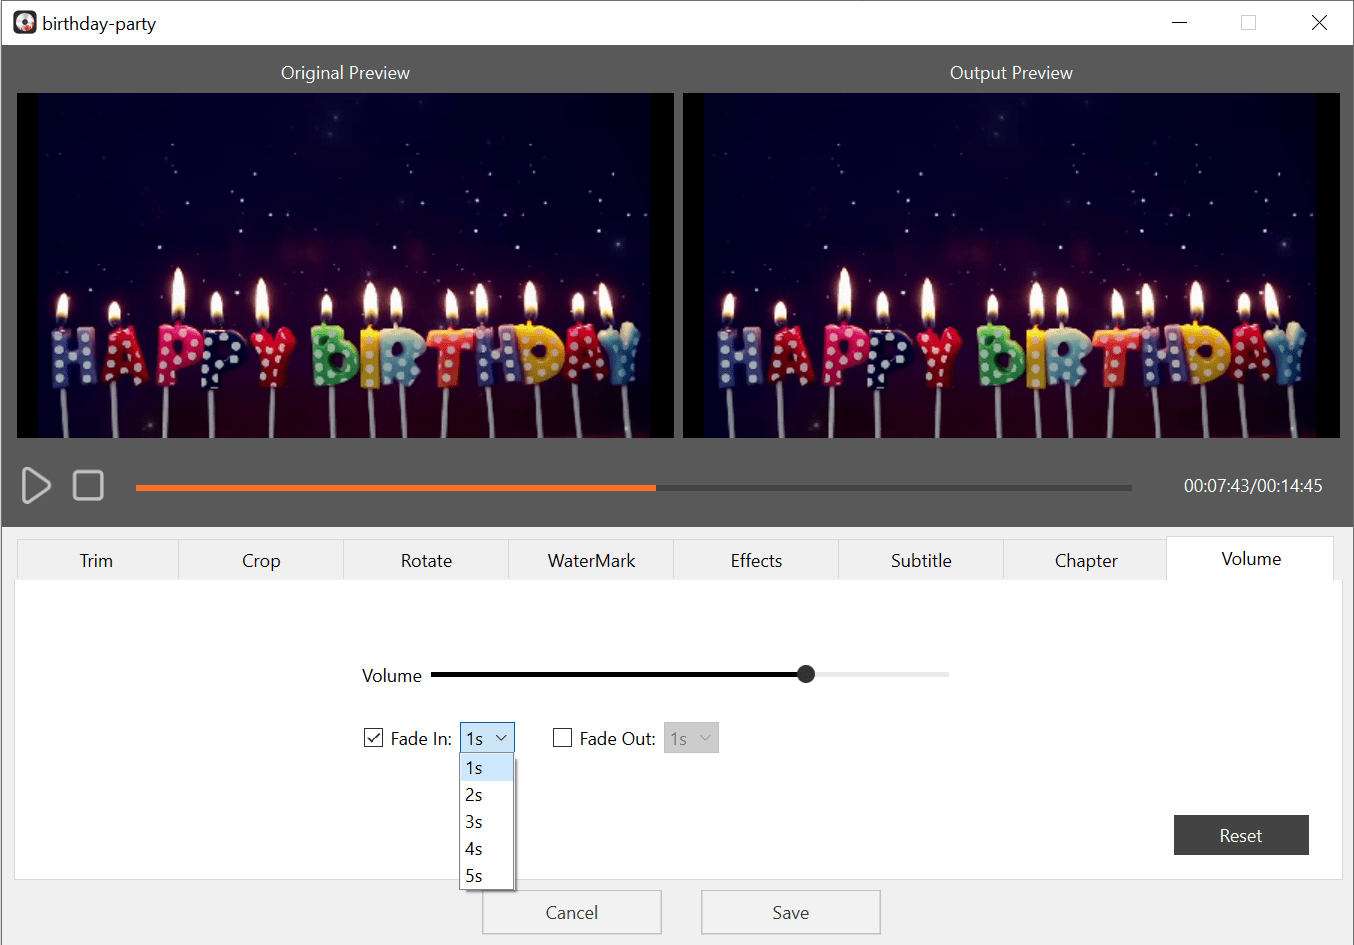
Step 4. Edit videos
Click the edit icon below the video, and a window with 8 editing tools will pop up.
My sister already edited the videos and then gave them to me. I just needed to add chapter markers for key moments - arrivals, dinner, and cake-cutting, etc.
If you haven't edited videos yet, for example, you can:
- Trim: Cut out the beginning and ending, and keep only the highlights in the middle.
- Crop: Adjust the framing and remove any unnecessary background for a better look.
- Effect and Volume: If the video sources differ, you can unify the effects and volume.
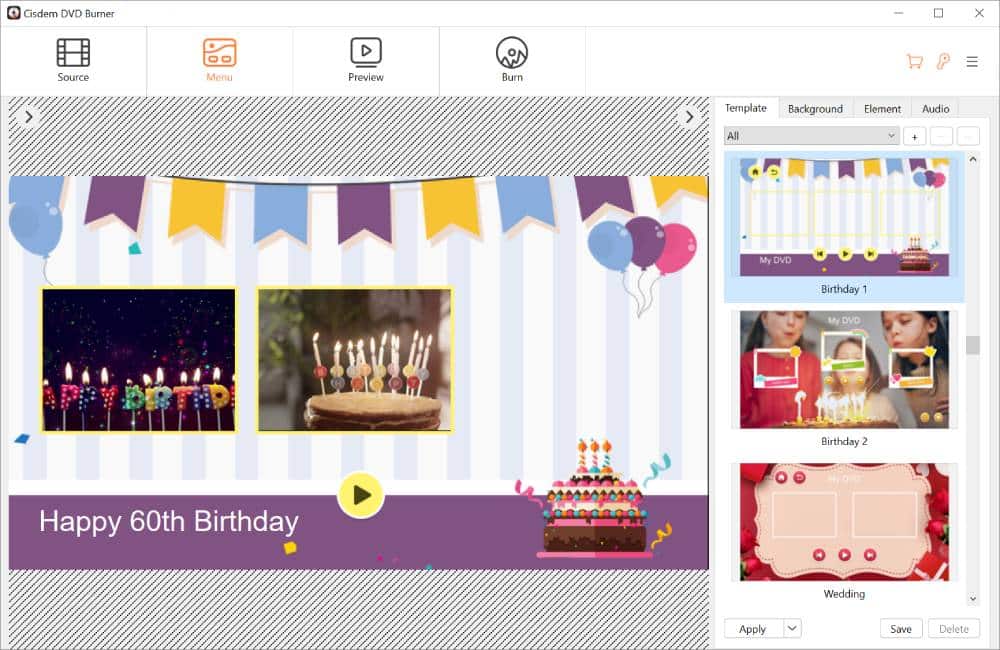
Step 5. Make a DVD menu
Switch to the “Menu” tab, a default template will load.
- In the template library on the right, I selected Birthday 1 from the Occasion category. I didn't modify the background image or other elements. I simply added text labels to the videos and chapters.
- I renamed the title from the default "My DVD" to "Happy 60th Birthday“.
- I uploaded birthday-themed music from my computer and set it as the background for the menu.
Step 6. Burn birthday videos to DVD
Preview if the DVD menu and chapters jump correctly, and make sure the volume sounds good. Once you're done checking, head to the burning interface.
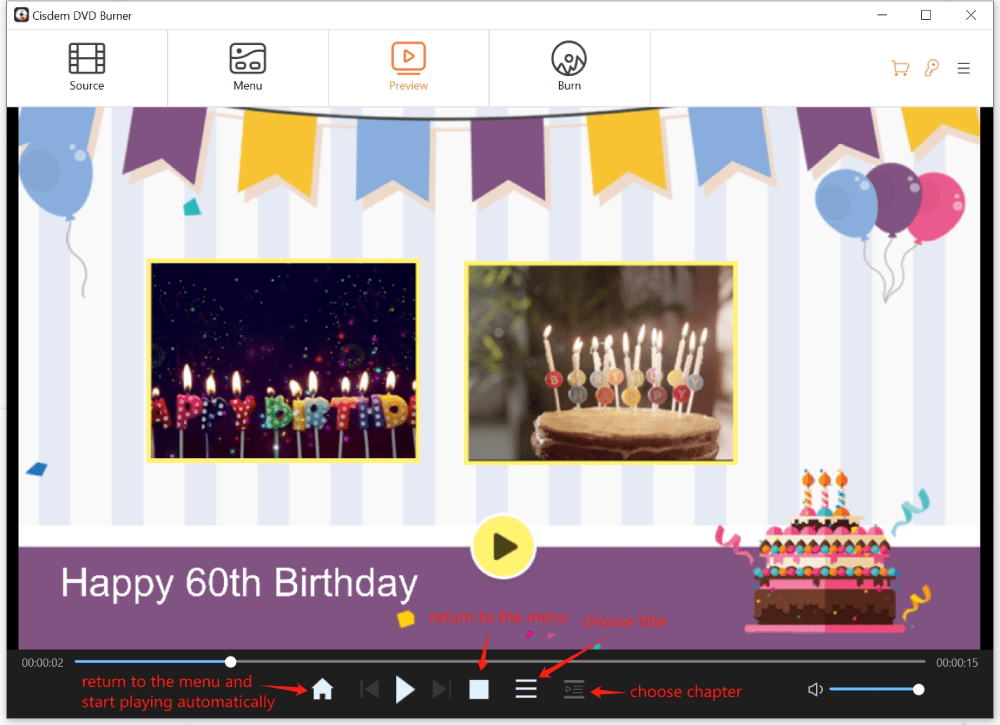
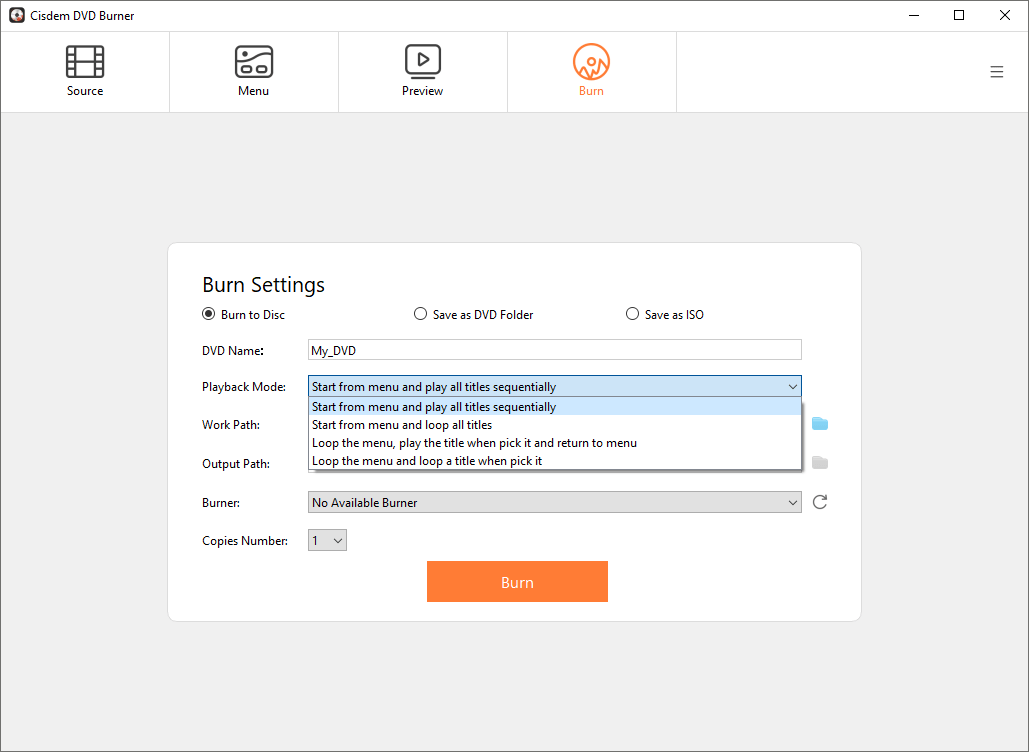
The default settings met my requirements, so I didn't make any changes and started burning right away.
If you want to play DVDs in a loop, there are two loop modes to choose from. You can loop all titles automatically or loop one title upon selection.
Step 7. Play on Xbox One
- Install the free Blu-ray Player app from the Xbox store.
- Insert my burned DVD into the console's optical drive.
- The Blu-ray Player app automatically launched to play the DVD.
The DVD works perfectly on uncle's Xbox One at home, and it’s also compatible with his old DVD player.
FAQ
No matter your video formats - MP4, WMV, MOV, HEVC or others - Cisdem DVD Burner converts everything to DVD format automatically. Just add your videos and it handles the rest.
Yes. Like the Xbox One, the PS5 requires you to burn a standard DVD video disc, not a data disc. Also, you need to install its dedicated Media Player app to play DVD with PS5.
Yes. You can save the birthday video to a USB drive and then play it on your Xbox One with VLC or other media players. However, it can’t be a permanent keepsake gift and also lacks helpful menus & chapters.
Loved the article, share!

