Last year, Apple’s first homegrown chip M1 came out and it surprised our Mac users again with its incredibly amazing performance. More and more users have or are going to switch to a new M1-chip-based Mac.
In most cases, Apple M1 Macs just work as efficiently as we expect. But sometimes, as every time we upgrade to new macOS or Mac, the problem of compatibility or other issues just keep happening, and we will have to boot our M1 Mac in recovery mode. Today, we are going to show you how to boot Mac in recovery mode for your new Apple M1 Macs.
Mac Recovery Mode is very useful, it can be the life savior to restore files or get everything back to normal. On my own part, it helped to get my Mac back to work for several times. But when or why to boot your Apple M1 Mac in the Recovery mode? Here we list all the situations you may need to boot in Recovery Mode:
…
In other words, whenever your Mac behaves abnormal and the problems keep occurring, you can try the recovery mode.
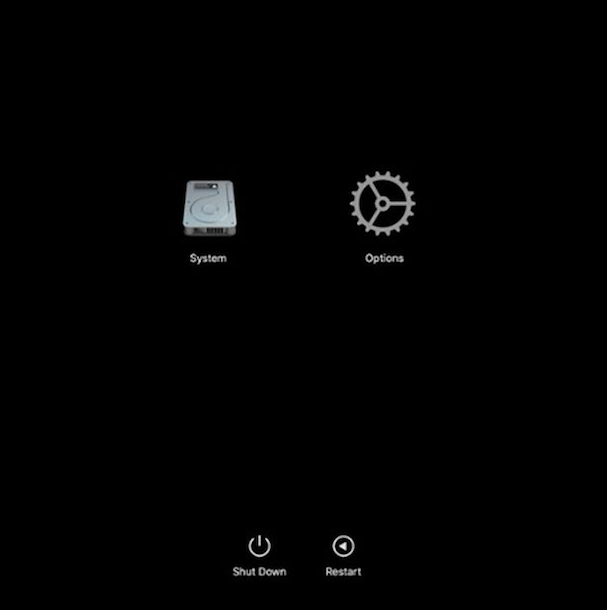
Internet Recovery is now dead on Apple Silicon, so it becomes quite easier to boot into Recovery Mode on an Apple M1 Mac. But there are 4 options under Mac Recovery Mode, do you know which one to choose? Before the tutorial, we will have a basic understanding about these 4 options.
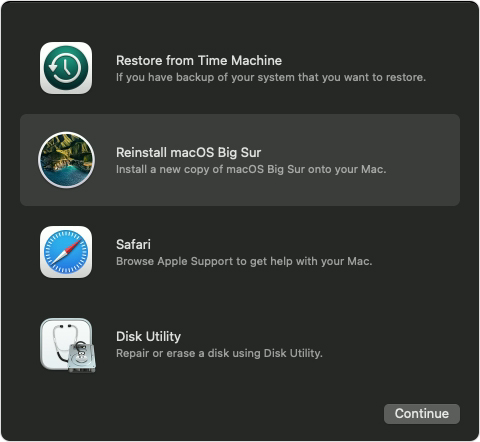
Restore from Time Machine: it helps to recover all of the data from your Time Machine backup, including macOS, apps, individual files, settings and so on. Let’s say, when you Mac or app crashes, you lost the files, you can get them back and continue working on them by restoring from Time Machine.
Reinstall macOS Big Sur: it means reinstall the operating system and retaining all your data. When your Mac runs slow or become unresponsive or have some compatibility issues, you can resintall it.
Safari: you can browser the Apple Support website to find help for your Mac, sometimes, you just don’t know what to do next, then you can ask for help online.
Disk Utility: it helps repair your hard drive when something gets wrong while you reading and writing data to your drive, also it helps to erase the disk and delete everything, so you can have a clean installation or make your Mac brand new for selling.

Booting in Recover Mode is a safe and efficient way to restore data or get your Mac under your control, but if you haven’t prepared the Time Machine backup and lost some files? A third party data recovery tool will be helpful.
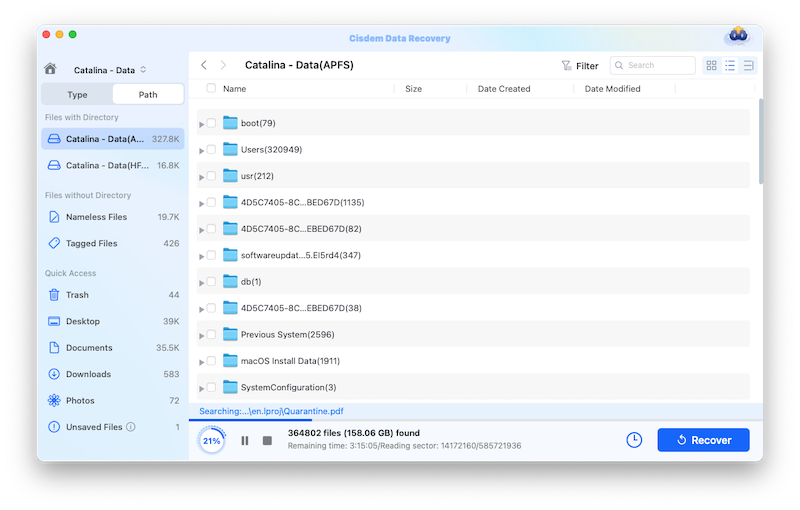
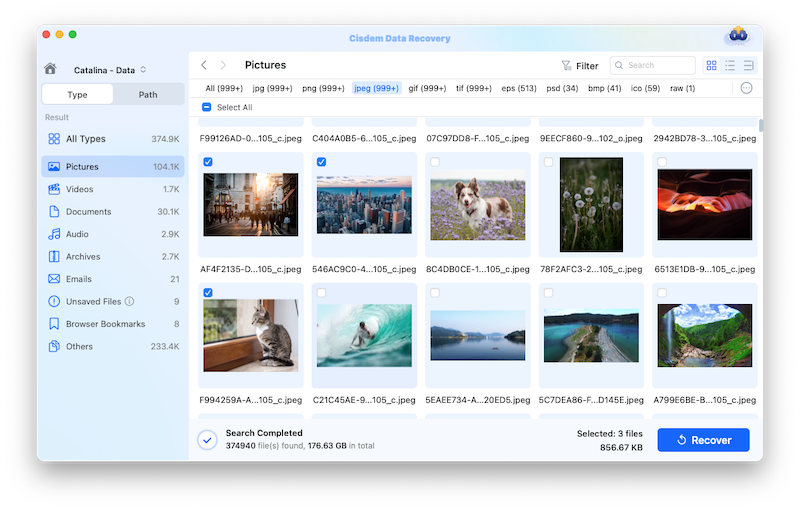
Cisdem Data Recovery is a Mac program to restore lost, deleted and formatted data from Mac internal hard drive, also from external storage devices connecting to the Mac (hard disk, sd, sdhc, media player, flash drive, etc.). It doesn’t only recover documents, but also get your previous photos, videos, audios and others back to your Mac. It is easy to use, the interface will navigate you how to restore data fast and successfully with Cisdem.
Main Features of Cisdem Data Recovery
 Free Download
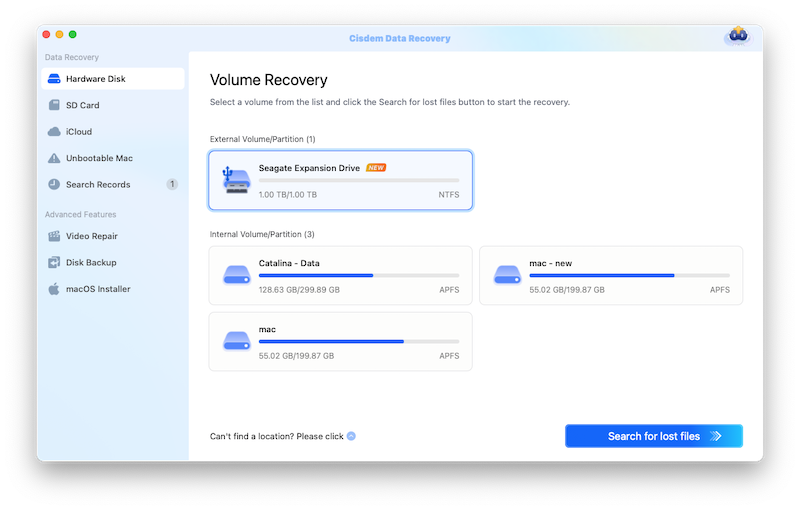
Boot Apple M1 Mac becomes easier now, you can follow above instructions to boot your Mac, but before booting, get to know the options under Recovery Mode, so you won’t waste time and put your files in risk of loss.

Connie has been writing for Mac productivity and utility apps since 2009. Each review and solution is based on her practical tests, she is aways energetic and trustworthy in this field.


