Creating DVD on Windows is not thorny for people. The crucial point is to burn any types of video formats to DVDs in fast speed without compromising the video quality. If you want to create DVD from MPEG, MP4, AVI, MOV, MTS, MKV, WMV, VOB, Divx, etc. on Windows, read this article and it will guide you how to create DVD on Windows 10/11 quickly and easily.
 Free Download Windows 11/10/8/7
  Free Download macOS 10.11 or late
Cisdem DVD Burner excels at making DVDs with crystal clear pictures. It is a professional desktop app capable of burning videos in 150+ different formats to DVD, including popular formats. Thus, multiple videos can be burned to one DVD disc with it. Coming with a straightforward interface, Cisdem DVD Burner can create DVD on Windows 10/11 within just a few clicks.
Besides, this DVD maker for Windows 10/11 offers a variety of exquisite DVD menu templates, helping users create beautiful DVDs. If you are not satisfied with the existing DVD menu, you can make a special DVD menu by changing elements like the background image, button style in the template.
Free Download Windows 11/10/8/7
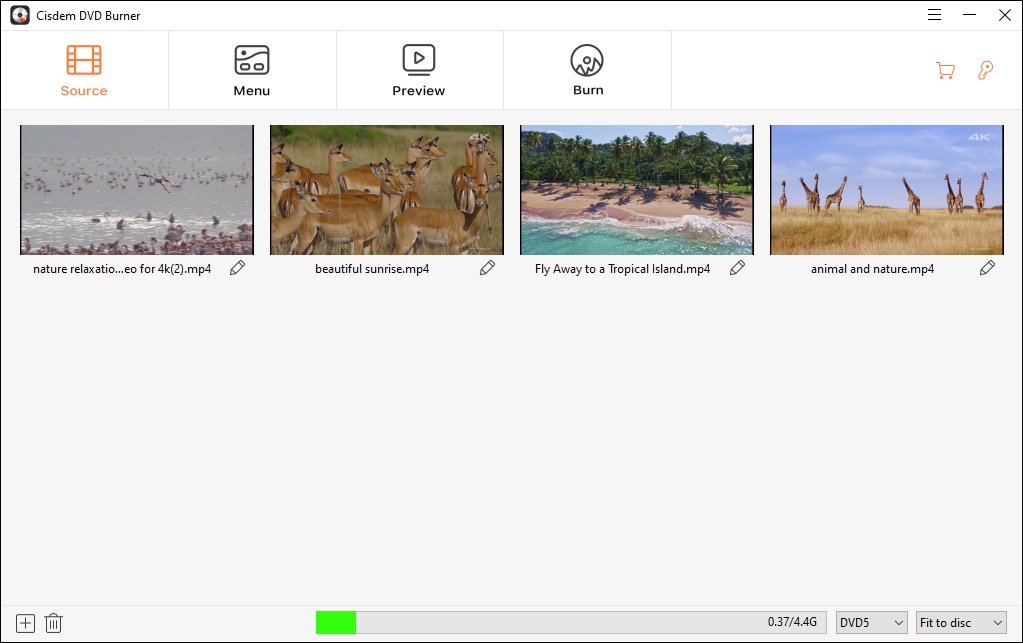
Click the trigram symbol > “Add Files” to upload files you wish to burn. Or just drag and drop them to the program. All files will be displayed in the main interface in a list of video thumbnails after parsing.
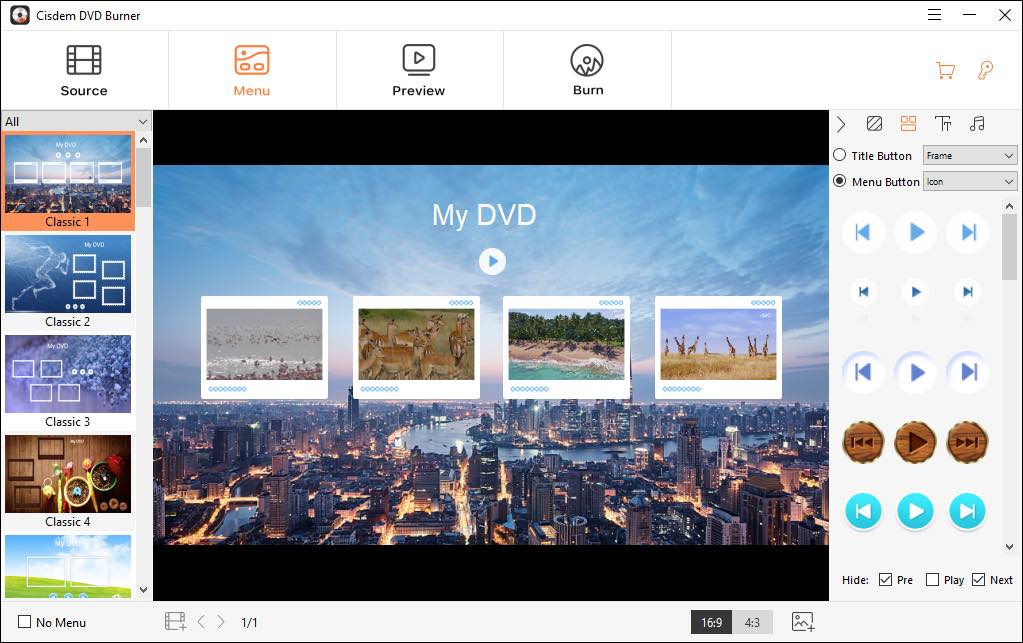
Click “Menu” button on the top line, choose a suitable DVD menu from the left pane of the interface. Or you can change the background image, import background music and make other operations to generate a new and different DVD menu.
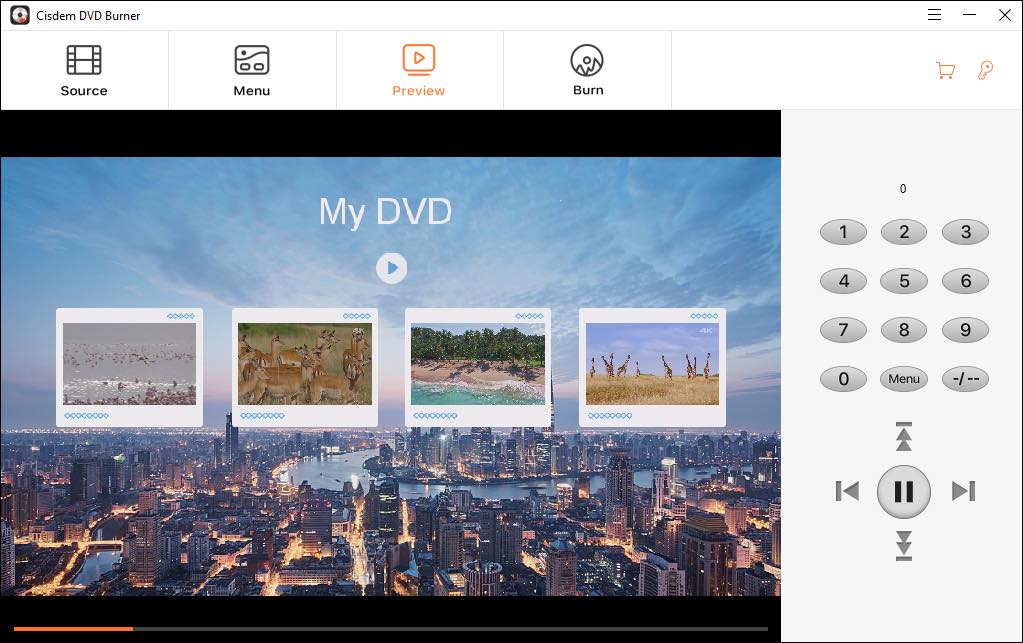
Tap on Preview button to switch to new interface for checking the DVD result before burning.
Go to “Burn” tab, fill in relevant data of the DVD like DVD types, name, TV standard, etc. Once done, insert a blank DVD onto your computer drive, and click the “Burn” button to launch the burning process on your Windows computer.

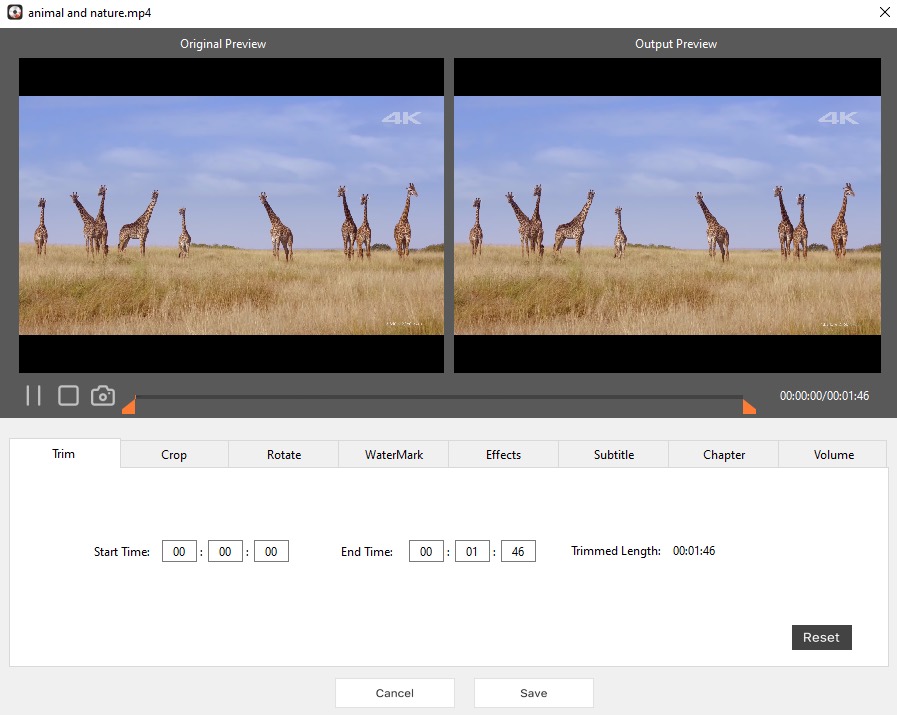
After you have added videos to the main interface, you will notice a pencil icon under each thumbnail, just click it.
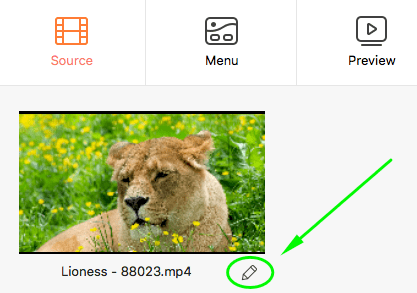
On the new windows, you can trim videos, add watermark, adjust picture effects, add embedded or external subtitles, add chapters, and so on. Click "Save" when you are done to return to the main screen.
When it comes to creating DVD on Windows 10, people's first option is to look for a desktop DVD creator for Windows that is both free and effective. An indisputable fact is that most free DVD creators can only satisfy basic burning needs, and the output quality is not as good as pro software. Still, we've picked 3 winners out of thousands of free DVD makers available.
Supported OS: Windows 11 or lower
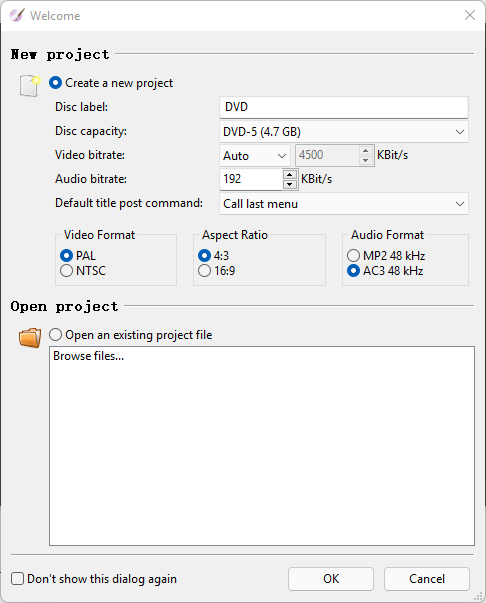
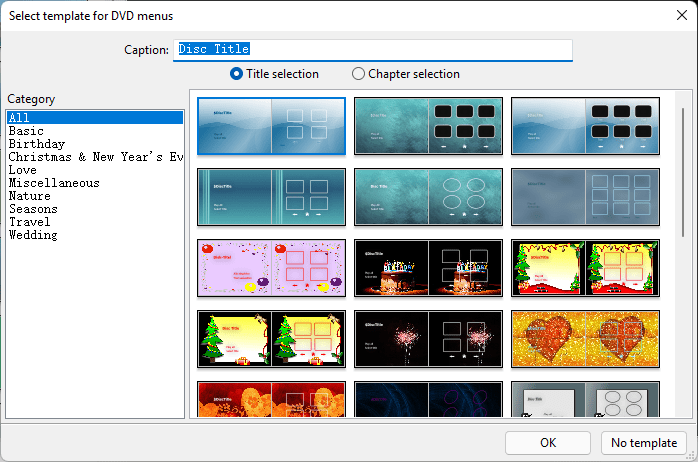
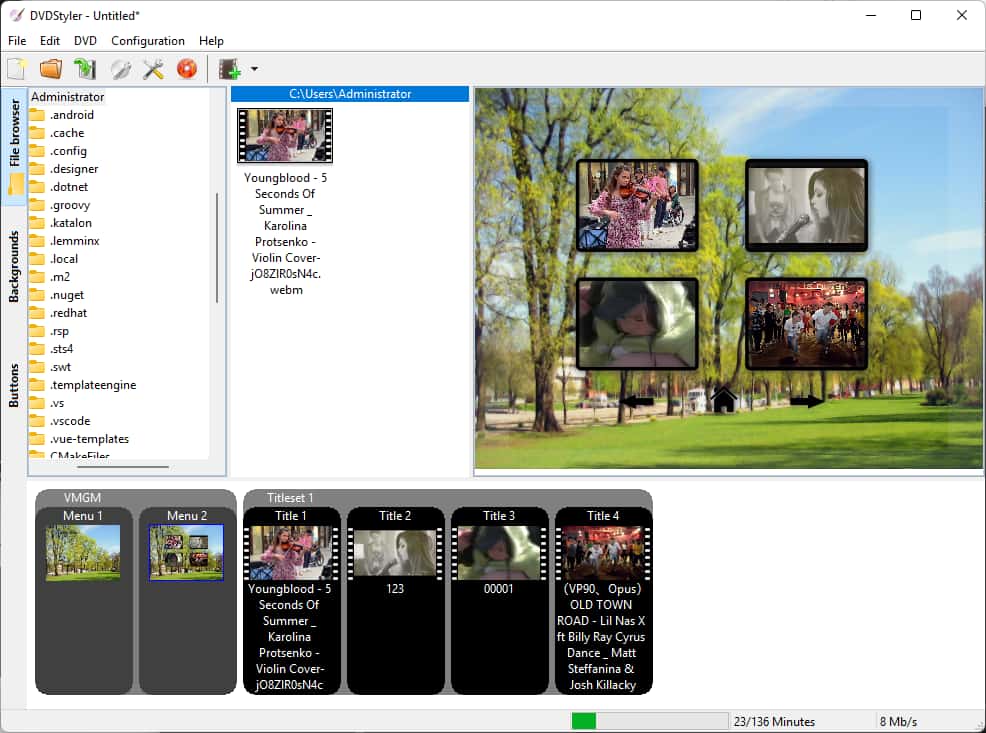
DVDStyler is a trustworthy DVD creator for Windows 10, which allows users to burn popular digital formats to DVD for free. It is one of the rare free DVD creators that provide fancy DVD menu templates for users, making people create wonderful DVDs. People can also make a specialized DVD menu by changing the background image and choosing an attractive graphic. But if you want to make multiple DVDs, rendering and encoding can be time-consuming, especially for large video files.
Supported OS: Windows 11/10/8/7/Vista/XP
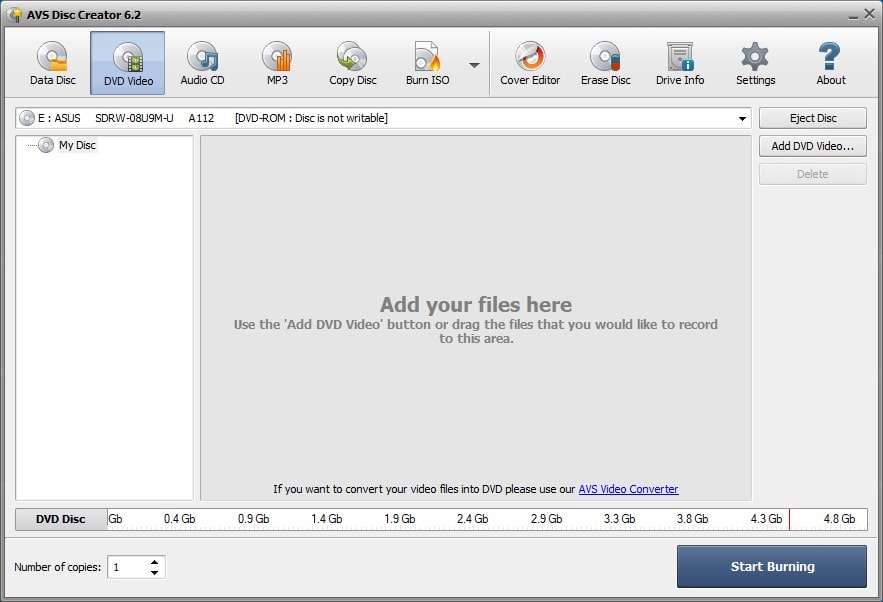
Free AVS Disc Creator is another excellent DVD creator for Windows 10/11. As the name shows, it is able to burn almost all kinds of DVD discs for free. This multipurpose tool can be also used to burn CD discs, create boot discs and make ISO images. When opening the program, you can access to different function sections by clicking the specific function buttons on the top part of the interface. Therefore, people can understand how to use it right away.
Furthermore, you can upgrade AVS to its paid version for more powerful features, such as burning Blu-ray discs, burning DVDs with higher quality or more effects, etc. However, if you don’t want to download additional program, skip this program because it will download together with an unexpected tool without asking.
Supported OS: Windows 11/10/8/7
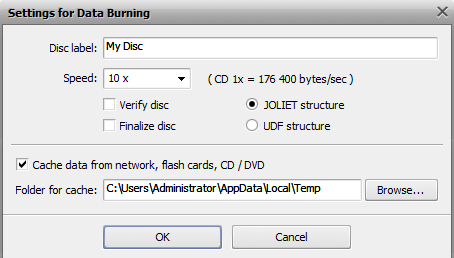
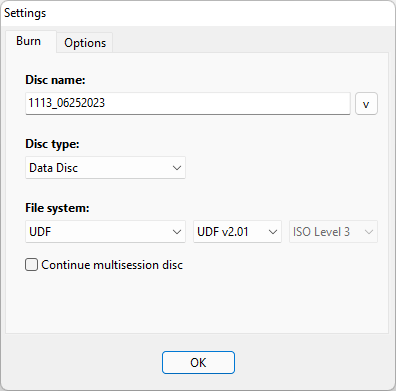
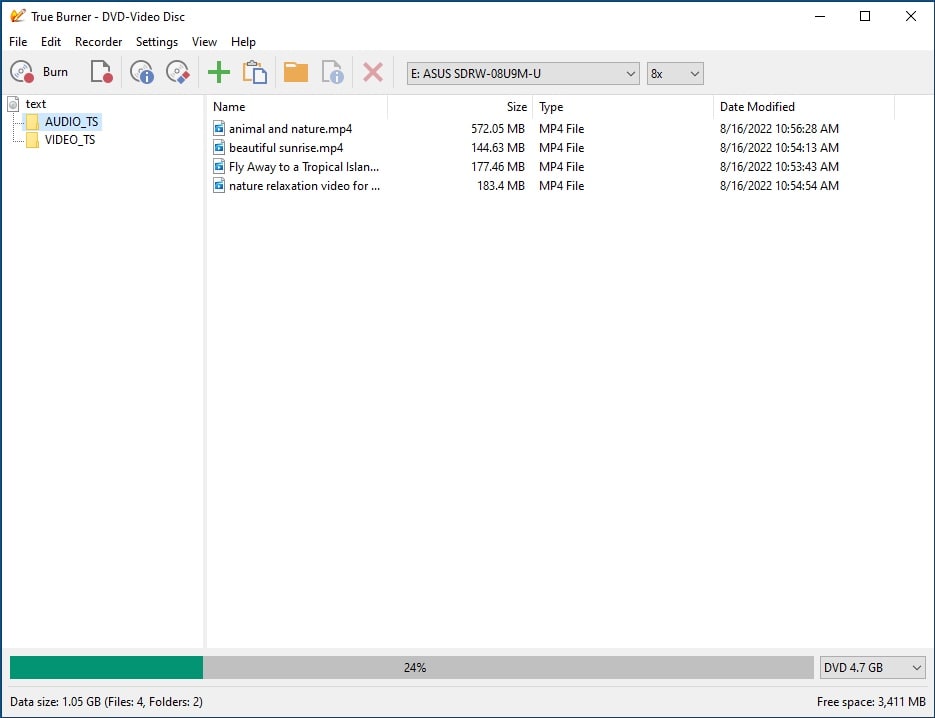
True Burner is an amazing lightweight program that can burn CD, DVD and Blu-ray discs for free, including multisession and bootable ones. It is easy to operate with the simple interface. When you launch the software, it will come up with a small windows for you to choose the type of the disc to burn, including Data disc, Bootable disc, MP3 disc, DVD-video and BDMV.
Before creating DVDs, you are also allowed to select a suitable recording speed. Although it offers limited advanced functions, True Burner is still a great option for those people who want to create DVD without complicated decoration.
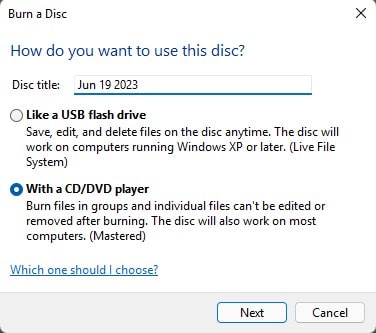
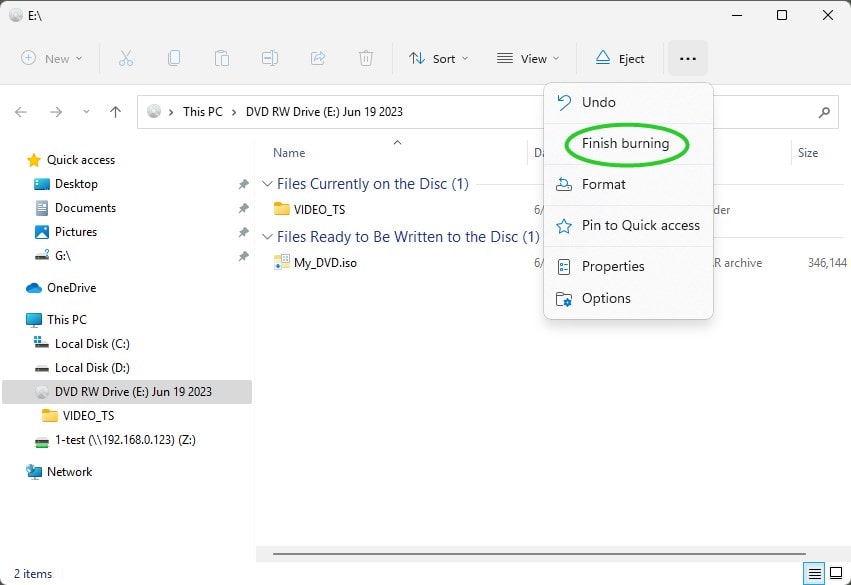
Using File Explorer can help you create DVD on Windows 10/11 without installing any software. To be frank, this way doesn’t offer DVD menus and advanced editing functions. If you just want to create a simple DVD on Windows without any embellishment, keep on reading this article for more details.
No. Windows DVD Maker has stopped development since Windows 7. Therefore, it doesn’t work on Windows 10 any more. If you want to burn a playable DVD on Windows 10 and make it compatible with home DVD players, you are supposed to look for a reliable third-party tool in the Microsoft store.
Or you can use Windows Media Player to burn DVD on Windows 10/11. Before burning DVD on Windows, there are 3 points you should keep in mind.
If you can’t accept, ignore it and go for a powerful third-party tool.
This article provides the most comprehensive methods on how to create DVD on Windows 10/11. From my experience, if you have ample budgets, you’d better get a professional DVD creator for Windows. After all, free programs are inferior to professional ones in many aspects, such as slow recording speed, poor quality, a few input formats supported, no DVD menu templates, no built-in video editor, etc.
Hence, if you don’t have strict requirement on creating DVDs and only need to burn a movie sometimes, you can make DVD via File Explorer, Windows Media Player or free desktop DVD creator for Windows. But if you have a lot of video sources to create and crave for finishing them quickly, a professional DVD desktop software is recommended because it will help you burn many DVDs in an ultra speed while keeping high quality.

Megan has an impressive deal of experience with Mac software and has the ability to explain tech stuff in a simplified, straightforward and easy to understand way.


Sue J. Valerio
I want to put 6 short films on a DVD. When I place that DVD into my home DVD player, I'm presented with a menu to choose the short movie to watch. In my lack of expertise, I do not know if the above programs will work.