From Jun 2020 to Aug 2020, Apple has released several beta versions for macOS 11 Big Sur, both developers and testers can install and run it on a supported Mac. You may be one of them, starting to use this new macOS but unfortunately run into some issues and want to revert to previous Catalina or Mojave version.
No worries, here we will list the easy steps to downgrade macOS Big Sur to Catalina without losing data.
Recover Data After Mac Downgrade
- Recover files lost due to macOS update, downgrade, crash, etc.
- Recover lost, deleted, formatted data
- Repair corrupted video files
- Use both quick and deep scan modes
- Recover files from internal and external hard drive (USB, SD Card, Media Player)
- Support file recovery on 200+ formats: video, audio, photo, docs, etc.
- Preview files before recovery
- Search specific files with keyword, file size, date created, date modified
 Free Download
Why We Need to Downgrade Big Sur to Catalina?
MacOS 11 Big Sur is absolutely the biggest update these years since it has moved from 10 to 11, you can find a bunch of update as following in Big Sur:
- New design
- Intuitively customized Safari browser
- Updated Messages app (better control of conversation)
- Redesigned Maps for better and easier navigation
- Improved transparency for Mac App Store downloads
- Expanded photo editing features
- Faster updates to the latest version
……
All the revealed new updates added to macOS11 Big Sur stimulate mac users to upgrade and take the first bite on this macOS version. But later, there occurs problems and some of them want to revert to the previous Catalina version for one or another reasons:
- The Beta version is not perfect, you want to download the official version later;
- It takes longer time to get used to the new version and you don’t want to waste time;
- MacOS 11 Big Sur keeps causing problems;
- Your hardware is not highly compatible on this new version (compromised audio, video or image quality);
- Your favorite app doesn’t work on the new version;
……
No matter what your reason is to revert to an older version, you can refer to following part to downgrade from Big Sur to Catalina without losing data.
How to Downgrade Big Sur to Catalina without Losing Data?
To downgrade Big Sur to Catalina without losing data, here are 6 steps to follow. Before the downgrade, your data matters the most, so don’t forget to back them up though it takes time to finish a backup.
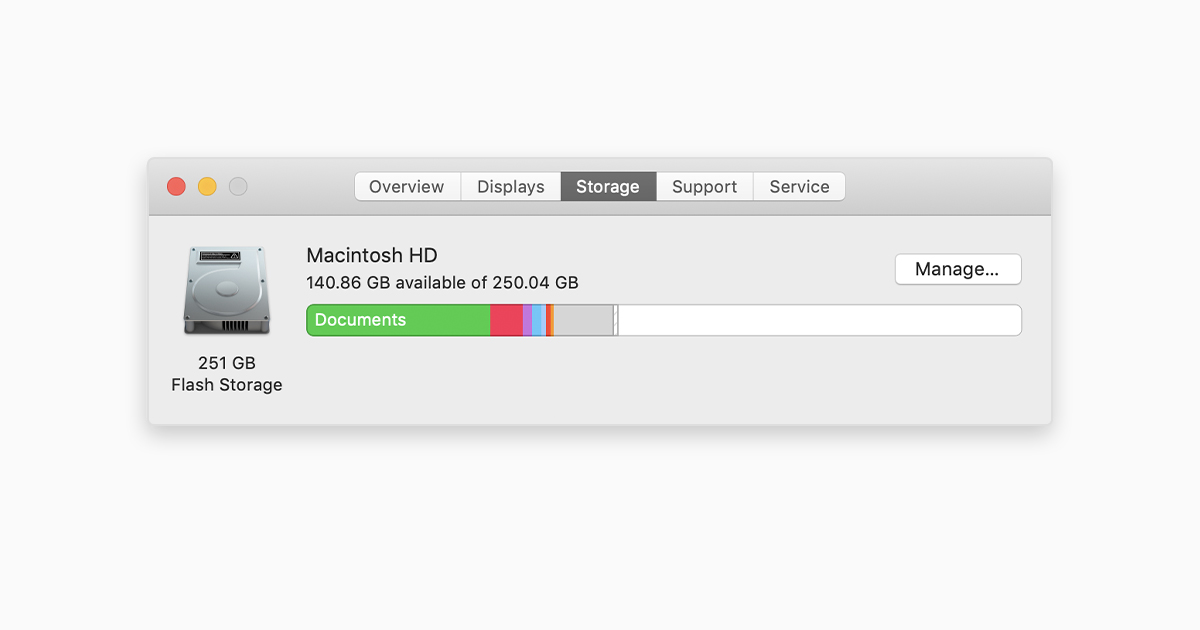
Step 1. Prepare your Mac for downgrade
You should quit running programs and leave enough space (15GB to 20GB) to install Catalina after erasing Big Sur from your Mac hard drive. Also, make sure your mac is connected to the internet for later macOS installer download.
Step 2. Backup files (Important and Required)
It is safe to upgrade or downgrade a macOS version, there is no harm done to your files or data, but data loss after mac update or reversion happens sometimes. If you don’t want to render your data under any potential risks, you are highly recommended to back up files.
There are 2 ways to back up file, either back up your files to an external hard drive with Time Machine or upload your data to cloud-based service for storing, like iCloud, DropBox, OneDrive. But here Time Machine backup is recommended.
- Connect an external hard drive for backup to your mac;
- Run Time Machine and set it up for backup;
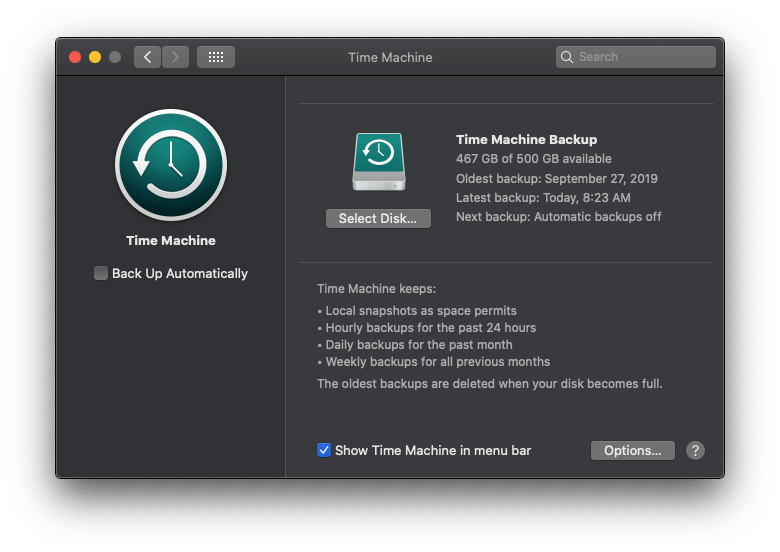
- Click on the Time Machine icon in menu bar, choose Back up Now;
- Wait for the backup to finish.
Step 3. Erase macOS 11 Big Sur from your Mac
- Click Apple icon and go to Restart;
- Hold down Command+R when rebooting to reboot your mac in Recovery Mode;
- In the pop-up interface, choose Disk Utility>Continue;
.png)
- Then select your Startup Disk, click on Erase tab;
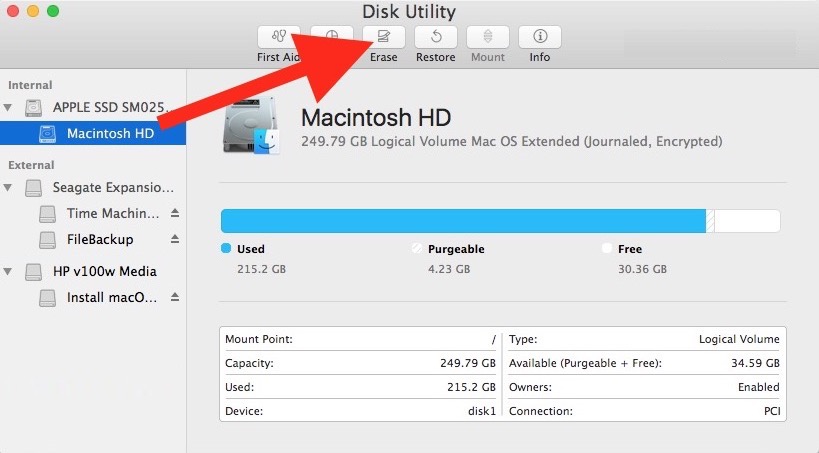
- Choose APFS or macOS Extended format and confirm to Erase.
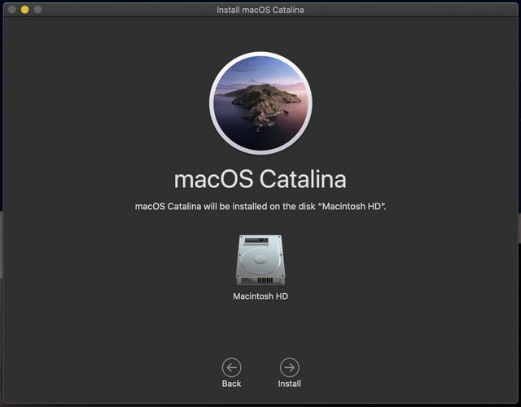
Step 4. Install macOS Catalina or Mojave
There are 3 methods to install older macOS version on your mac.
Method 1. Download from Mac App Store and Install
- Launch Mac App Store;
- Search macOS Catalina or Mojave, click Download;
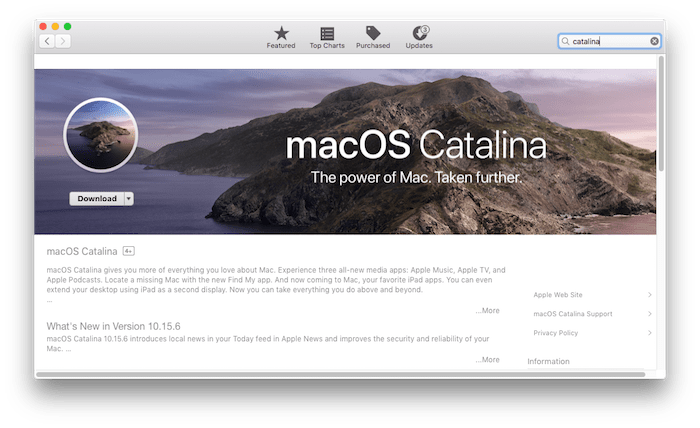
- When the download finishes, follow the on-screen instructions to install macOS Catalina or Mojave;
Method 2. Reinstall macOS Catalina or Mojave from Internet
- Click on Apple logo>Restart;
- Hold down Command+R when rebooting your mac;
- In the pop-op macOS Utilities interface, choose Reinstall macOS>Continue;
- Agree to the terms and follow the instructions to download and install.
Method 3. Reinstall macOS Catalina or Mojave from Bootable Drive
- Create a bootable drive of macOS Catalina or Mojave
- Connect the bootable drive to your mac;
- Click on Apple logo>Restart;
- Hold down Option when rebooting your mac;
- Choose the bootable drive with macOS Catalina or Mojave installer;
- Click on Continue, agree to the terms and install a previous macOS version onto your mac.
Step 5. Restore Backup with Time Machine
The only change you want for the downgrade is turning back to a previous macOS version, but you want the files and settings the same as before. In this case, you should restore both your files and settings from a Time Machine backup.
- Click on Apple Logo>Restart;
- Hold down Command+R during mac rebooting;
- Choose Restore from Time Machine Backup from the macOS Utilities interface and click on Continue button.
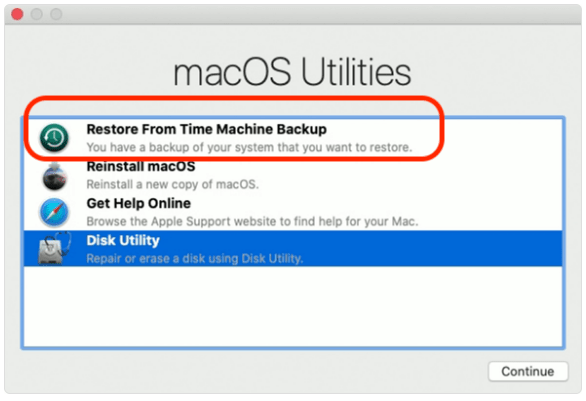
- Choose the Time Machine backup disk>Continue;
- Select the latest backup, click Restore>Continue.
Step 6. Check if everything is back now!
Now, run your apps on macOS Catalina and check if everything goes well.
If the downgrade still causes problems, restart your mac or reinstall Catalina/Mojave to fix it.
What If Data Lost/Deleted after macOS Big Sur Downgrade?
But what if we still got data lost or deleted after macOS Big Sur downgrade to Catalina or Mojave? You can recover them back with Time Machine backup by following the tutorial in above Step 5. If this still cannot get back your files, you need a professional data recovery program---Cisdem Data Recovery.
Cisdem Data Recovery is a program to recover lost, missing, deleted, formatted files from both internal and external hard drive on mac. It applies to data loss due to system crash, update or downgrade, also supports file systems like APFS, HFS+, FAT16, FAT32, exFAT, NTFS, etc.
Main Features of Cisdem Data Recovery
- Recover lost, deleted, formatted data
- Recover files lost under different situation
- Recover files from internal and external hard drive (USB, SD Card, Media Player)
- Support file recovery on 200+ formats: video, audio, photo, docs, etc.
- Repair video files in mp4, mov, avi, mkv, m4v and other formats
- Support various file systems: APFS, NTFS, HFS, FAT, etc.
- Preview files before recovery
- Recover files to local drive or cloud platforms
- High recovery rate
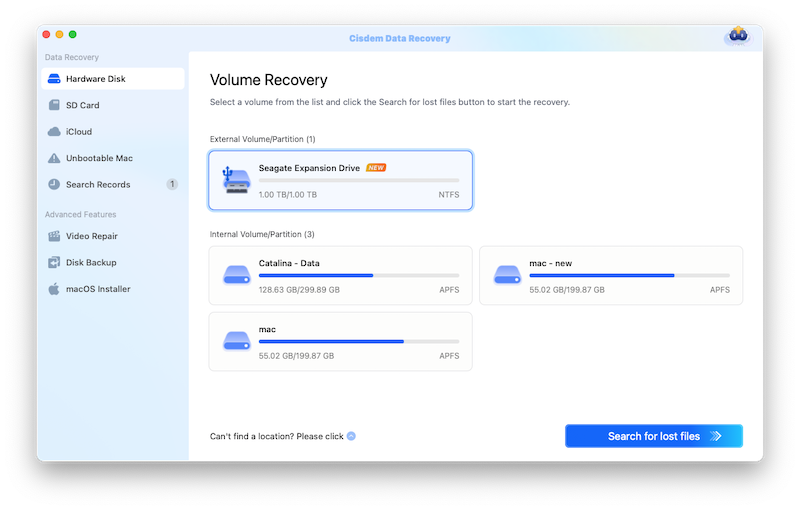
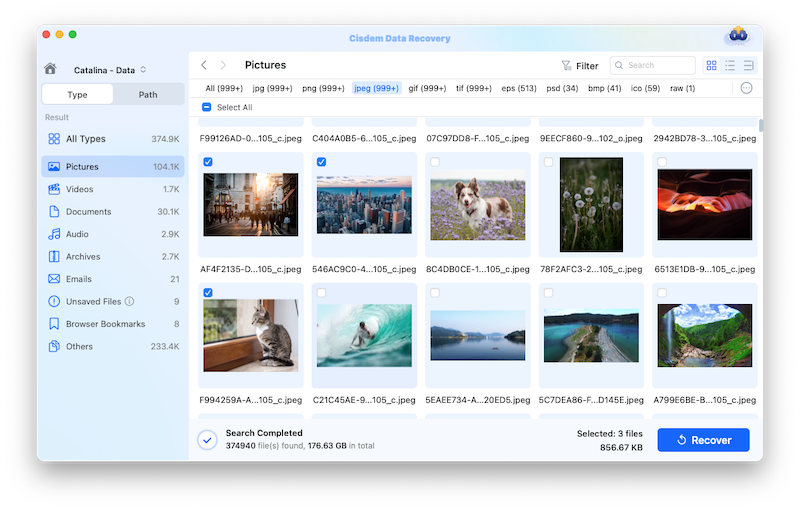
How to Recover Data After macOS Downgrade from Big Sur to Catalina?
- Download and install Cisdem Data Recovery to your Mac.
Free Download
- Choose the location where you lost the files and click Search for lost files.
- Preview the found files. All the founded files will be categorized in different folders, check the file and preview before recovery.
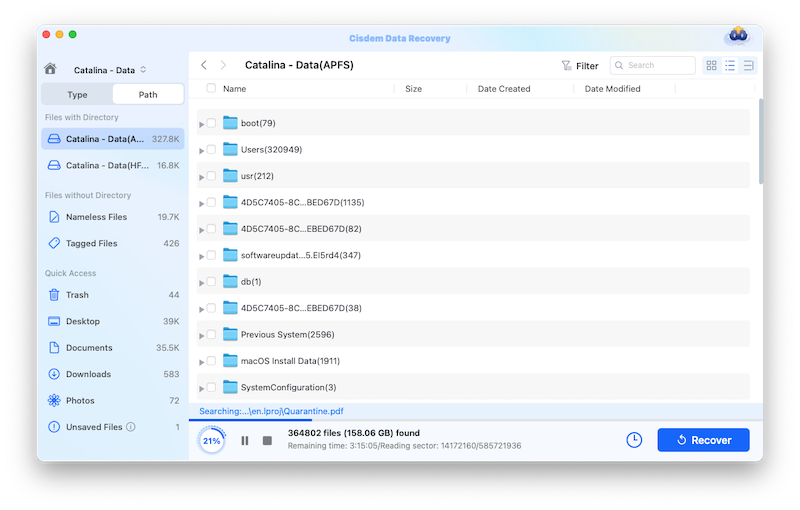
- Select the found file and recover them onto your mac. Check the box before found files, stop the scanning process if you want to recover before the end of a scanning process. Click Recover to get all lost files after macOS Big Sur downgrade back to your mac.
Conclusion
No matter you want to downgrade from Big Sur to Catalina or Mojave without losing data, or just want to upgrade from an earlier version to the latest macOS, the backup process is mandatory in case of any data loss. If a data loss happens and you don’t have a backup, you will need a dedicated program like Cisdem Data Recovery to do the job.

Connie has been writing for Mac productivity and utility apps since 2009. Each review and solution is based on her practical tests, she is aways energetic and trustworthy in this field.


