Cisdem PDFMaster for Windows is a complete PDF solution, which offers you the simplest way to work with PDF. You can read, edit, annotate, convert, encrypt/decrypt, comprare, measure, manager and perform OCR on PDF files, below is a guide to help you to get started quickly with Cisdem PDFMaster for Windows.
Part 1 Get Started
Download & Install
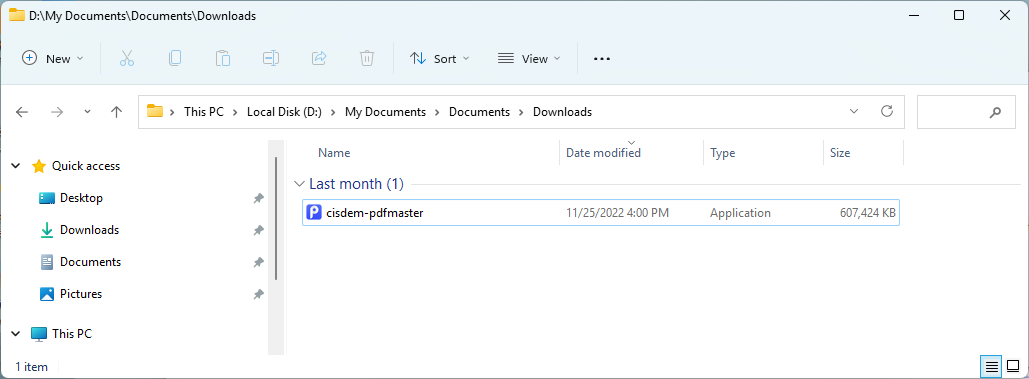
1. You can download the installation package of Cisdem PDFMaster from the below link.
2. Install Cisdem PDFMaster with the downloaded package.
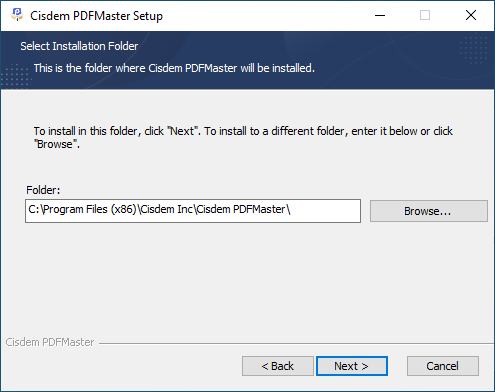
Double-click the .exe file to run it, select a location to install the program.
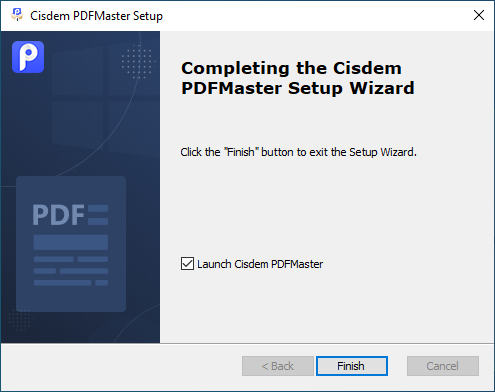
Click Next > Next > Install to continue the installation process, when the below window appears, it means that the program has been installed successfully.
Activation Cisdem PDFMaster
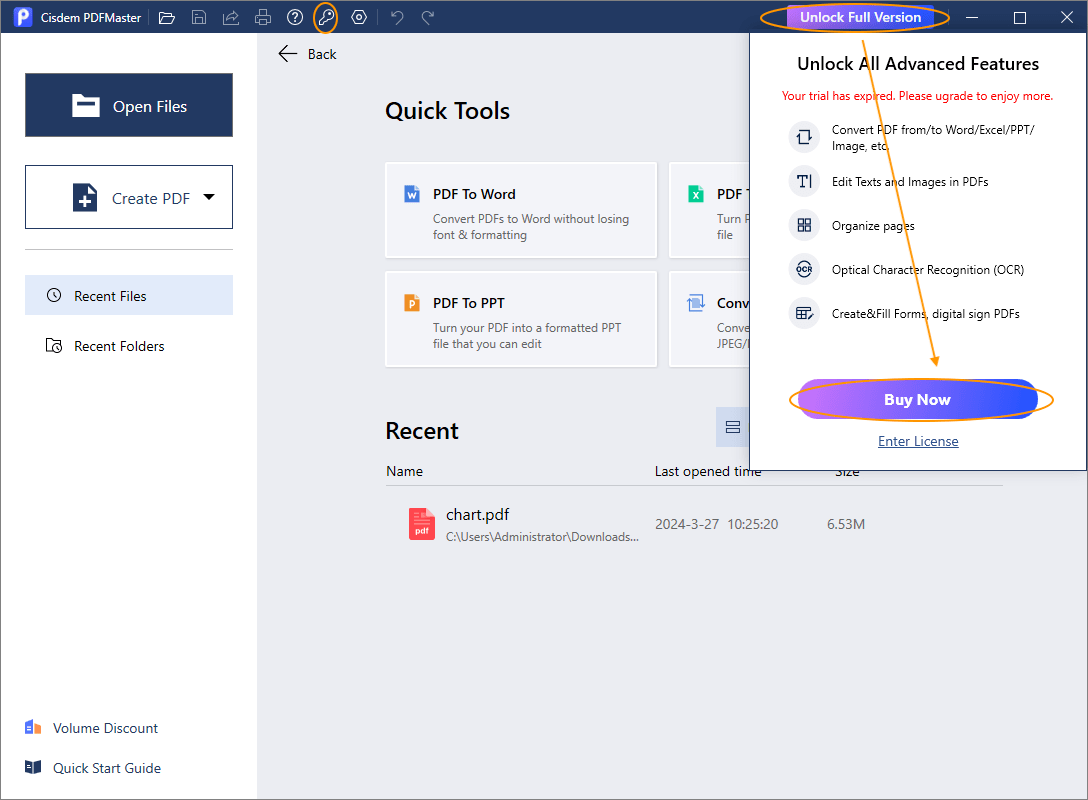
After installing the program, you can apply 7 trial days for testing before making a purchase decision, within the 7 trial days, you can use the full features of the program.
When the trial version expires and you want to use the full features still, you will need to activate the program with your license code.
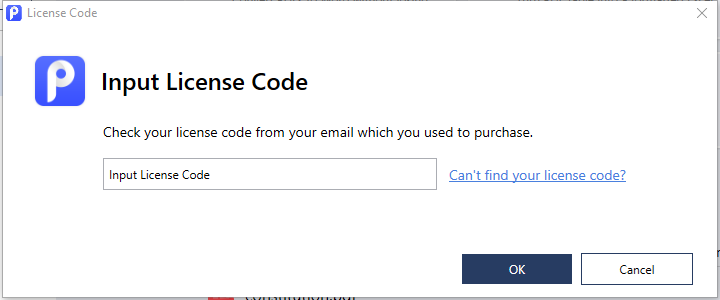
1. Find Cisdem PDFMaster on your desktop or in the folder where you installed it, double click to run it, and then click the key icon at the left upper corner or click  > Enter License.
2. Copy-n-paste the license code into the popped-up window, click Activate.
Part 2 Open PDF
For your convenience to read and work with PDF files, Cisdem PDFMaster provides several ways for you to open the PDF files.
Part 2.1 Set Cisdem PDFMaser as default PDF viewer
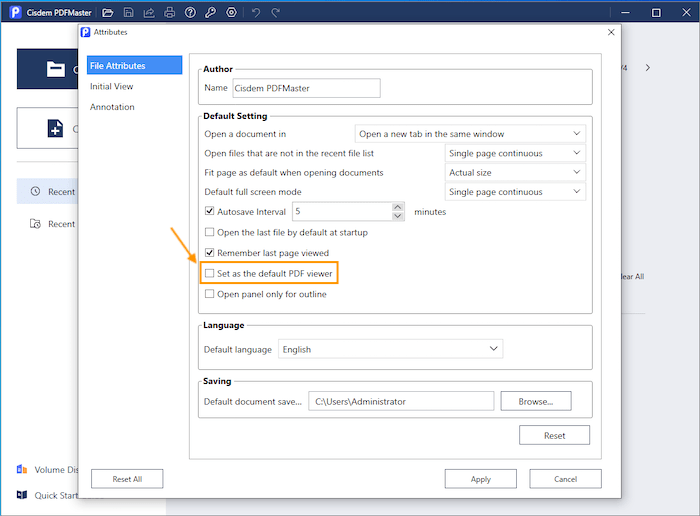
Run Cisdem PDFMaster, click  > File Attributs, check the option "Set as the default PDF viewer" in the popped-up window. Then you can directly double click your PDF file to open it with Cisdem PDFMaster.
Part 2.2 Open PDF from Home Page
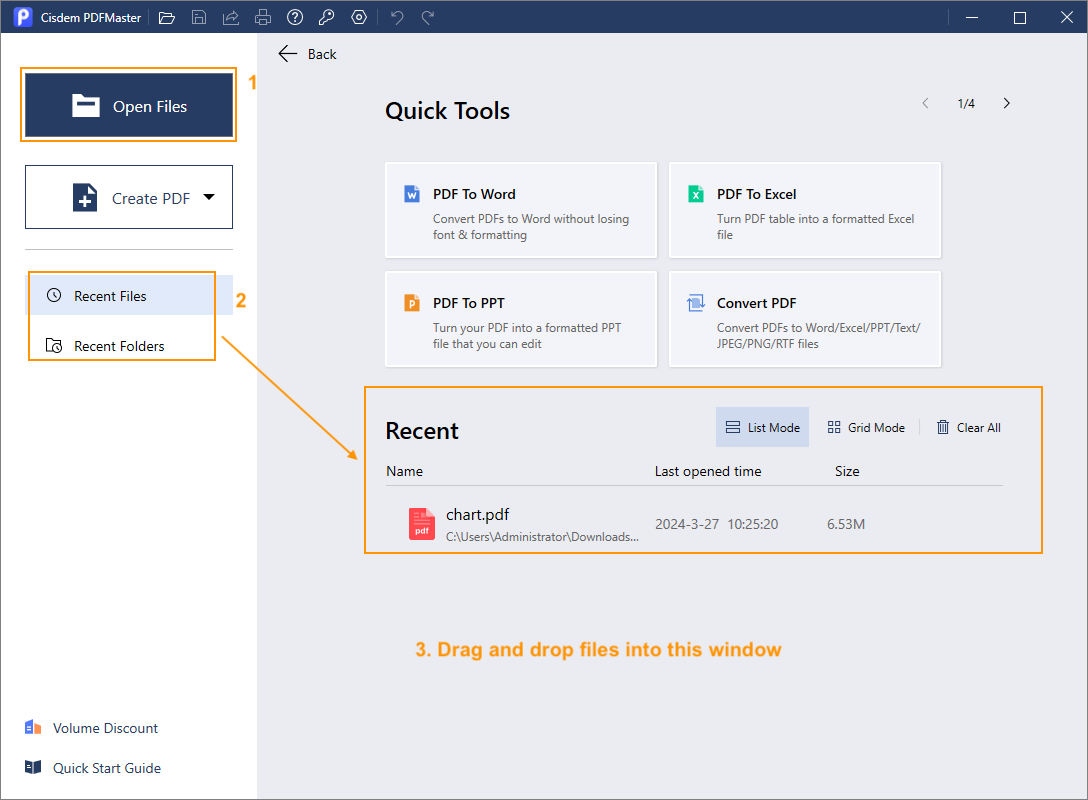
1. Click Open Files button, hold on the Ctrl key and select the PDF files that you want to open with Cisdem PDFMaster.
2. Directly click the target PDF file from the Recent list or Recent folder.
3. Directly drag and drop the PDF files into the window of Cisdem PDFMaster.
Part 2.2 Open PDF from feature page
If you have opened a PDF file, it will bring you to the feature page. You can also open more PDF files in the feature page.
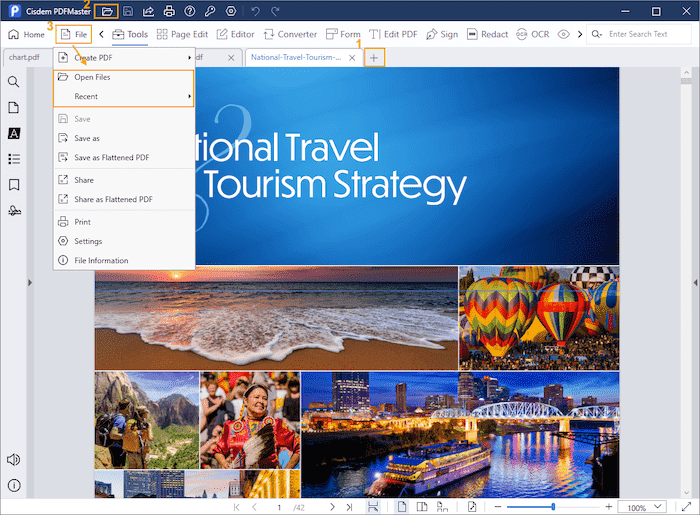
1. Click + to select one or more PDF files to open.
2. Click ![]() to select one or more PDF file to open.
to select one or more PDF file to open.
3. Click  > Open Files/Recent to select the PDF files that you want to open.
Part 3 Read PDF
Cisdem offers multiper display modes for you to view and read your PDF file with a fantastic experience.
Part 3.1 Multi-tabs/Windows view
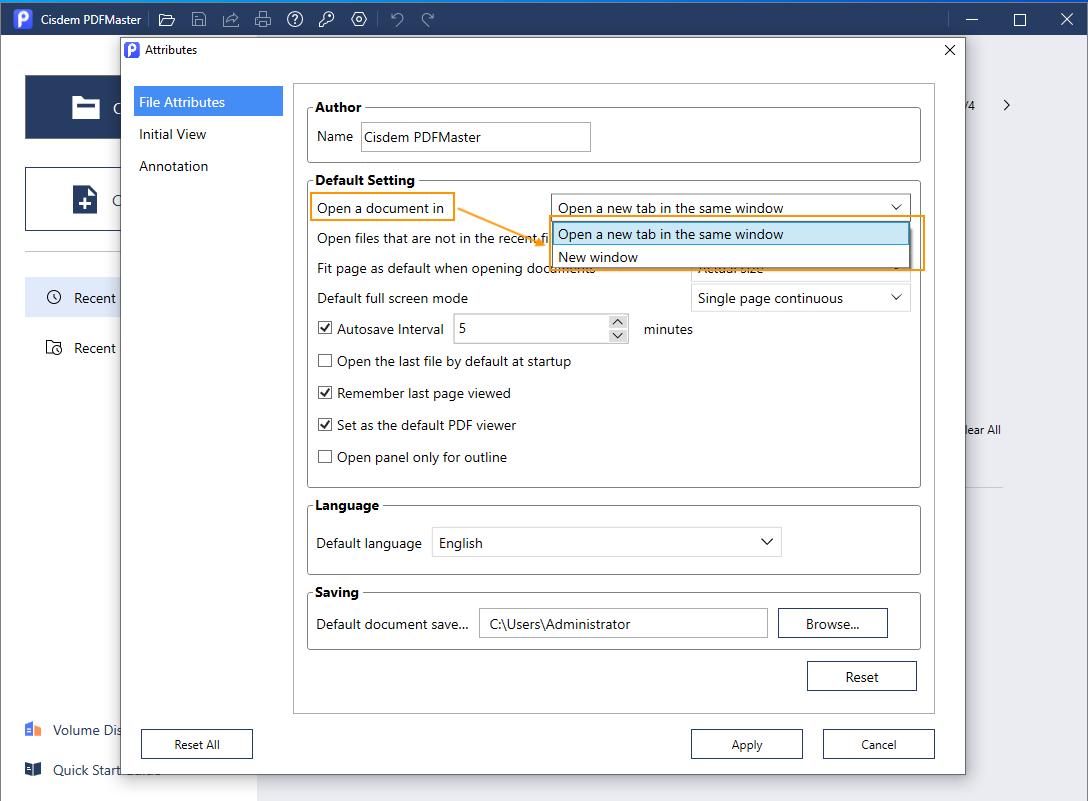
Cisdem allows you to open a PDF in a new window or a new tab in the same window. If you want to change the settings, you can click > File Attributes, change the option "Open a document in"
Part 3.2 Display Mode
It is easy to change the layout while viewing the PDF files, you can click the corresponding icons on the right column or on the bottom line.
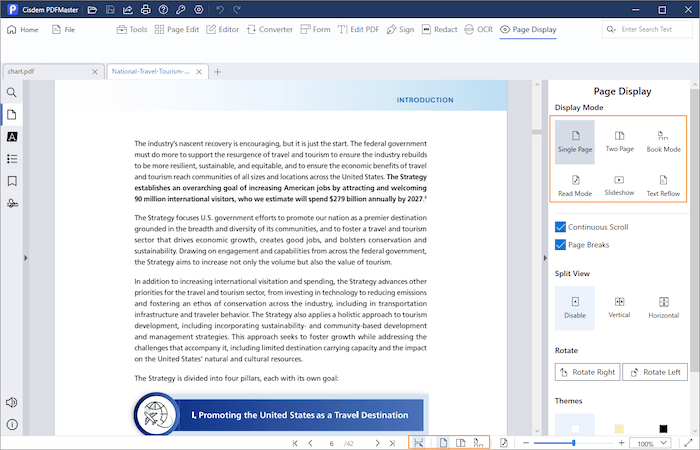
1. Single Page 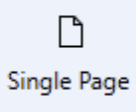 : It is the default display mode, with this mode, it will display a single page at a time.
2. Two Page  : With this mode, it will display two pages at a time.
3. Book Mode  : If you choose this mode, the cover page of the PDF will display at the top.
4. Read Mode  : Enter into the Read Mode, it can let you focus on reading without any distractions. You can press the Esc key or click
  to exit the Read Mode.
5. Slideshow Mode : If you want to display your PDF file like a presentation, you can choose this mode. You can also use the laser pen and freehand pen to highlight the key point.
6. Text Reflow : If you select this mode, the texts will shift to fit the page without any images or comments. You can change the font size and background color as you like.
Part 3.3 Split View
If you compare two parts of the same file side by side and work with both simultaneously, you can use the Split View function.
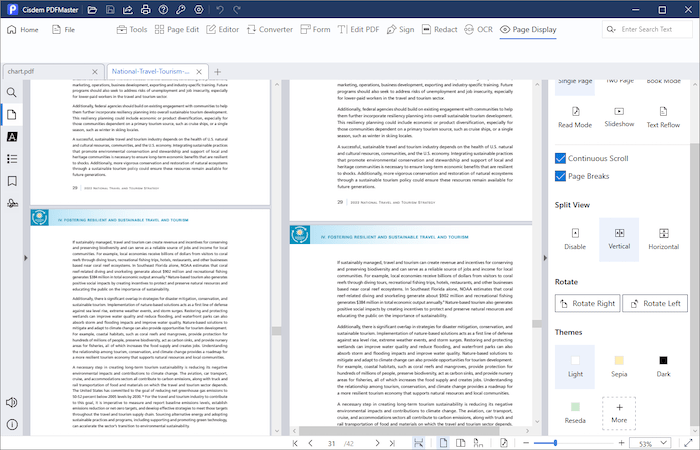
1. You can choose to view vertical or Horizental by clicking the corresponding icons on the right side.
2. You can also right click any area of the PDF file and choose Vertical or Horizental.
Part 3.4 Crop
You can easily remove the unneeded contents or trim the margins automatically with the Crop feature of Cisdem PDFMaster.
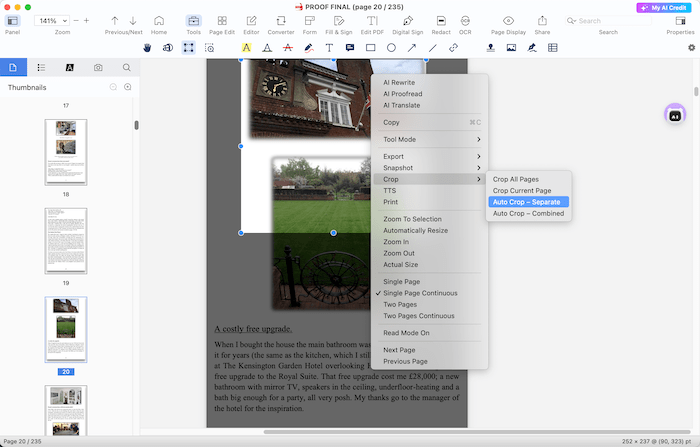
1. Click Page Display> Crop> Select area, you can manually select area on that page to crop.
2. You can also click Page Display> Crop> Crop Current Page/Crop All Pages to trim the margins automatically with the current page or all pages.
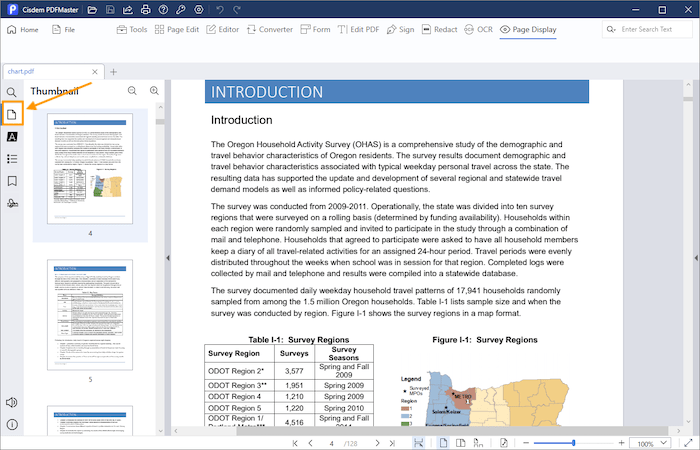
Part 3.5 Thumbnail View
Click  on the left side panel, it will list every page's thumbnail of your PDF file so that you can easily navigate the target page.
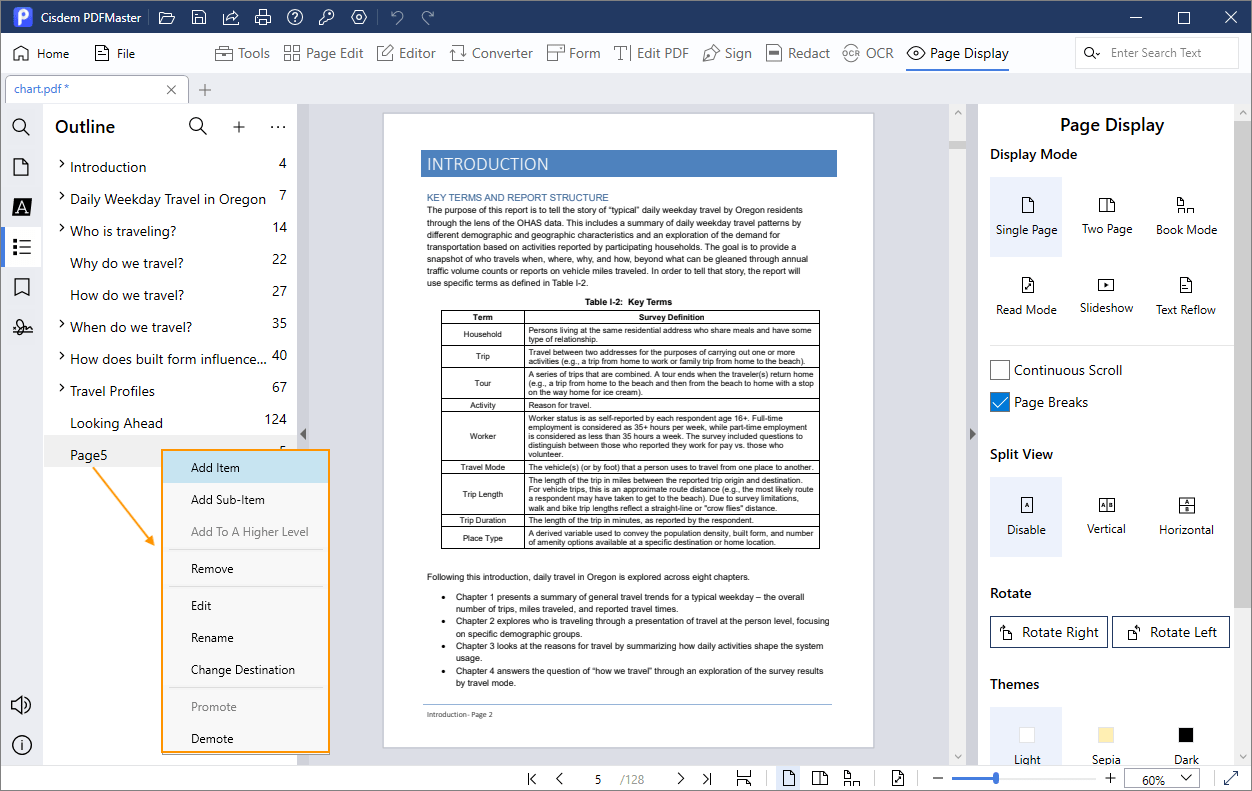
Part 3.6 Outline View
Click  on the left side panel, it will display the outlines of your PDF if there it is.

You can also add, edit or delete the outlines to better organize your ideas, visualize and paper structures.
Click ![]() or right click an existing item and choose add item or add sub-item to add an outline, you can also edit, rename, delete or change destination by right clicking.
or right click an existing item and choose add item or add sub-item to add an outline, you can also edit, rename, delete or change destination by right clicking.
Part 4 Annotate PDF
When you want to share a PDF file to others, and it is much more effective to directly add comments in the PDF file compared with writing the comments in email or a paper. Cisdem PDFMaster provides you a vaious kinds of tools to add coments into a PDF file, click ![]() on the tool bar, you will see all the annotation tools on the sub tool bar.
on the tool bar, you will see all the annotation tools on the sub tool bar.
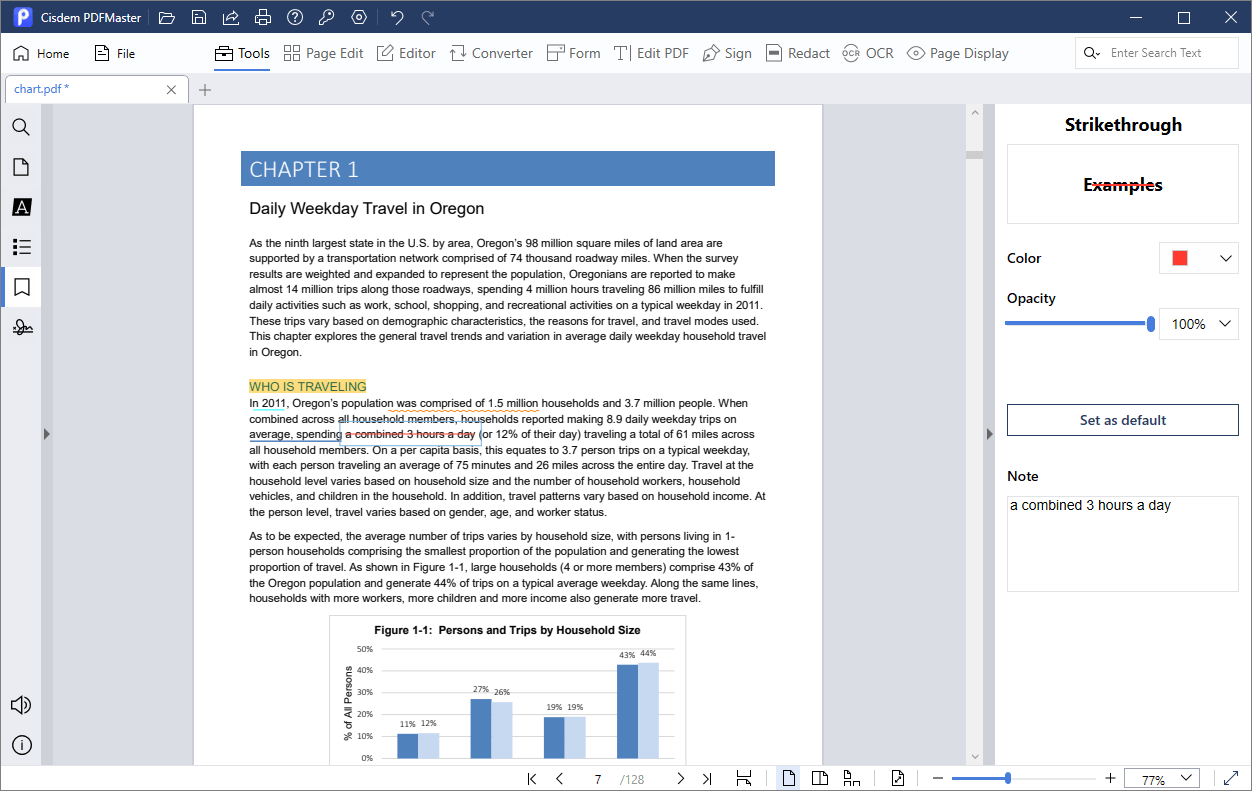
Part 4.1 Markup tools 
The simplest types of markup annotations are text markup annotations for marking up page text. These include text highlight, underline, or strikeout annotations.
To markup a PDF file with Cisdem PDFMaster, you can just select a markup tool on the sub tool bar, then drag your mouse to cover a region of texts. You can also change the color and opacity on the right side.
Part 4.2 Freehand and Eraser
Select  , you can draw anything you like on your PDF file, and if you want to remove the lines you painted, you can just click
  to erase it.

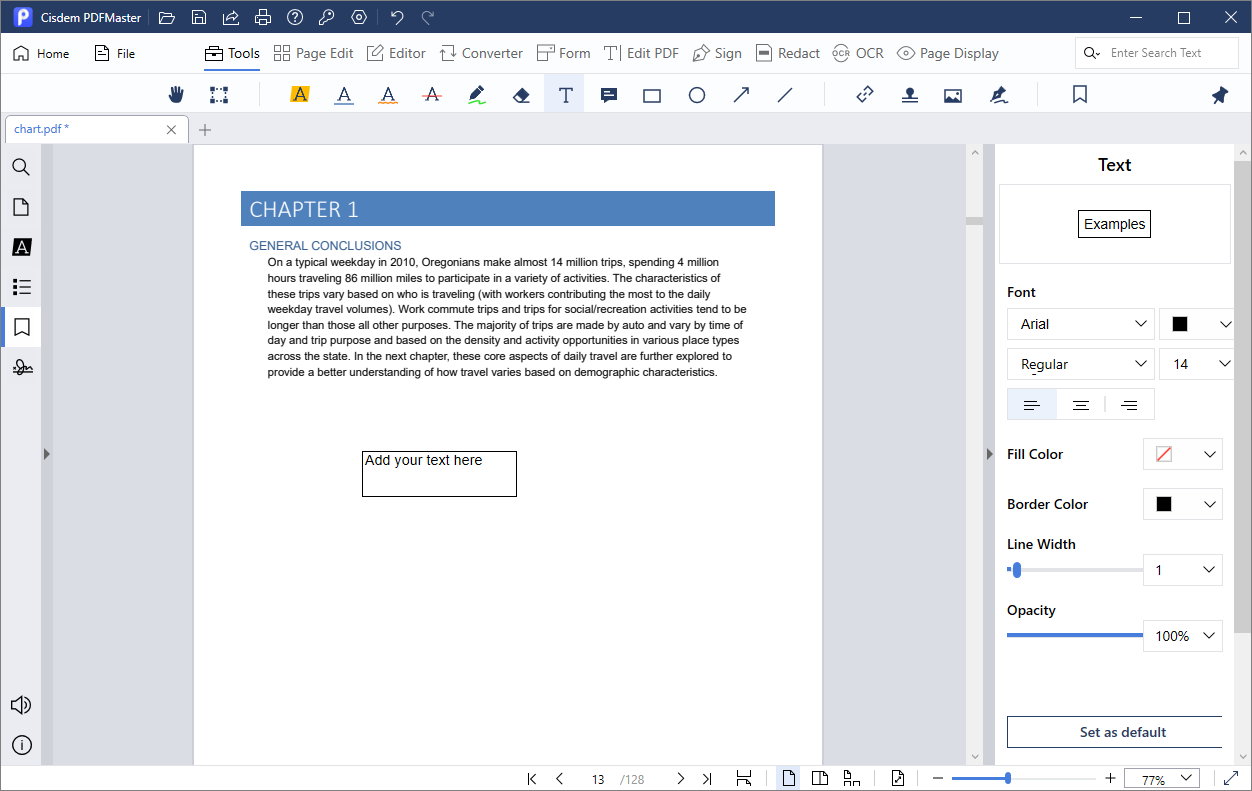
Part 4.3 Text Box 
Select , click at the target place in your PDF file, type in the texts content in the box, you can adjust the text box size by draging and adjust the font, color and border line on the right side.
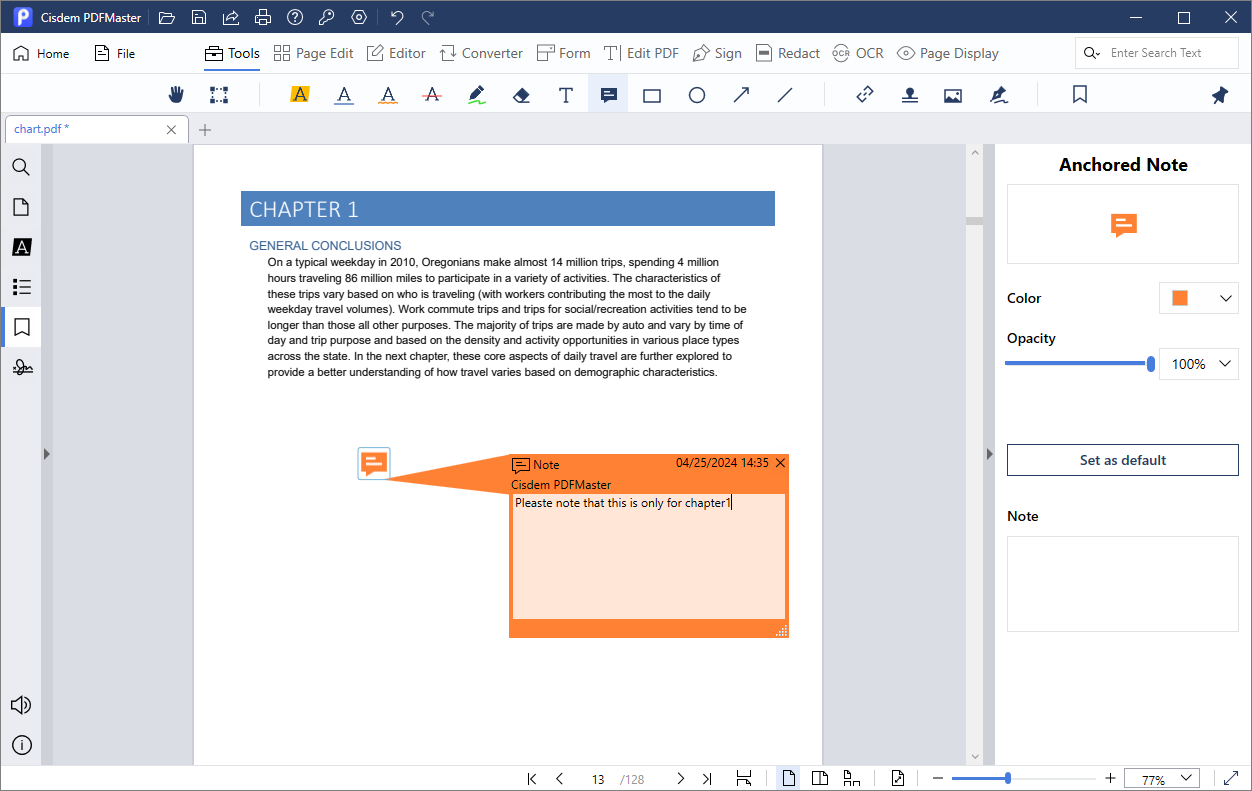
Part 4.4 Note
Select , click at the target place in your PDF file, a note icon will appear there, click the note icon, you can enter the texts in the note window. You can also change the note's color and opacity on the right side.
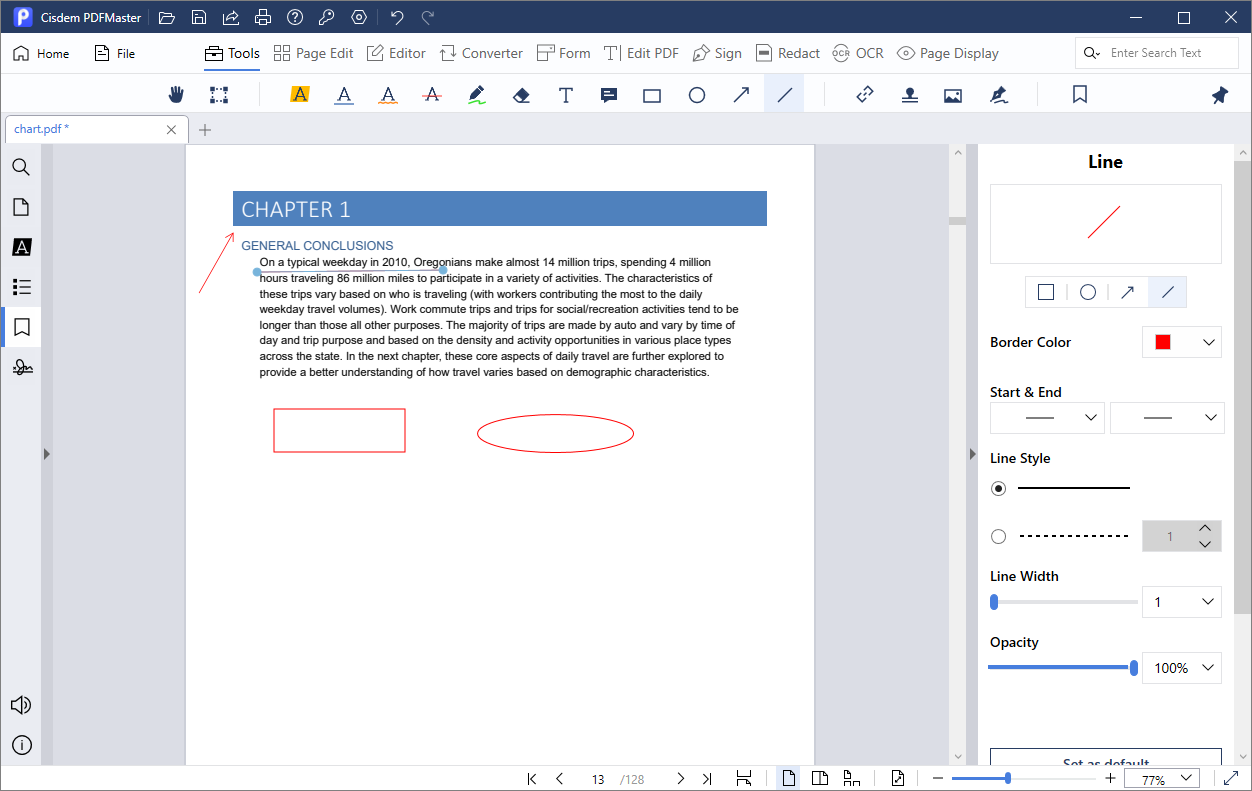
Part 4.5 Drawing shapes
To draw attention to some certain parts of your PDF file, you can use drawing tools to add different graphic elements, such as rectangle, circle, arrow and line into your PDF file.
Just pick your shape, click and drag on the target place. You can also customize those shapes on the right side.
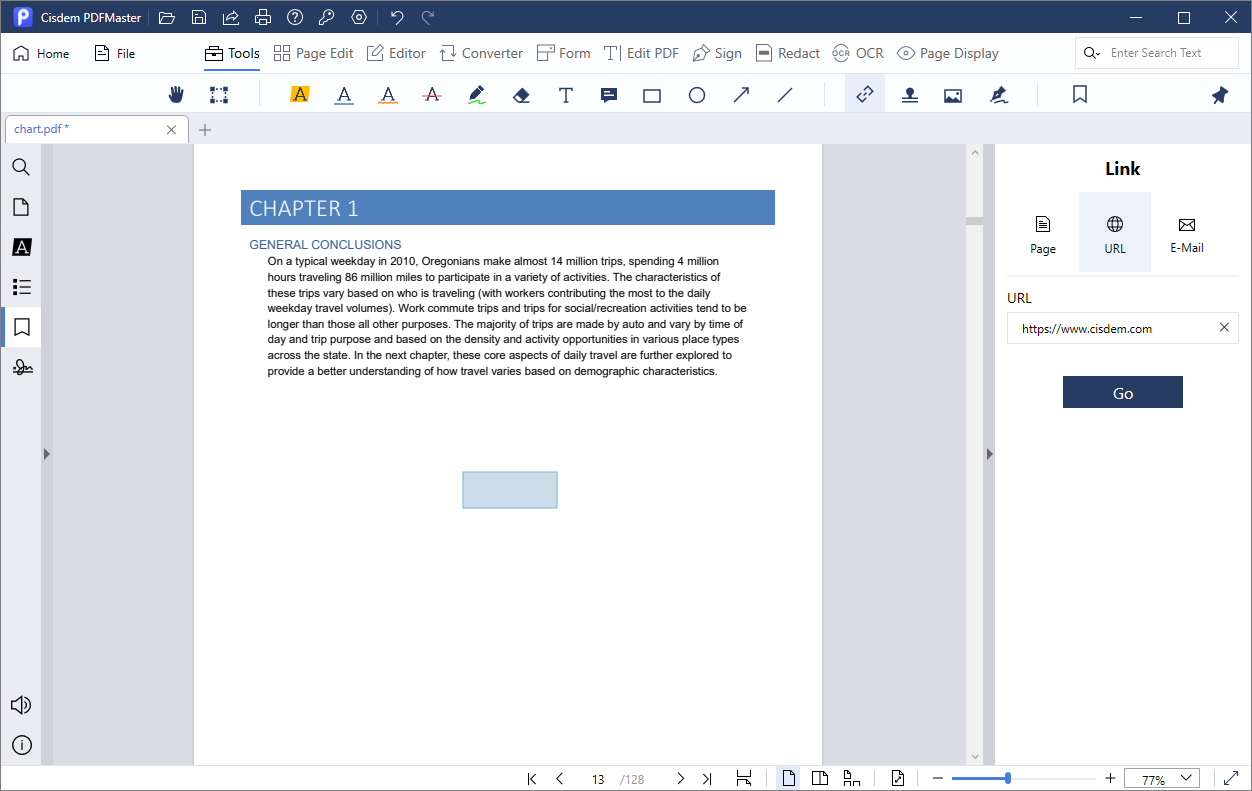
Part 4.6 Link
Select, click and drag where you need the attachment icon to be, then you can select to redirect to a page in this PDF file, a hyperlink or an email address on the right side.
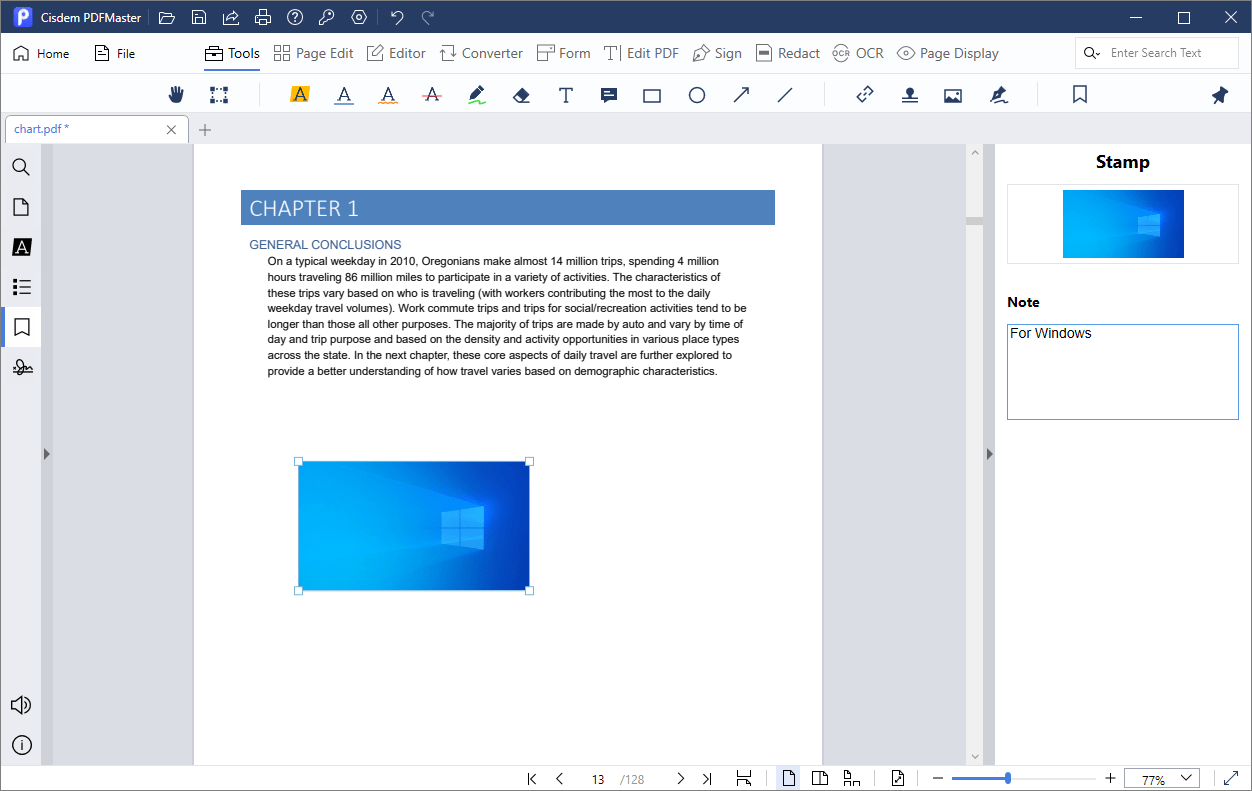
Part 4.7 Stamp
A stamp annotation is a simple way for you to add text with drawings in a PDF file,you are allowed to add Standard, Custom and Dynamic stamps as you prefer. Just select , you will be able to choose the stamp that you prefer on the right side.

Part 4.8 Image
You can click to insert an image into your PDF file
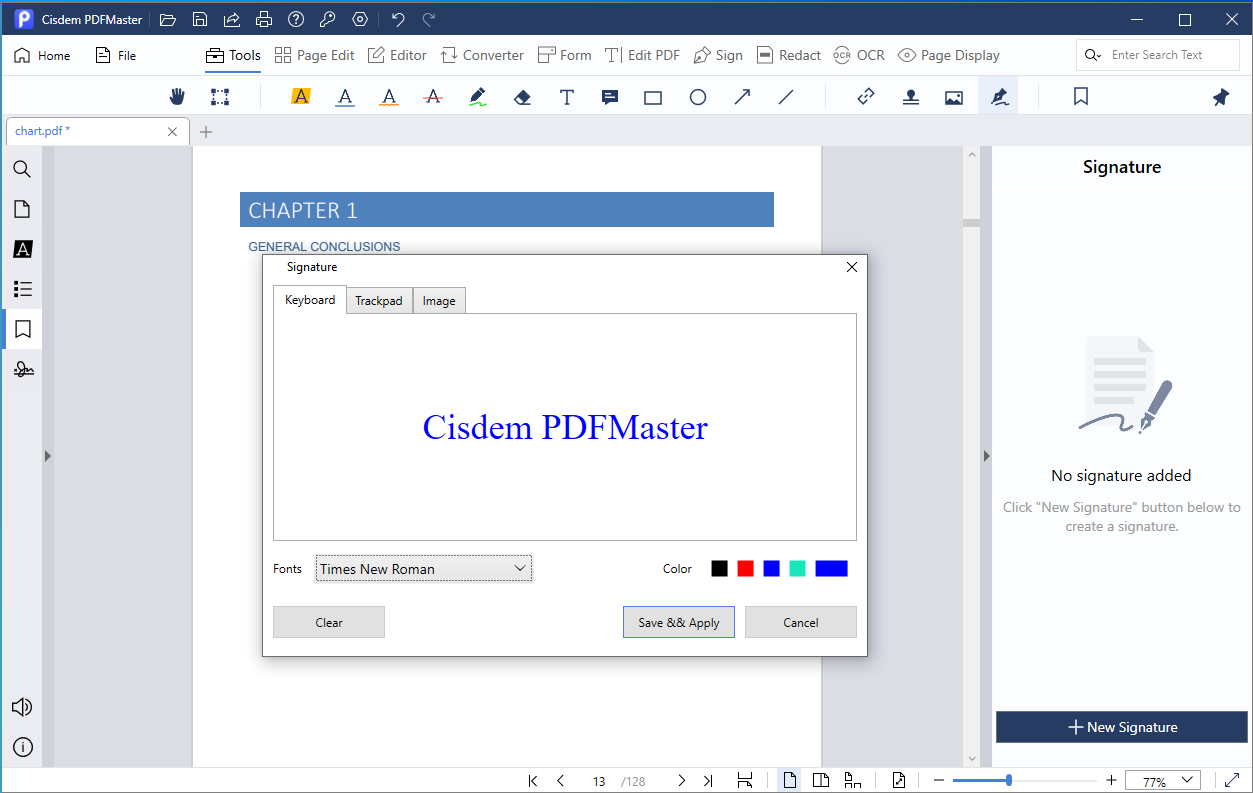
Part 4.9 Signature 
Select , click  on the righ tisde, you can manually draw a signature, select a default signature or upload a signature picture and add it on your PDF file.
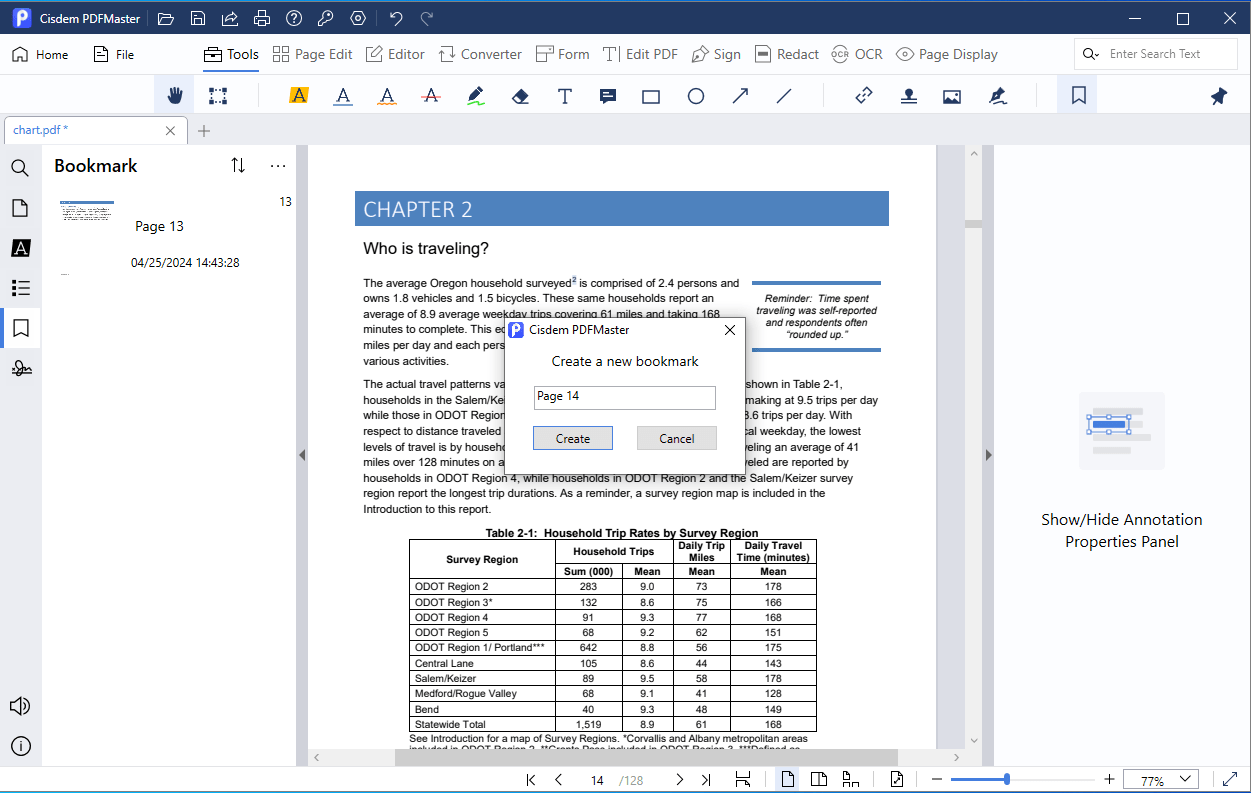
Part 4.10 Bookmark
Click , it will generate a bookmark for the page you are reading, click on the left panel, you can find all the bookmarks you've created, you can also delete the unwantted bookmarks there.
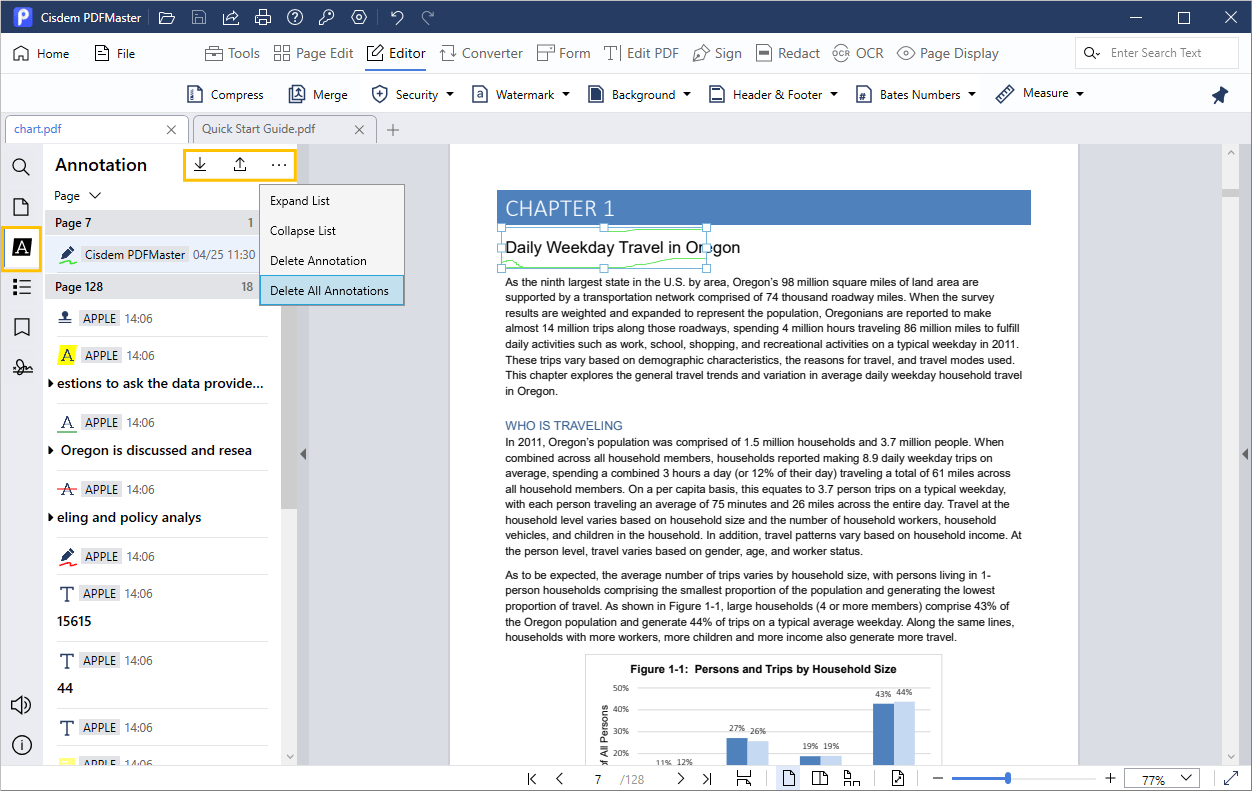
Part 4.11 Export/import and delete annotations
Click  on the left panel, all the annotations that you've created are listing there, you can click
  to export all the annotations as a XFDF file, meanwhile, you can import the XFDF file into another PDF file.
You can also right click the target annotation or click  to delete the annotations.
Part 5 Page Edit
Want to manage or organize the PDF pages, like inserting pages, extracting pages or replacing pages? Just click ![]() on the tool bar, then you will see all the page edit tools on the following sub tool bar. Please note that you can either hold down Ctrl key and click multiper pages or directly drag your mouse to highlight multipler pages, and then select a tool to edit those pages.
on the tool bar, then you will see all the page edit tools on the following sub tool bar. Please note that you can either hold down Ctrl key and click multiper pages or directly drag your mouse to highlight multipler pages, and then select a tool to edit those pages.
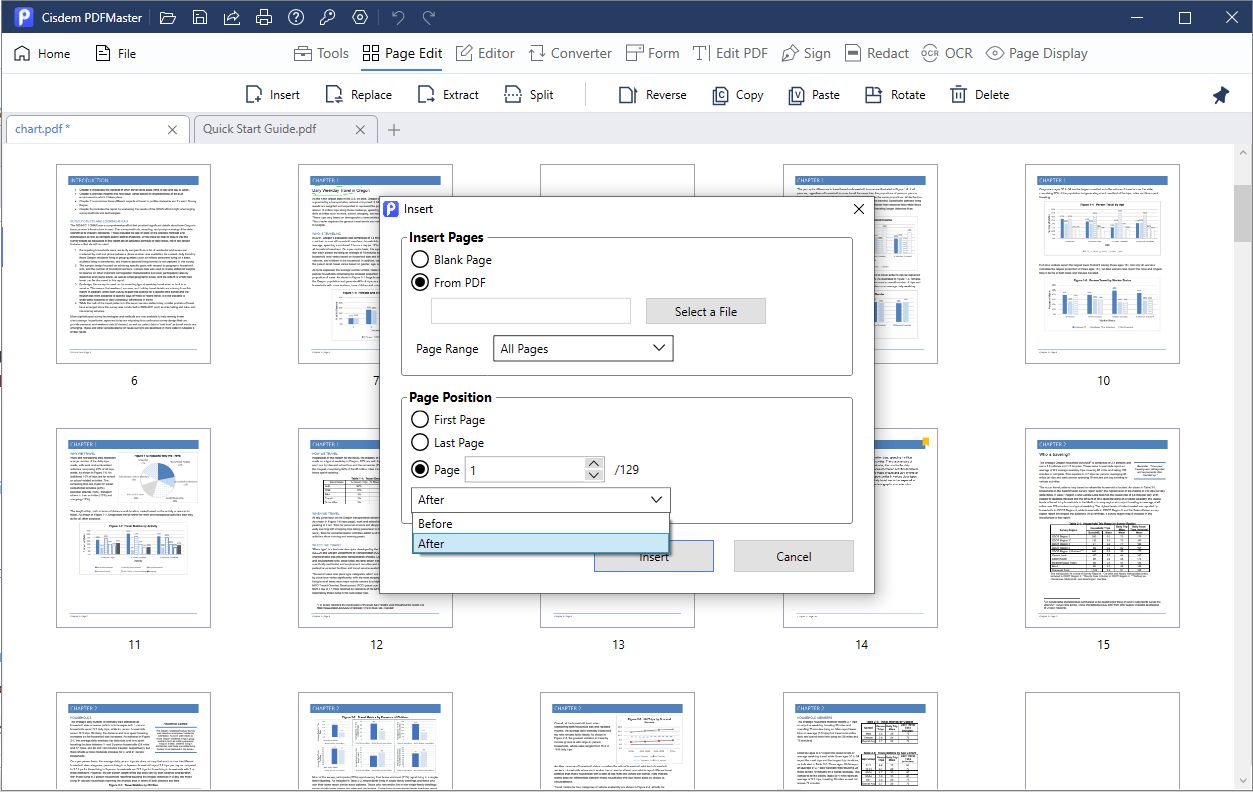
1. Insert : Click , it will pop up a window to allow you customize the insert settings.You can select to insert a blank page or pages of another PDF file, also you can choose the page that you want to insert before or after.
2. Replace : It can help you to replace some pages from the current PDF file with the pages from another PDF file. Just highlight the pages that you want to replace, click , choose the target PDF file and click Open.

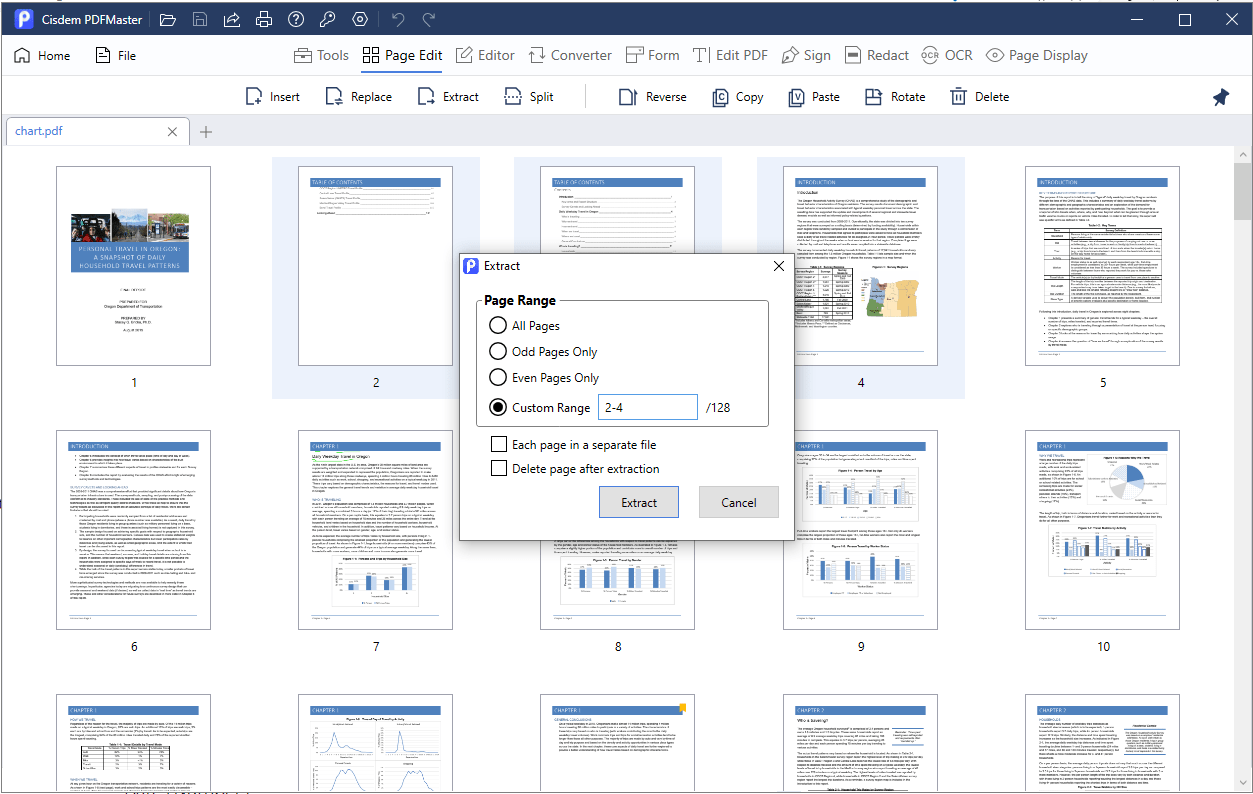
3. Extract  : Click, it allows you to choose the page range that you want to extract, also you can choose to extract all the pages into a single PDF or each page in a seperate file.
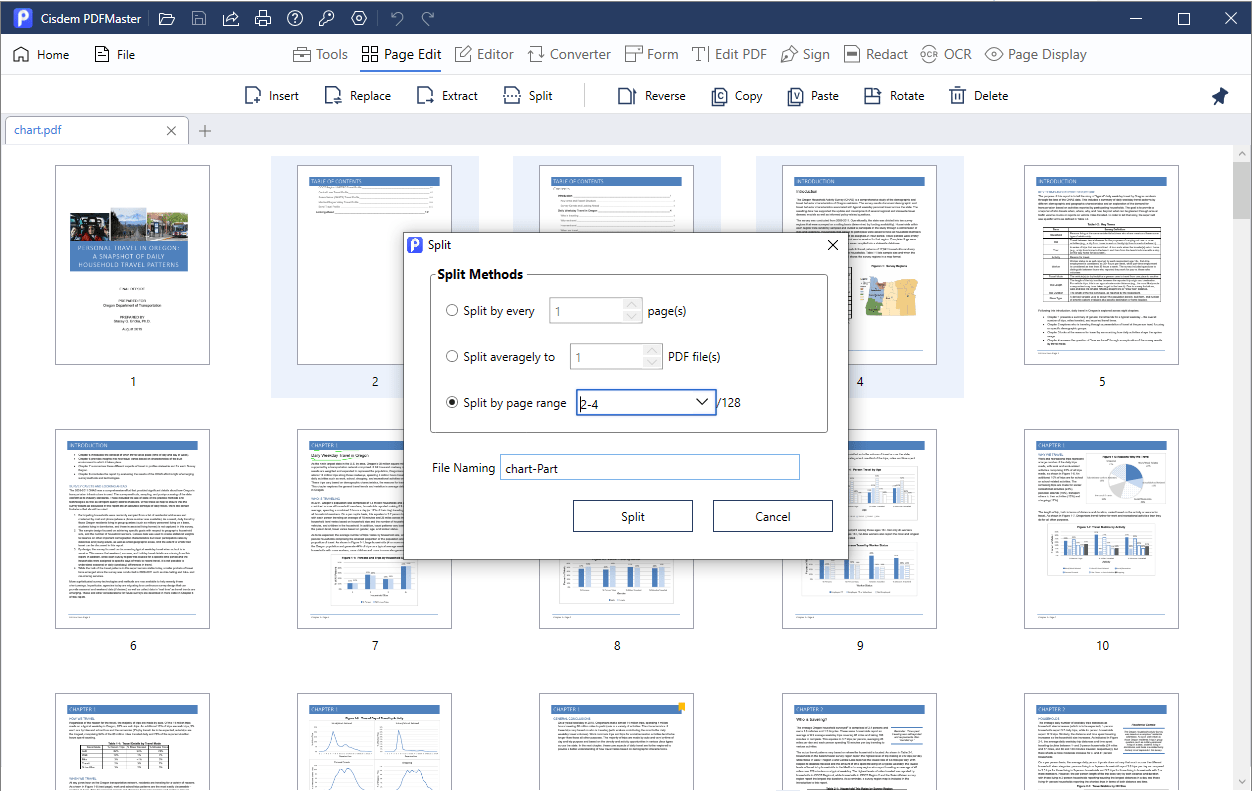
4. Split : Click it, it allows you to split every page into seperate files, split averately to multipe PDF file or split by a page range.
5. Reverse : Highlight the pages that you want to invert and click .
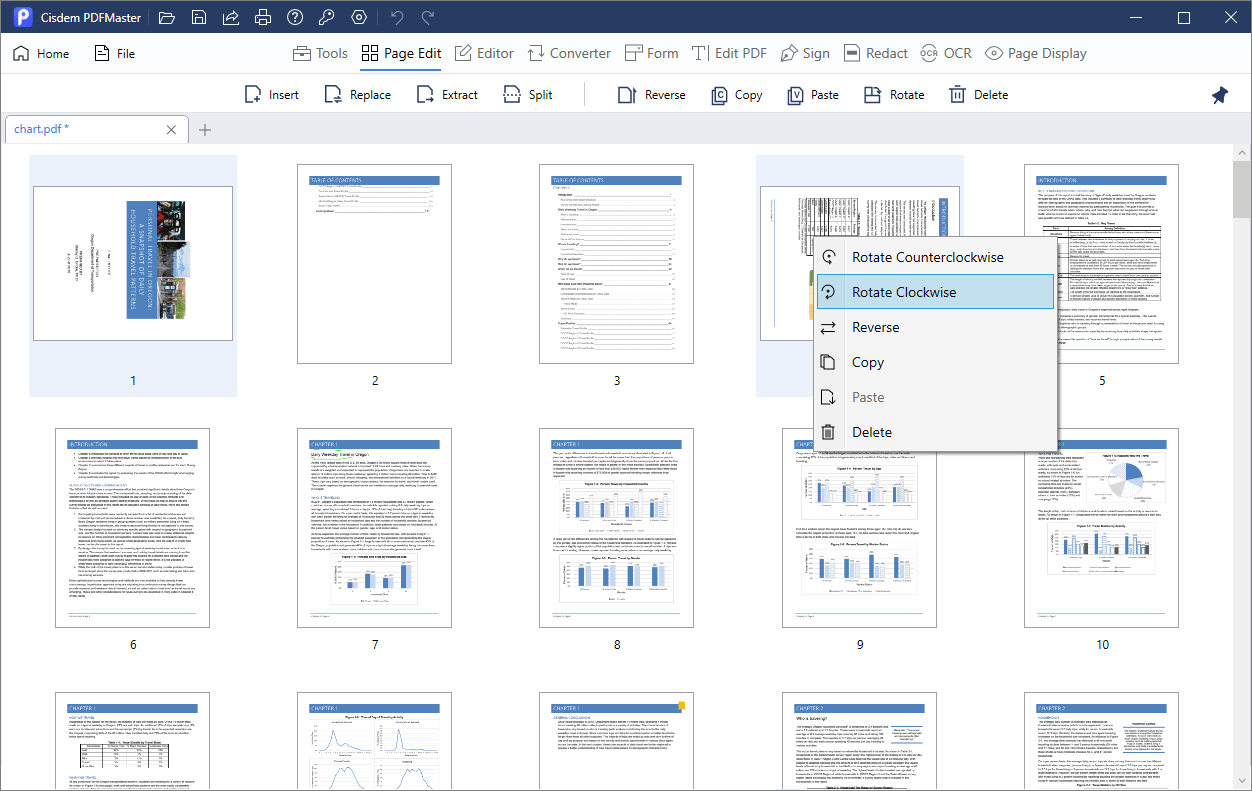
6. Rotate : Just highlight the pages that you want to rotate, click to rotate those pages clockwise. You can also right click to rotate the pages counterclockwise.
7. Except the tools above, you can also copy, paste and delete the pages.
Part 6 Editor
Click  on the tool bar, you can find all the editor tools on the sub tool bar, like Compress, Merge, Security, Watermark, Background, Header&Footer, Bates Numbers and Measure tools.
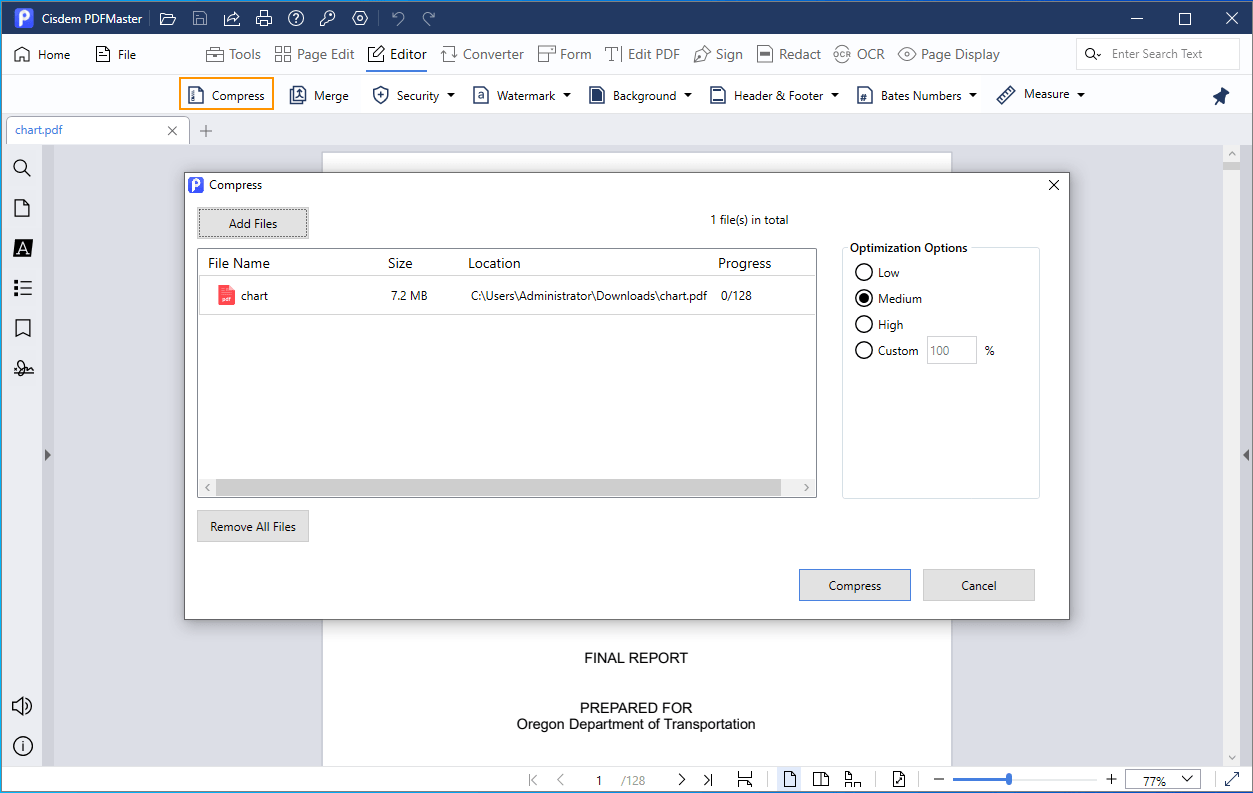
1. Compress  : If you have a large-size PDF file, and you want to upload or send it as an attachment in email, the easist way is to use Cisdem PDFMaster to compress your PDF file into a smaller size. Just click on the sub tool bar , select a quality on the pop-up window, click Compress to save the compressed PDF file. You can also click
  to add more files to batch compress.
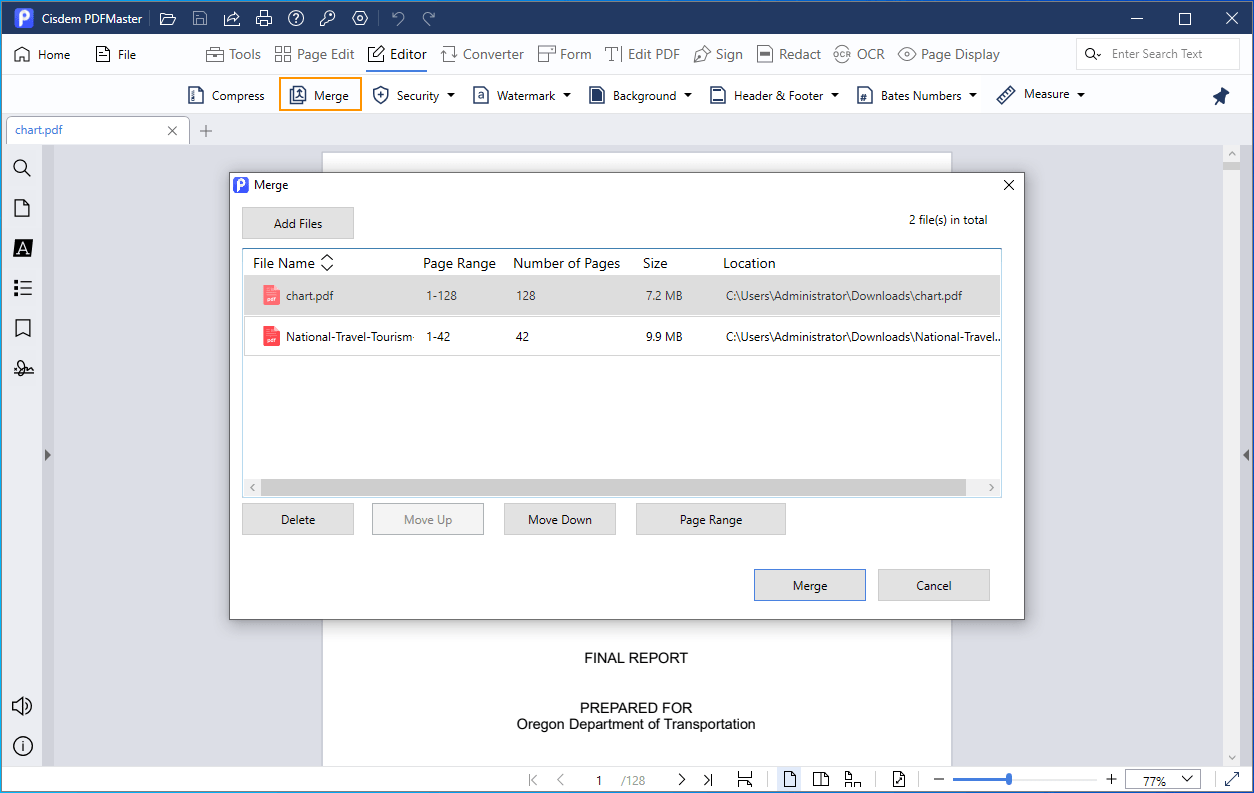
2. Merge : You can use this tool to merge the currently opend PDF and another PDF files. You can adjust the order of those PDF files by clicking "Move Up" or "Move Down", moreover, you can highlight a PDF file and select the page range that you want to merge by clicking "Page Range".
3. Security : PDF restrictions enable you to prevent someone opening your PDF file from making changes, which include a majority of restrictions, such as opening, copying, printing, etc. You can use Cisdem PDFMaster to encrypt your PDF or remove the permision password.
a. Set Passwords: You can add open password, permission password or both on your PDF files, just click on the sub menu tool and choose Set Passwords. Tick the password type you want to add on your PDF file and enter the password.
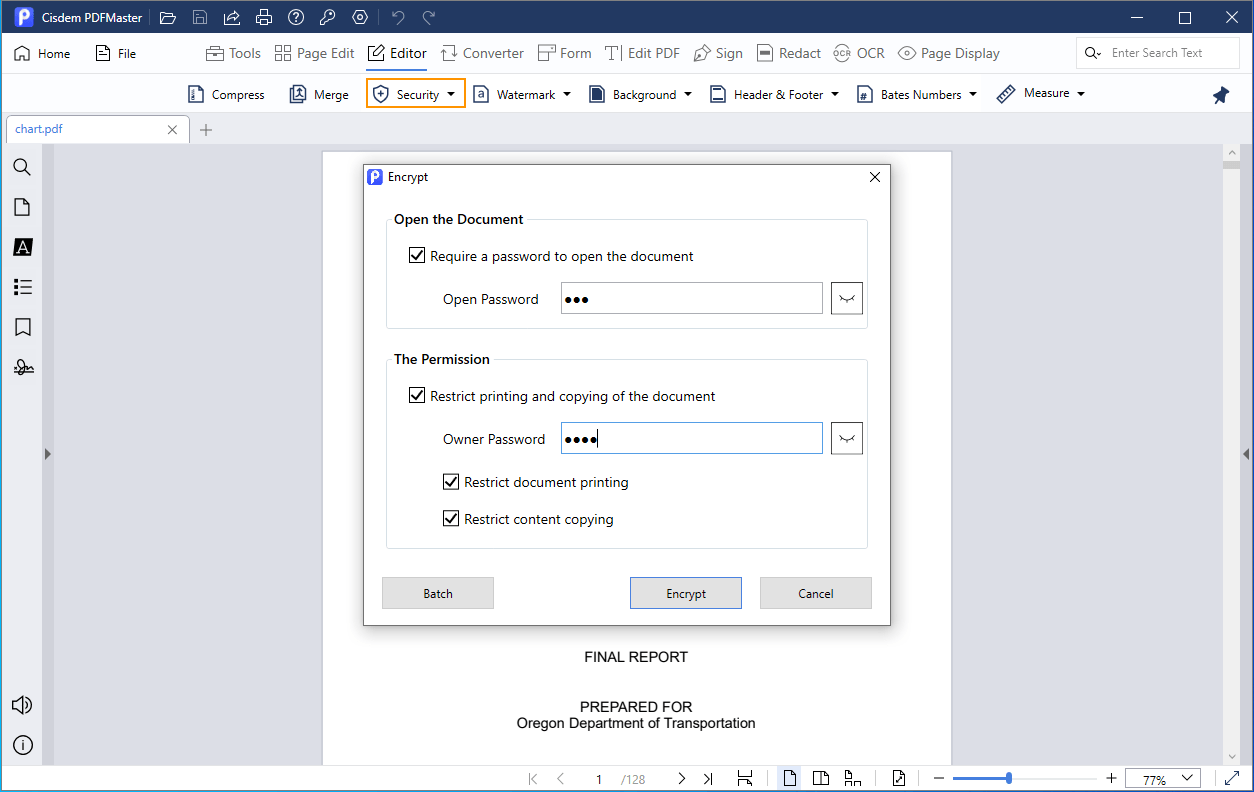
b. Remove Security: Cisdem PDFMaster can only remove the permission password from your PDF file, if there is an open password with your PDF file, you will have to enter your open password first, then you can click > Remove Security to remove the permission password from your PDF file.
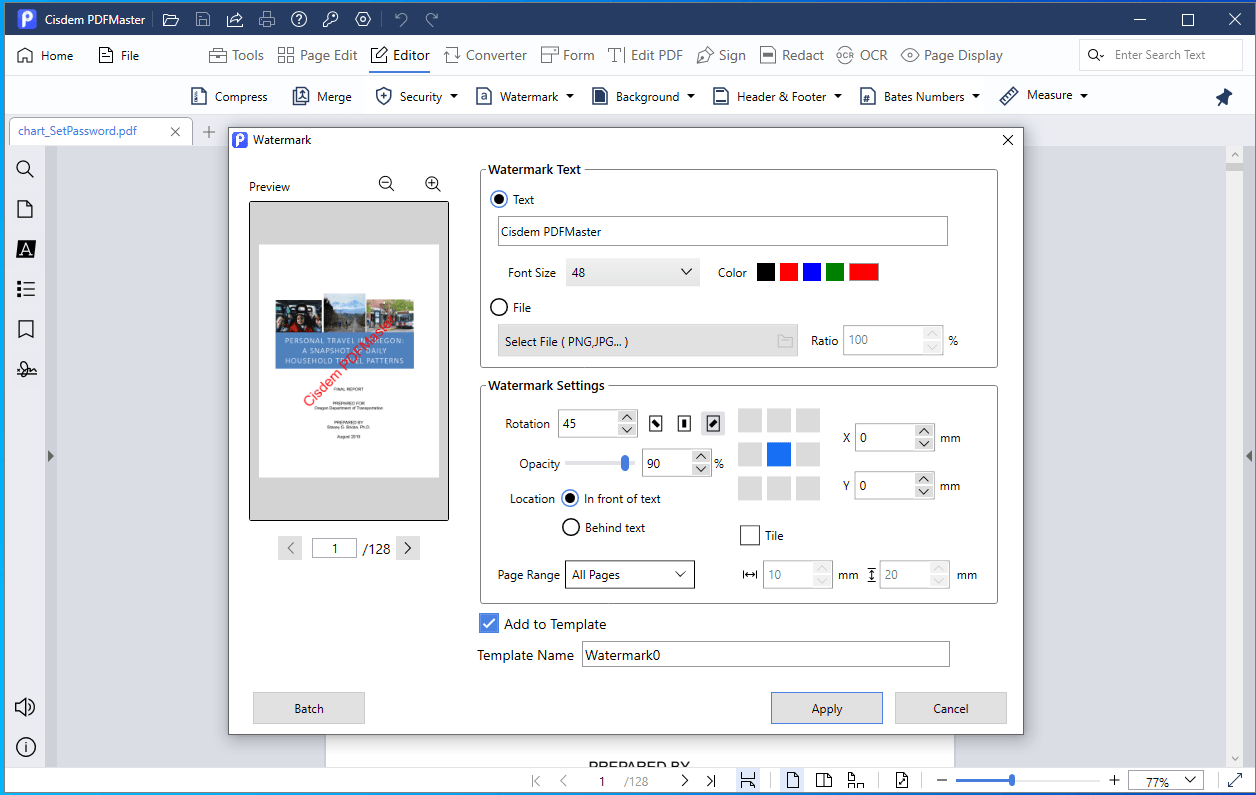
4. Watermark Add watermark to PDF is also one of the ways to protect your PDF files from being used without authorization.
Click on the sub tool bar, choose Add Watermark, you can customize the watermark as you like, you can also save it as a template so that you can directly use it next time.
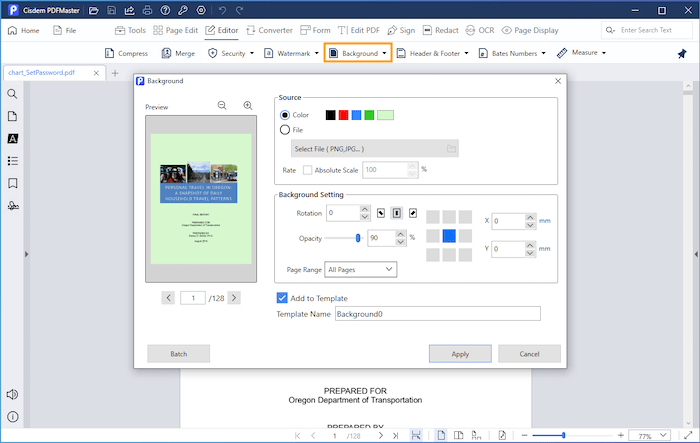
5. Background : Backgrounds can increase the appearance factor of your PDF document, you can add or remove background with Cisdem PDFMaster with a few steps.
Click on the sub tool bar, choose Add Background, you can add pure color or upload an image as the background, also you can do other settings as you like.
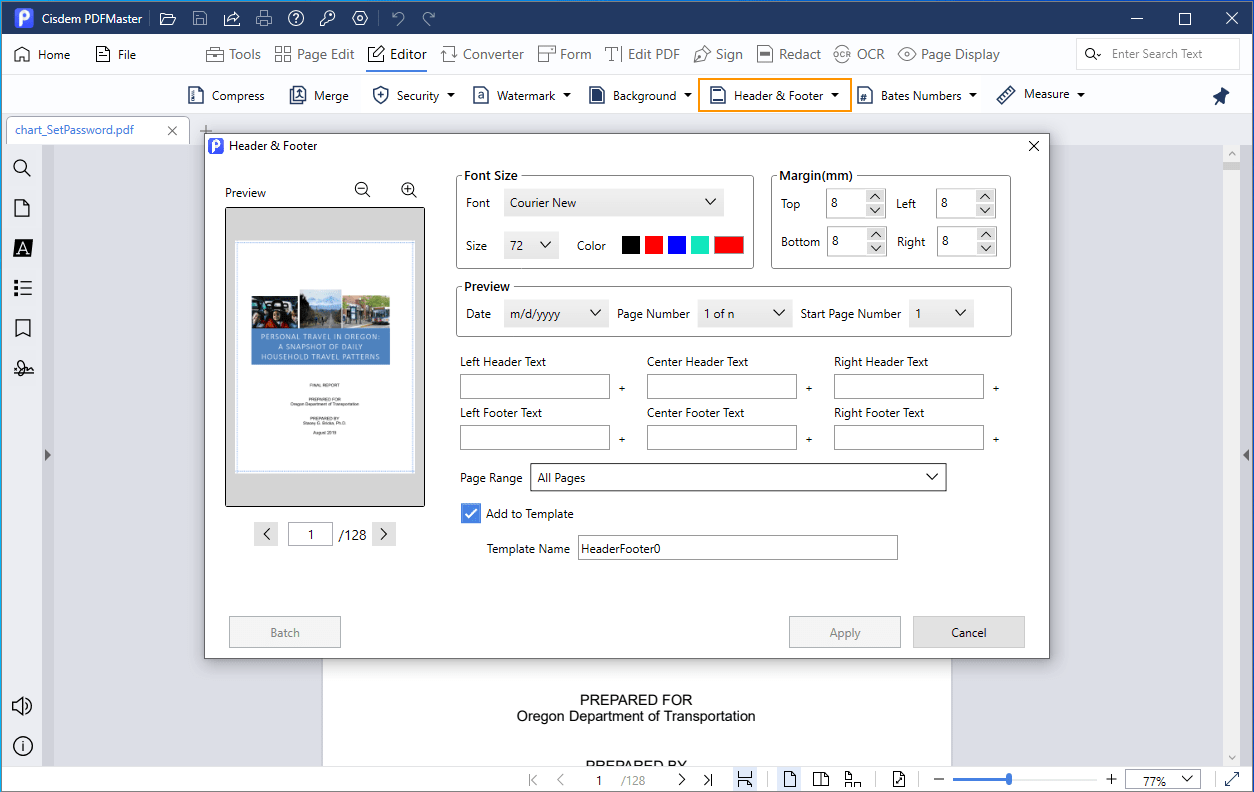
6. Header & Footer : Headers and footers generally contain additional information such as page numbers, dates or an author's name, which can help keep longer documents organized and make them easier to read.
Click on the sub tool bar, choose Add Header & Footer, you can choose the date and page number format, add header or footer, change the font and color and other settings you may need.
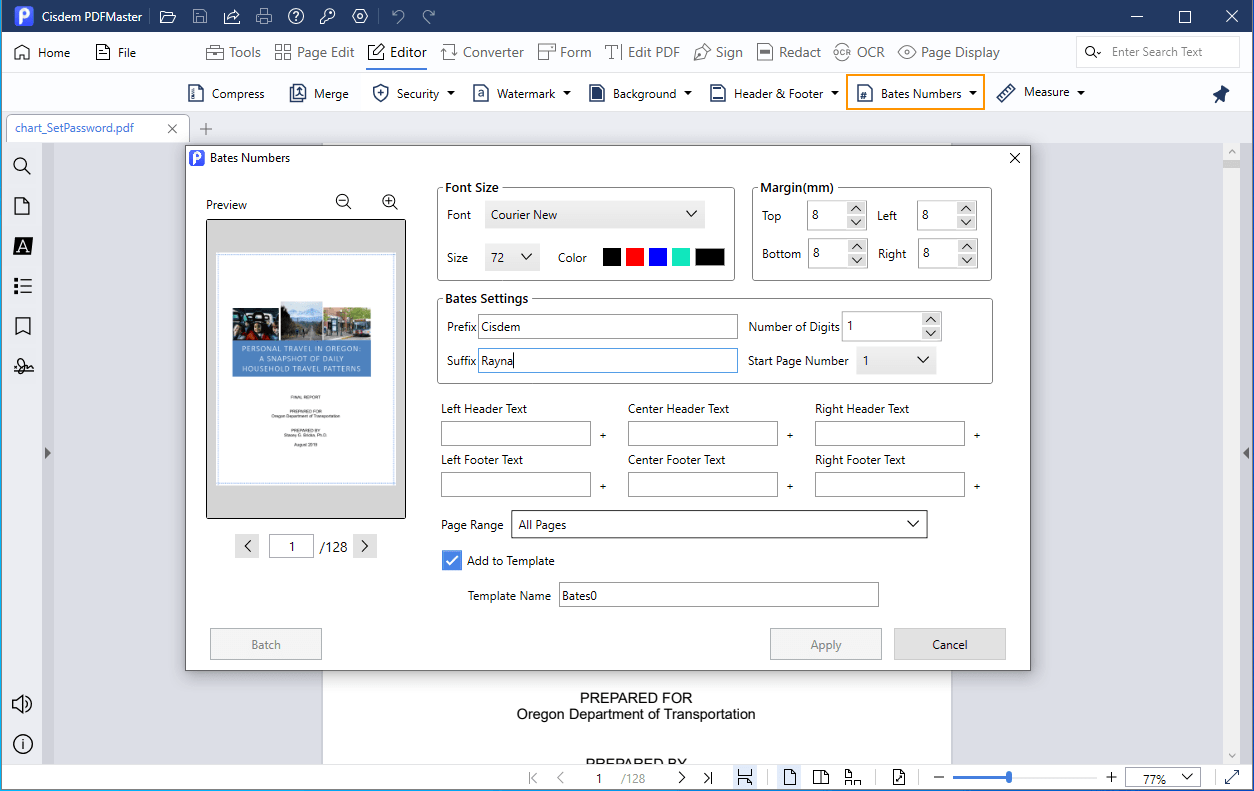
7. Bates Number : You may need to add bates numbers to a PDF file if you have a document with a large number of pages, so everyone who view the document can easily track and identify the documents.
Click on the sub tool bar, choose Add Bates Number, you can add a unique prefix or suffix to help viewer easily identify this document, it can be case number, firm number, date or others.
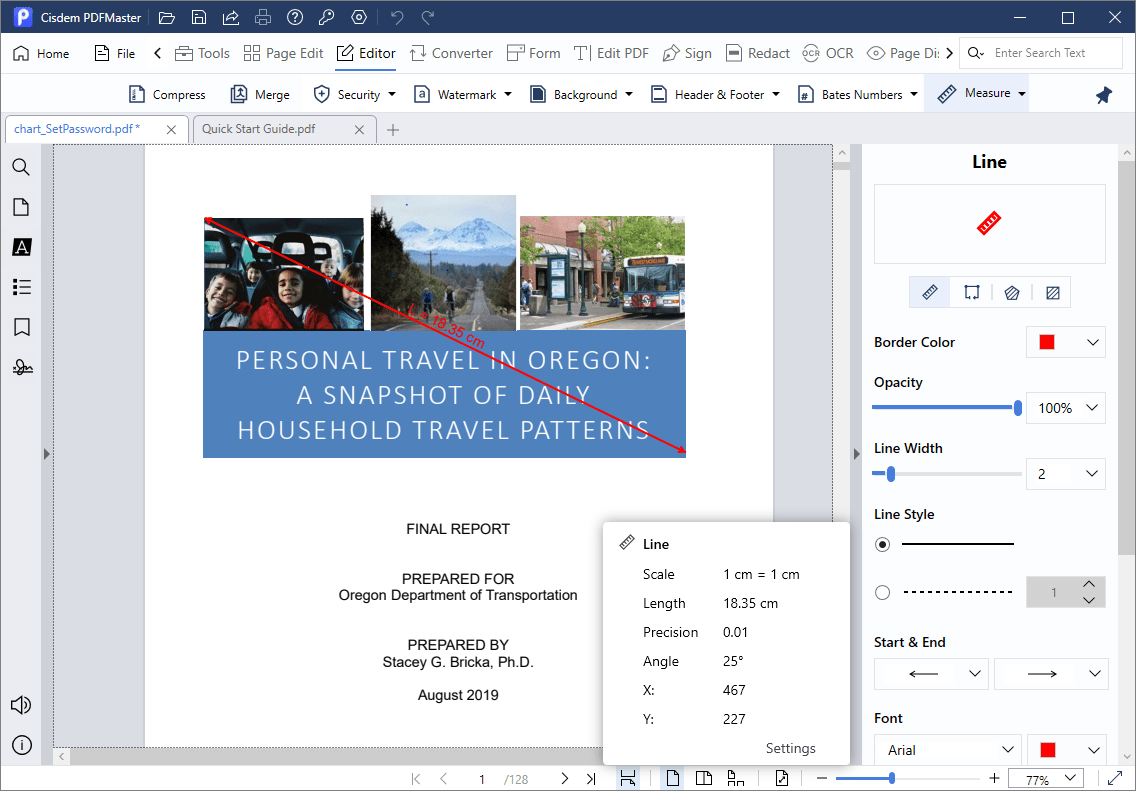
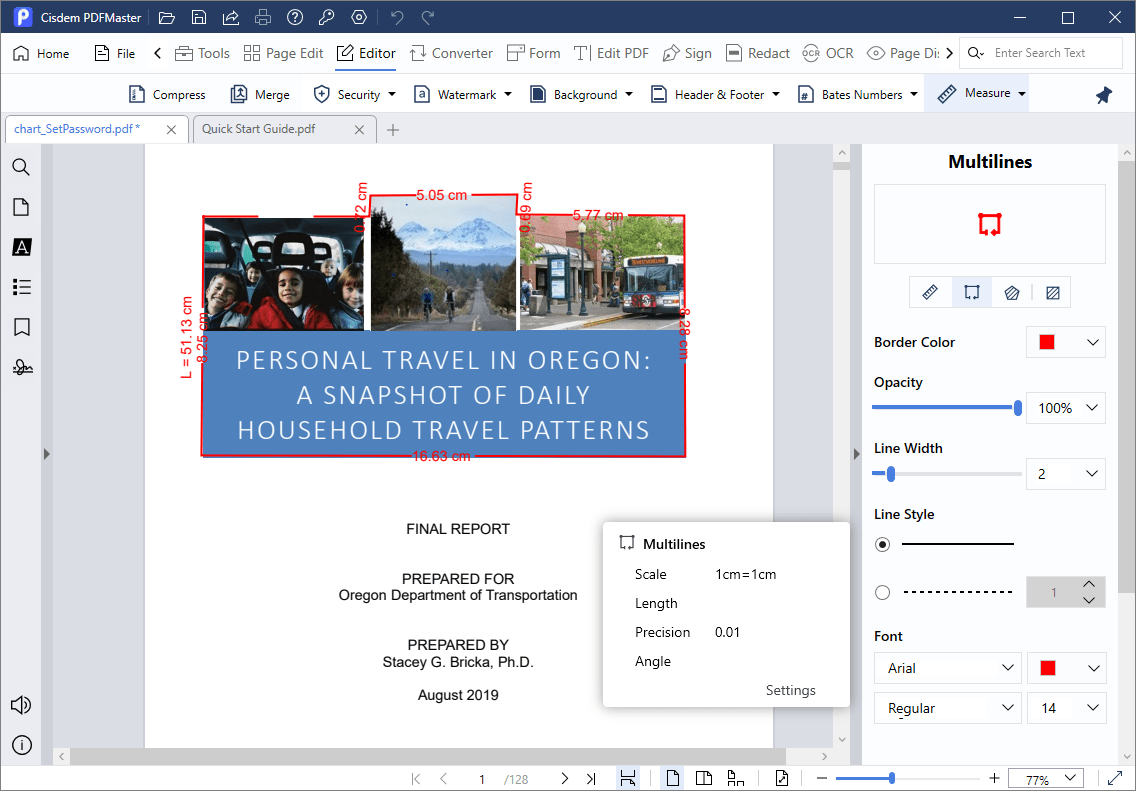
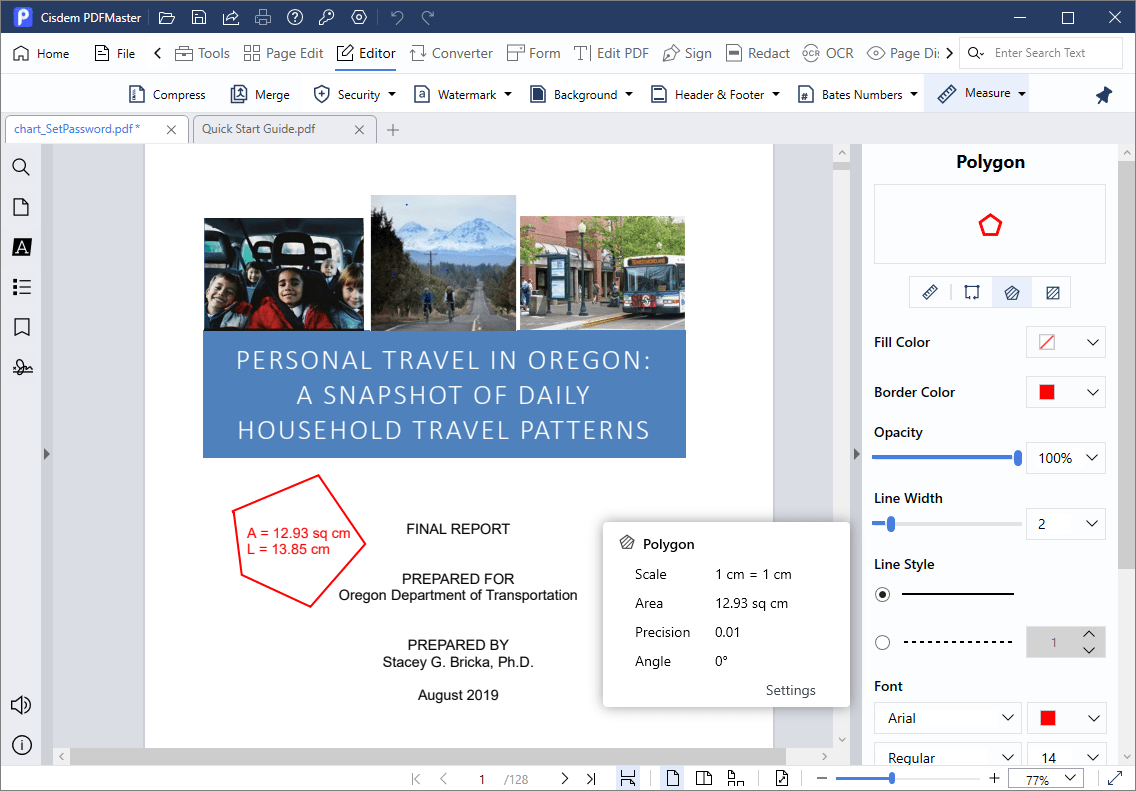
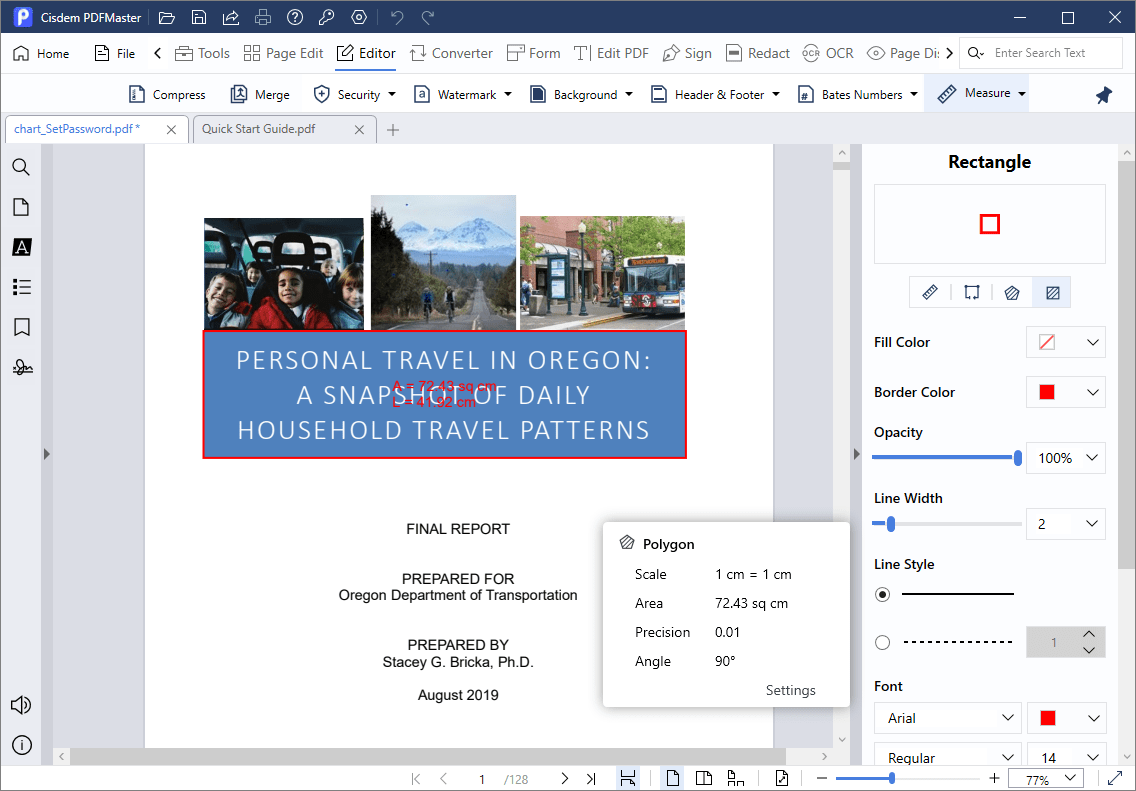
8. Measure  : With the measure tool, you can measure height, weight or the area of the objects in a PDF file. Just click , you can see four options: Line, multilines, Polygon and Rectangle, and you can customize the measurement appearance on the right side.
a. Line: It is used to measure the distance between two points, just click the first point, then click on the second point, the distance of those two points will be displayed.
b. Multilines: It is used to measure the distance spanning multiple points.
c. Polygon: It is used to measure the perimeter and area of the closed shape.
d. Rectangle: It is used to measure the perimeter and area of a complete rectangle.
Tips: To exit continious marking, you can double click the end point or press ESC on your keyboard.
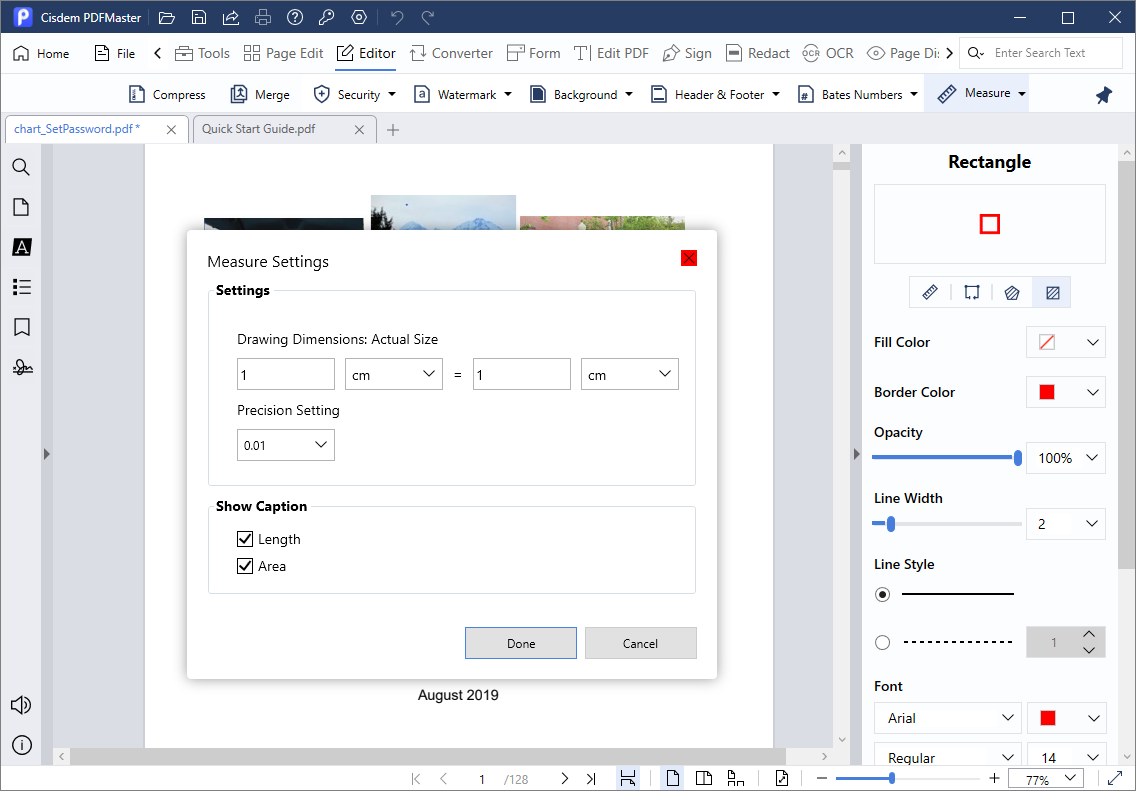
e. Scale and precision settings: Click the measurement area, you will see a window shows the region information, click "Settings" on that window, you can set the actual size and precision there.
Part 7 Converter
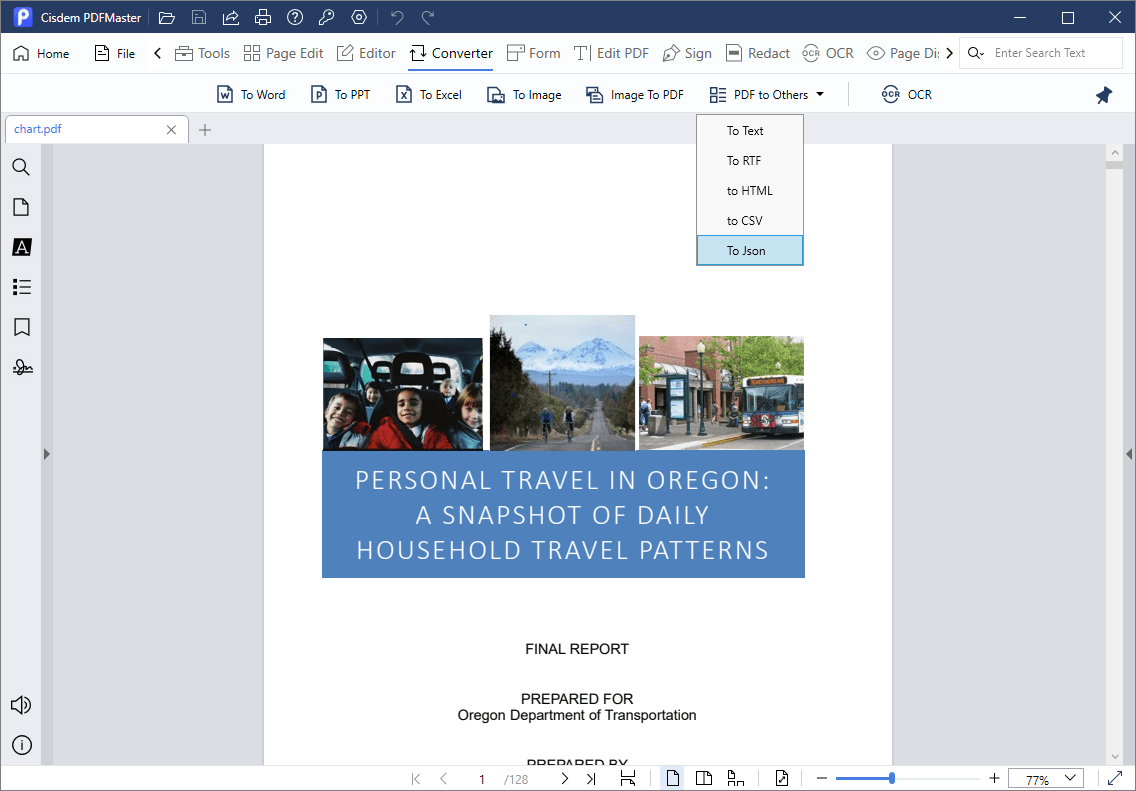
Cisdem PDFMaster supports converting PDF to a majority of file formats, such as Microsoft office, image, txt, html and rtf.
Part 1. Convert PDF to MS office formats
Step 1 Open your PDF file with Cisdem PDFMaster, click ![]() on the main tool bar;
on the main tool bar;
Step 2 Click your desired format (To Word, To Excel or To PPT), select the layout settings and page range according to your needs.

Step 3 Click Convert to select a save location of the converted file.
Part 2. Convert PDF to Images
Step 1 Click ![]() to get into the Image to PDF window, click to add images into the list.
to get into the Image to PDF window, click to add images into the list.
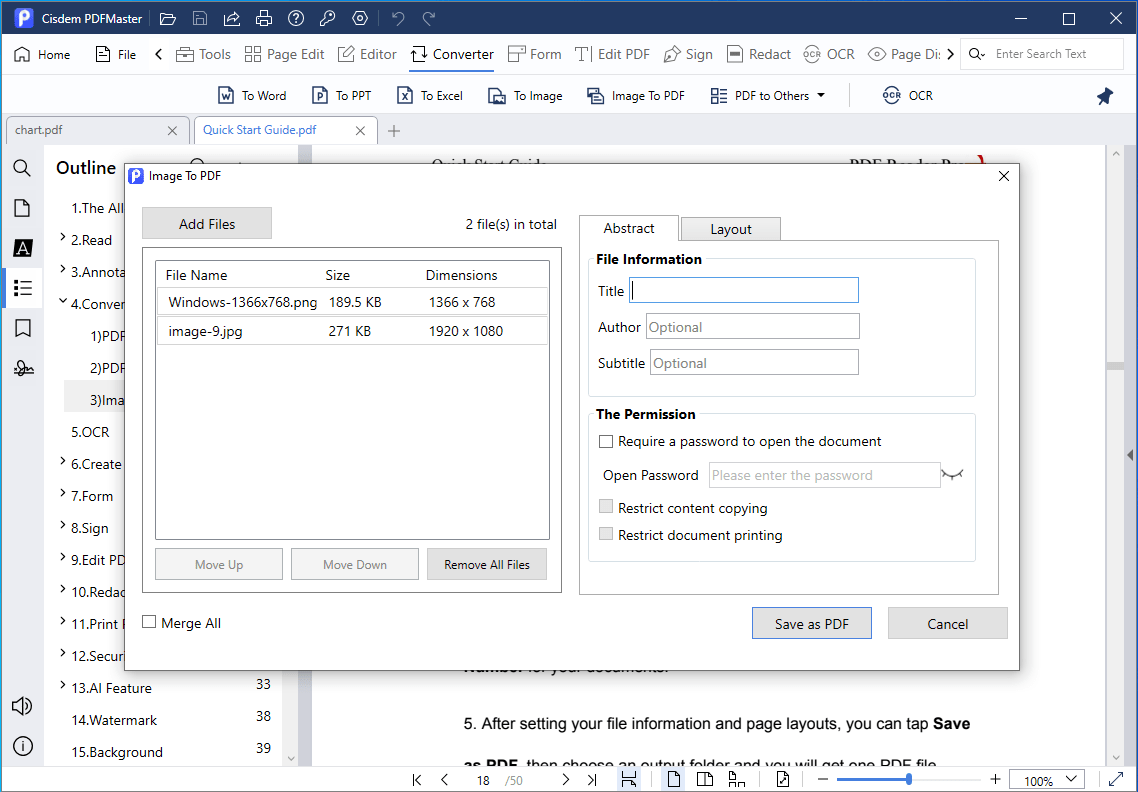
Step 2 (Optional) You can change the file information, add a password on the created PDF file under the Abstract tab, you can also navigate to the Layout tab to change the Page size, Page Margin and Page numbers.
Step 3 Click  to save the created PDF file.
Part 8 Form
Instead of printing the PDF file and then filling in the form by hand writing, you may fill these forms directly with Cisdem PDFMaster. Before filling a PDF form with Cisdem PDFMaster, you need to know if your form is fillable or not. A fillable form is an interactive form, which contains fields that you can select or fill in; A non-fillable form is a non-interactive form, you can only fill in the form with the tools under Form.
Part 8.1 Fill out interactive form
When you import a PDF form that contains interactive form fields, a banner will display on the top of the document to notify you it contains interactive form fields. You can directly input content in those fields.
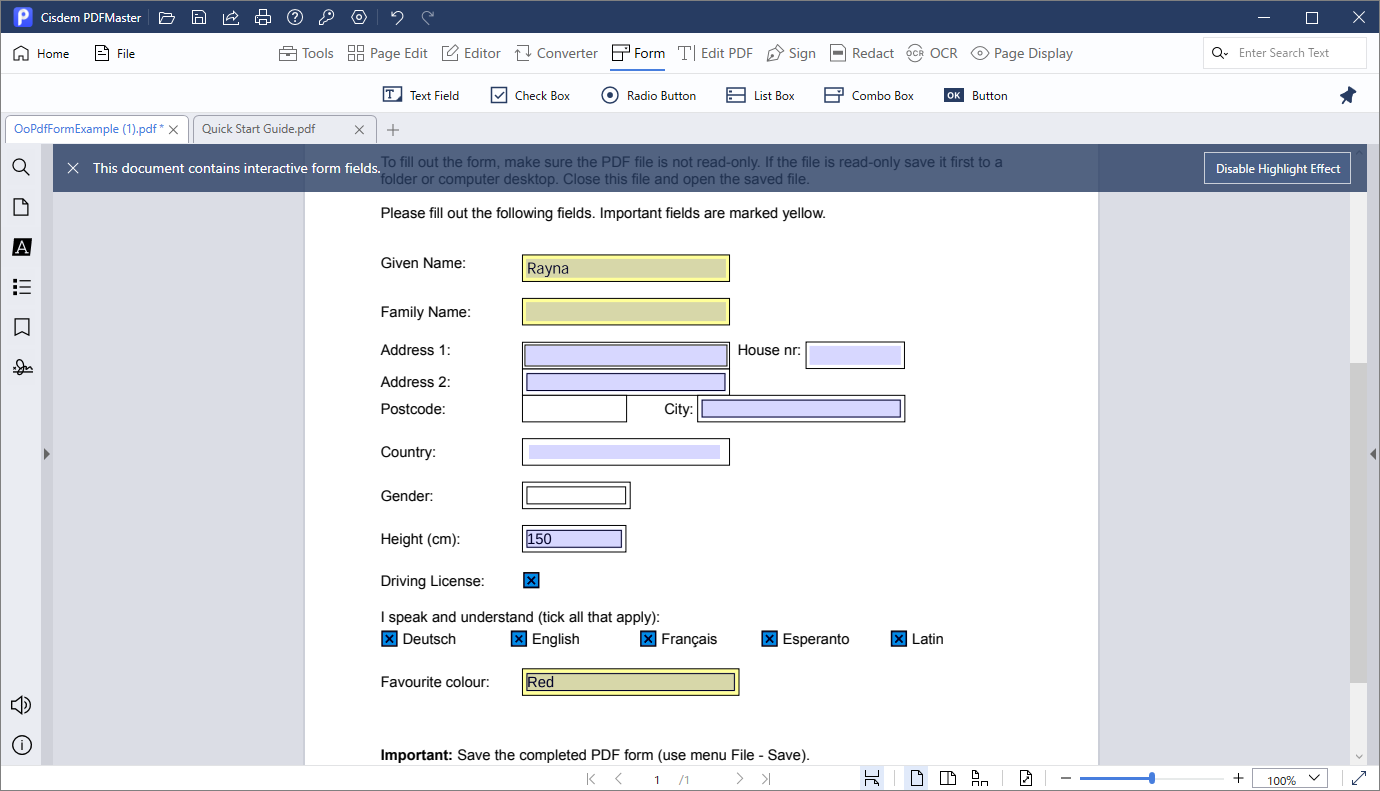
Part 8.2 Fill in non-interactive form
Since a non-interactive form doesn't contains interactive form fields, you need to make a fillable PDF file with blank form fields to allow people to fill it out on a digital device.
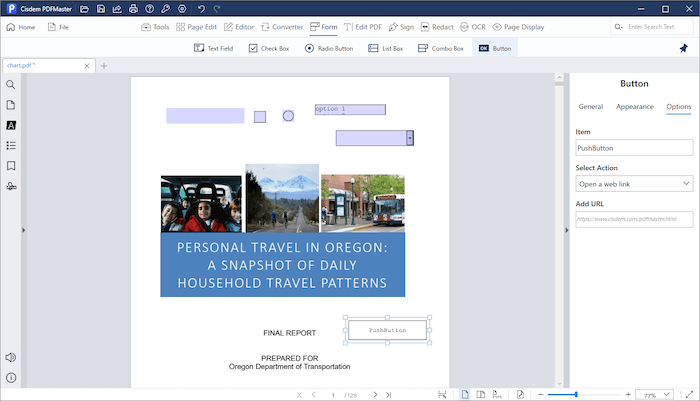
Click ![]() on the main tool bar, then all the form tools shows on the following sub tool bar. You can add text field, check box, radio button, list box, combo box and OK button into your PDF file as you like.
on the main tool bar, then all the form tools shows on the following sub tool bar. You can add text field, check box, radio button, list box, combo box and OK button into your PDF file as you like.
For every form tool, you can customize them on the right side panel.
Part 9 Edit PDF
As we all know, you cannot directly change the text or image content in a PDF file. However, if you want to do so, Cisdem PDFMaster can help you.
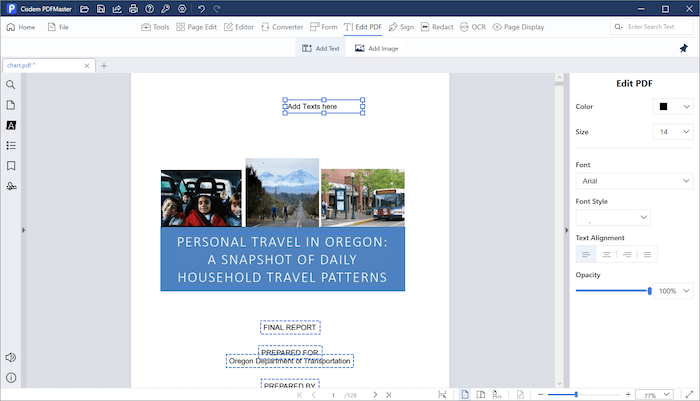
Part 9.1 Edit text
Click  on the main tool bar, it will bring you into the edit mode. All the texts are framed by dotted line and you can directly edit the texts within the frame. You can also add a new text box by clicking
Additionally, you can change the font, size, color, opacity and alignment on the right side panel.
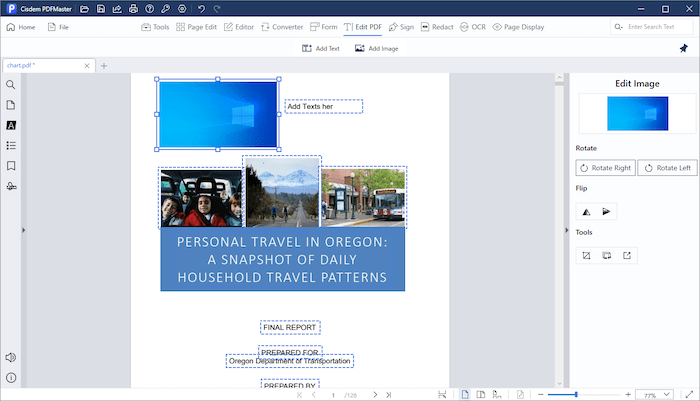
Part 9.2 Edit image
After getting into the Edit mode, the images will be framed by dotted line as well. You can click  to add images into the PDF file, you can also rotate, flip, crop, replace and extract images in this PDF file on the right side panel.
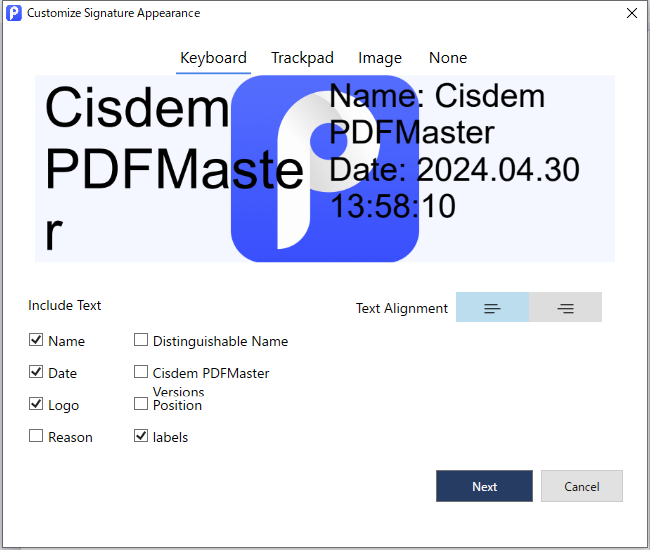
Part 10 Digital Sign
A digital signature is a digital record that helps businesses and authorities to identify documents and protect them from being tampered with, forged or replicated in some way.
You can reference the steps below to know how to use a digital sign with Cisdem PDFMaster.
Step 1 Click  on the tool bar, tap
  , drag and draw a signature field on the place where you want to sign.
Step 2 Tab  , click the signature filed that you've created, a window will pop up to ask you to create a new digital ID or load a digital ID from a file. If you want to create a new one, just choose Create a new didital ID> Continue; If you have a digital ID already, just choose User a digital ID from a File.
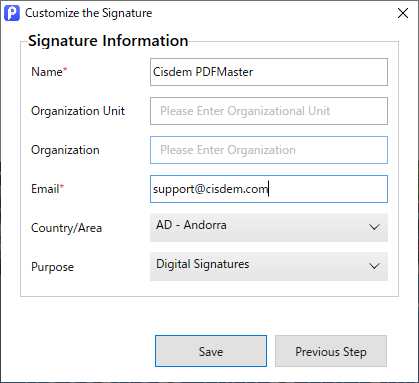
Step 3 Enter your identity information in the pop-up window and click Save.
Step 4 Select a location to save the digital signature and set a password.
Step 5 Customize the appearance of your signature before clicking OK to applying for it.
Part 11 Redact
To protect some sensitive or important content on your PDF file, sometimes you may need to redact PDF files, and Cisdem PDFMaster can help you to resovle it.
Part 12 Application Update
We always suggest users to use the latest version of the program.
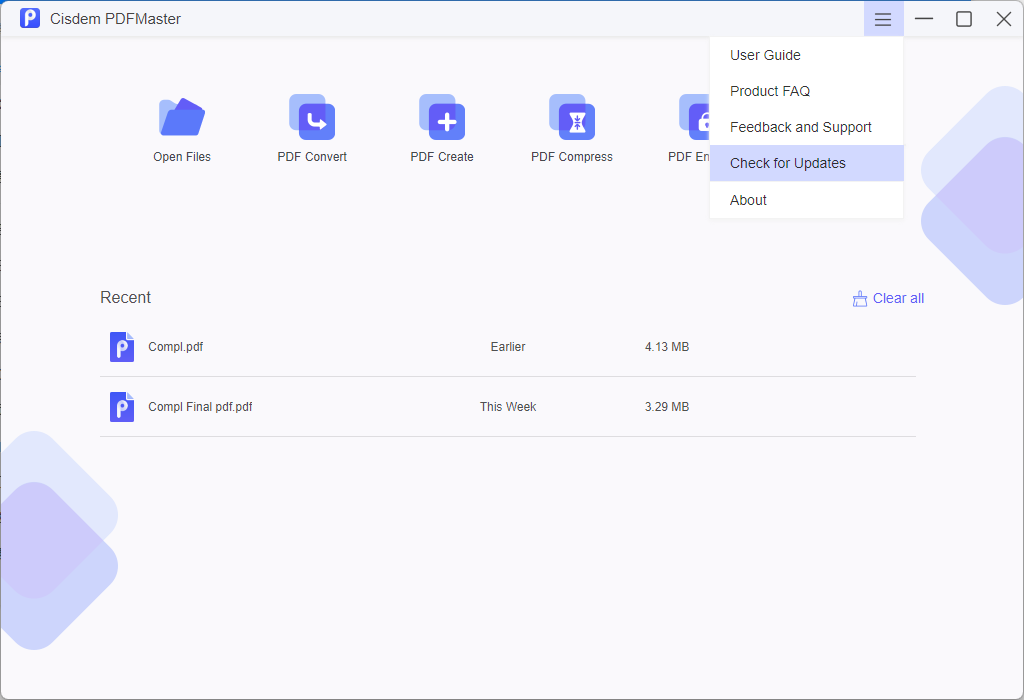
When you launch Cisdem PDFMaster, Cisdem will auto check for updates and prompts you to download the latest version package.
Also, you can click  > Check for Updates on the right upper corner of the program to manually check for updates.

Traci Gordon has worked as a tester in a software company for 8 years, she believes that the best software should be a tool that can help users accomplish what they need with the simplest steps.


 Free Download